
Can a Complete Amateur Make Passive Income from Stock Photography?
In 30 days or less…
This year I’m on a passive income mission. I’m attempting to build one new passive income stream a month. That’s 12 total by the end of 2023.
- In January I took on YouTube
- In February I took on alternative investing
- In March I took on online courses
Thus far in April, I’ve been hard at work learning how to shoot and sell stock photography online for passive income.
Today is a 20-day update about my progress, my plan for the month, and the 7 biggest lessons I’ve learned already.
Spoiler: I learned most lessons the hard way because I went into this with no photography skills, experience, or background knowledge.
How it Started
The month started slow because I went on vacation for a week in Mexico. However, I didn’t lose a full week of progress. I took my camera with me to Mexico and attempted to take lots of great shots.
This was a great idea for 2 reasons:
1. The resort, nearby golf course, and beach were stunning. The area was extremely photogenic. I got a ton of great shots, especially at sunrise because I got up early daily and went on photo walkabouts before anyone was awake.
2. I took a ton of candid shots of the family I’m sure we’re going to cherish for a long time. I’m not going to post the family shots but there’s nothing like photos from a nice camera.
When I say “nice camera” I should clarify that mine isn’t super nice. I hope this doesn’t end up holding me back…
Do You Need a Nice Camera for Stock Photography?
I’ve used a Canon M50 for the last 4 years for my YouTube videos. I rarely pull it off the tripod and take it outside but I’ve done exactly that the last few weeks.
I’ve also been learning about stock photography from YouTube videos and podcasts. Funny enough, it seems some very successful photographers swear by iPhone photos. One person put out a poll of the same photo side by side with a nice camera vs. an iPhone and most people couldn’t tell the difference.
I might experiment with taking iPhone photos for the final 10 days and submitting some as an experiment. Or go back and find some of my older scenic phone favorites and see what happens.
Anyways, I found a “natural” photo setting on my Cannon M50 and I do think the photos look more organic. Plus, you can do a lot more with the raw photos when color editing.
Early Challenges
Editing my Mexico photos has been a learning curve.
I imported the photos into Photos on my MacBook Pro and used the auto-enhance feature. The photos looked great and improved BUT it was actually compressing the photos (I think?).
The stock sites I’ve been uploading to require the photos to be 4MP or more and auto-enhance was making them 2 to 4 tops.
Rats.

I had to pivot and hunt for a different photo editing program. I found a dozen or so that were free but I couldn’t decide which to try.
Hint: too much research leads to info overload and analysis paralysis.
I landed on Adobe’s Lightroom mainly because I intended to upload to Adobe and it had a nice integration to import from Lightroom. I really enjoy Lightroom. It does cost $9.99 a month after a free week trial.
That’s a little context and background, but let me take a step back and share my plan…
My Stock Photography Passive Income Plan
My goal this month is to take 1,000 quality photos. That’s how many I plan to edit and submit for approval to stock websites. Ideally, I get at least half approved and uploaded to be sold.
1,000 is roughly 33 quality photos a day. That’s definitely a lot as a goal but I’m off to a good start. I came back from Mexico with 450 photos. Around 350 of them are quality (IMO).
The bad news is the next 650 are going to be a lot more difficult and take a lot more creativity. It took me a full week to shoot another 100 when I got home, putting me close to halfway to my goal with 10 days to go.
I needed a plan for the next 500 photos so I made one. I came up with a fairly generic shot list. And by shot list, I mean location list:
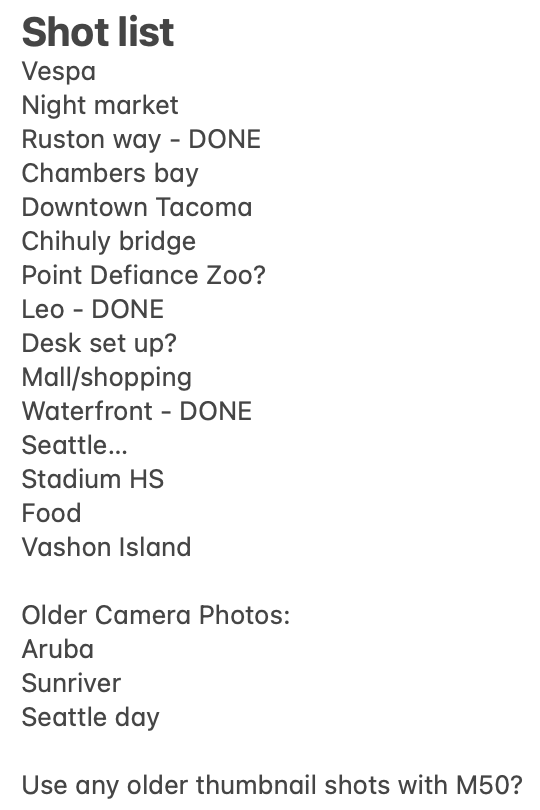
I don’t have anything specific in mind. I just want to go to interesting places in my hometown Tacoma, Washington, and nearby Seattle, and maybe an island trip for a day and see what I find to shoot.
Any Advice?
Let me know if you have any ideas for what else I could shoot or what works well for stock photography if you have experience.
I’ll take any and all advice if you do have experience because I’m learning I have a lot to learn and this definitely isn’t as easy as it seemed from afar.
Speaking of, what have I learned about stock photography for passive income in 30 days?
Seven Lessons Learned
1. There are lots of site options to choose from to upload your photos for sale.
There are micro and macro stock sites. Macro sites are much tougher to get selected into. Some examples are Offset and Getty Images.
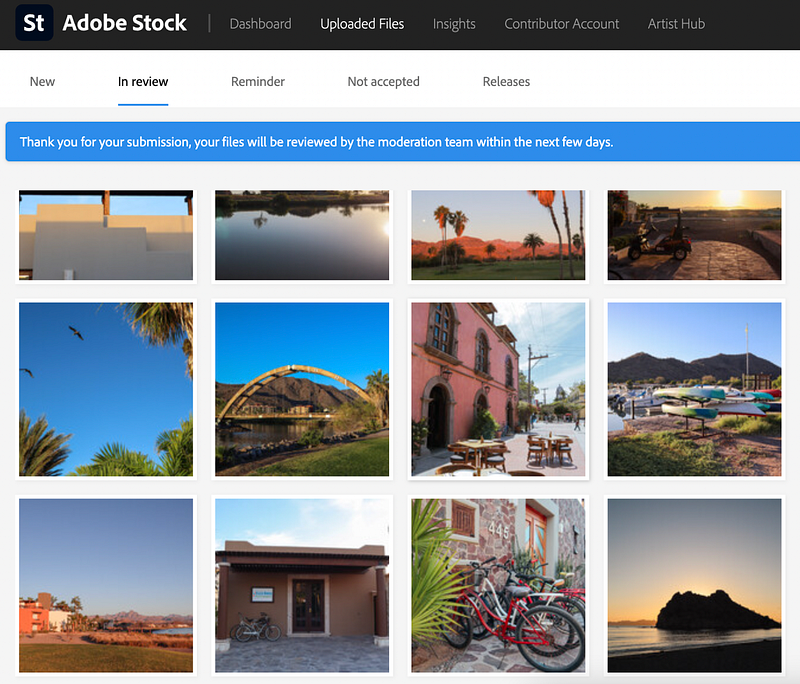
I decided to upload to micro sites which are easier to get selected into but there’s more competition and the pay is going to be less (unless you take phenomenal photos that break through the noise). I’m uploading to Adobe and Shutterstock.
2. Successful stock photographers say to apply the 80/20 rule to your stock income.
Specifically, that means 80% of your revenue actually comes from stock videos, not photos.
Plus, 20% of your videos make up 80% of your photo and video revenue.
Since I use my camera to shoot my YouTube videos, I thought I could use my camera to shoot quality videos. I took 3 dozen or so videos in Mexico and upon further review… they don’t look so hot.
I’d be very surprised if these get accepted but it’s worth a shot!
3. Lighting is critical.
The sun can be your best friend (natural light) or enemy (shadows or oversaturation).
Unfortunately, we’re having our wetting, coldest April in history in the Seattle area so that doesn’t bode well for getting outside and getting great shots. But people need gloomy shots too, right?!
4. Color editing is hard.
I went down the filter preset rabbit hole in Lightroom and again experienced a lot of analysis paralysis and overthinking, slowing me down.
A part of me wonders if I should upload without editing so users can manipulate the raw photo how they want. Needless to say, I haven’t figured out how to approach editing just yet.
5. Speaking of hard, the upload process is extremely tedious.
Once you take a good photo, edit it, and upload it, you still have a lot of work to do.
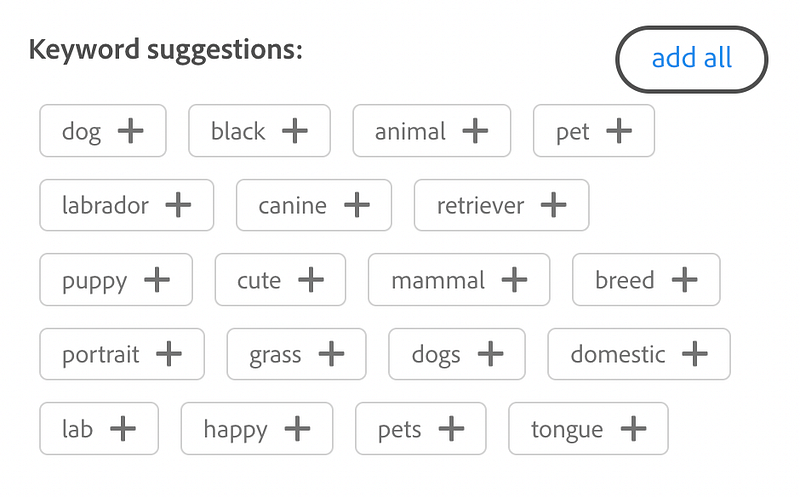
You need to categorize each photo. You need to name each photo. Most importantly, you need to tag each photo with up to 50 tags. Tags are critical so don’t skip this step but it is very time-consuming.
Luckily Adobe has an AI tool that adds around 30 tags for you — though they can be a little hit or miss. You can also select multiple images and add tags at once. Definitely lean on any and all shortcuts.
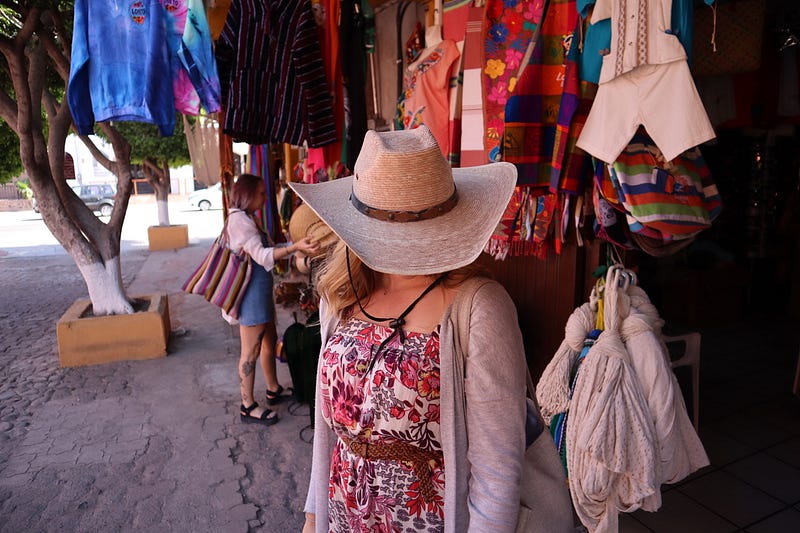
6. Release forms are a big deal.
If you have any recognizable people or landmarks in your photo, you must have a release form and you must upload that with your image. Otherwise, you’ll see a red notice because the sites definitely require it.
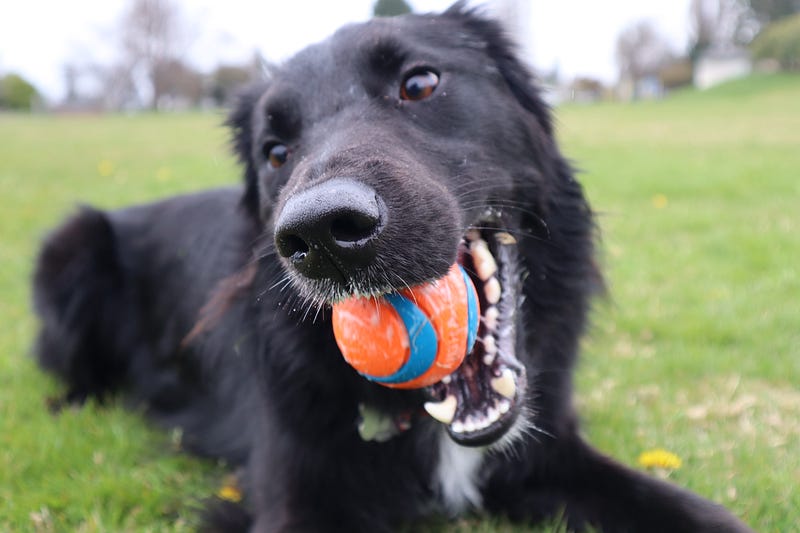
I don’t want to deal with that so nature and inanimate objects it is. And maybe animals. This is my dog. I hope he goes viral.
7. Most of all, this project has taught me to be intentional with my photos.
I didn’t want to spend days upon days editing so when I took a photo, I only took one.
I’ve carried this over into taking photos on my phone day to day. I used to take a dozen so I could find the perfect one later but then I’d never go back and find the perfect one.
Let me know if you can relate to that!
Final Thoughts
That’s the plan, a quick update about how it’s going, and what I’ve learned so far.
It was a late start for vacation reasons and there’s still a lot I don’t know but I’m excited to see how everything turns out and I’m having a lot of fun.
That’s been a theme so far with all 4 months of passive income challenges:
It’s important you have fun and enjoy what you’re doing if you’re building passive income streams. That’s because building passive income streams is very tough to do and having fun helps you forget how much work you’re putting in.
Read the full project recap here:
Previous Passive Income Projects
If you’d like to watch my full 90-day recap about my first 3 30-day passive income projects in 2023, you can watch it on YouTube here or read about it here.
Let me know if you have any tips or advice for me. I’m definitely all ears and eager to learn to improve this new photography hobby. I’d love to hear a success or even failure story if you have any!
My name is Frankie, an amateur photographer with big passive income dreams.
I’m off to shoot some shots!
For more, watch the video version of this article on YouTube:
Wait a second. You should get my articles in your inbox. Subscribe here.
If you want to start writing on Medium yourself and earn money passively you only need a membership for $5 a month. If you sign up with my link, you support me with a part of your fee without additional costs.
Frankie Calkins (M. Ed) is a Digital Marketing Director by day. On nights and weekends, he’s an author, YouTuber, and course creator. He lives in the Seattle, Washington area. Contact: [email protected]


