
Building Two-Factor Authentication With NestJS and Postgres
To shield your company from cybercrimes

Cybercrime and hostile operations against public and private entities have become more prevalent in recent years. This rise in risk explains why many software companies are adding an extra layer of security to their customers’ accounts.
2FA is an extra layer of security that confirms that the person seeking to get into an online account is who they say they are. A user’s username and password must be entered first. They will then be asked to provide additional details before being granted access. This approach will protect a compromised account from fraudulent activities. Even if a hacker discovers the user’s password, they will not be able to login into the account because they lack the second-factor authentication (2FA) code.
This tutorial will teach you how to implement 2FA authentication in a NestJS application. Grab the code from Github at any time. Let’s get started!
Prerequisites
This tutorial is a hands-on demonstration. To follow along, ensure you have the following installed:
- Nodejs — Nodejs is the runtime environment for our application.
- Postgres database — We’ll save the user’s records in a Postgres database.
- Arctype — We’ll use a Postgres GUI to help with user authentication.
Create a Nest Application
Let’s start by creating a NestJS application for our project. Before we do that, we’ll install the Nest CLI with the command below:
npm i -g @nestjs/cliThen, create a Nest application with the command below.
nest new authenticationCreating a new Nest application.Wait for some time for the installation to complete before proceeding to the next step.
Installing Dependencies
Now, let’s install the dependencies for this project. We’ll start with the dev dependencies using the command below:
npm i -D @types/bcrypt @types/nodemailerThen we’ll add our other dependencies.
npm i bcrypt @nestjs/jwt @nestjs-modules/mailer nodemailer hbs @nestjs/typeorm typeorm pgThis will take a little bit of time to install, so wait for it to finish. When it’s done, it’s time to set up a database for our application.
Setup Postgres Database
At this point, we have installed all the dependencies we need for this project. Now let’s go ahead and set up our Postgres database. We’ll use the TypeORM Postgres Object Relational Mapper to connect our application to the Postgres database. Run the commands below to set up a Postgres database:
sudo su - postgres
psql
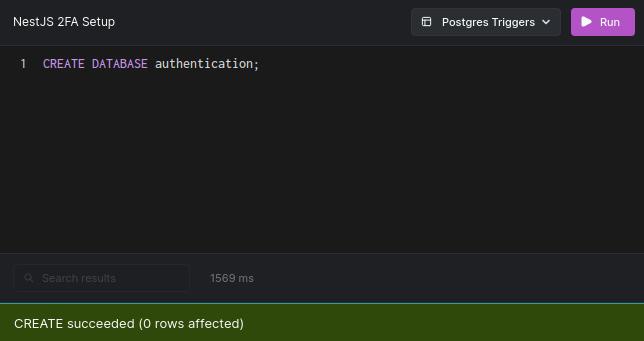
create database authentication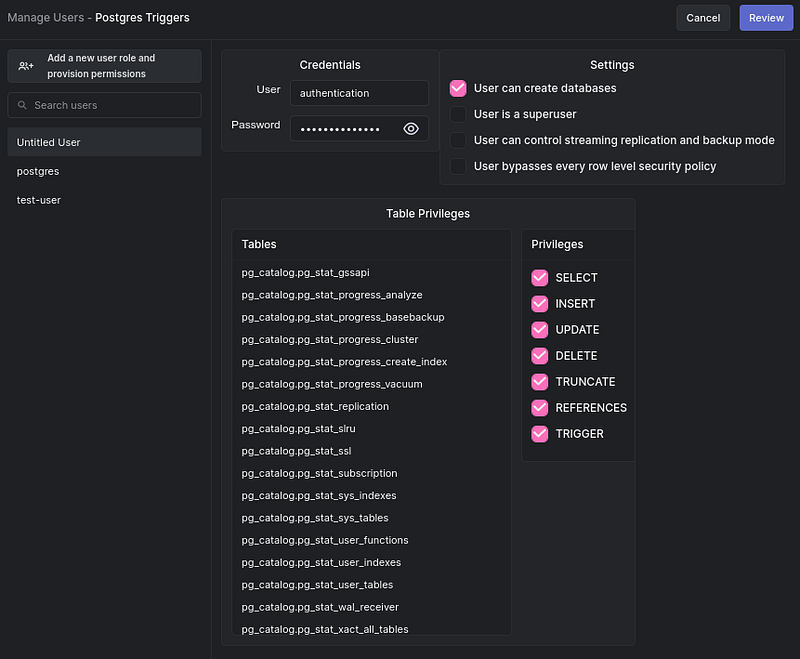
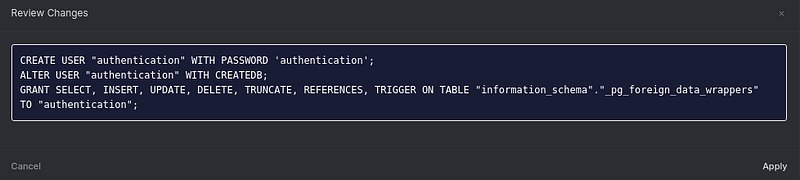
create user authentication with encrypted password authentication
grant all privileges on database authentication to authentication
Next, open the /src/app.module.ts file, import the TypeOrmModule, and connect to the database using the forRoot method with the code snippet below:
In the code snippet above, notice that we passed in the User entity, but have yet to create it. Don’t worry — we’ll create this entity in a subsequent section. Also, notice that we used the forFeature() method to define which repository is registered in the current scope, which lets TypeORM know about the User entity.
Now, let’s create the User entity to define our models in the database.
Create the User Entity
At this point, our application is connected to the Postgres database. Now we’ll create a User entity to represent the user data we’ll store in the database. First, create an app.entity.ts file in the src folder and add the code snippet below:
In the above code snippet, we created an entity by defining a User class. We did this by defining the properties of the User entity using the Column, PrimaryGeneratedColumn, and DateCreatedColumn decorators. The PrimaryGeneratedColumn decorator will generate random ids for the users using the UUID module. We added the unique property to our email Column to ensure no user registered with the same email twice. Lastly, the DateCreatedColumn decorator will add a date by default when a record is created.
Next, open the app.module.ts file and import the User entity. This import resolves the error showing on the app.module.ts file.
import { User } from './app.entity'Our User entity is set. Now, let’s create the controllers to handle the user’s requests.
Create the App Service
At this point, our User entity is set. Now let’s set up our app service by setting our route handler functions. Open the app.service.ts file and the required modules.
import { Injectable, HttpException, HttpStatus } from "@nestjs/common";
import { User } from "./app.entity"
import { InjectRepository } from '@nestjs/typeorm';
import { Repository } from 'typeorm'
import * as bcrypt from 'bcrypt';
import { JwtService } from '@nestjs/jwt';
import { MailerService } from '@nestjs-modules/mailer';
In the above code snippet, we import several vital elements:
- The
@Injectabledecorator, which makes ourappServiceclass available to managed by the Nest IoC container HttpException, which lets us create custom errorsHttpStatus, which sends custom status codes- The
Userentity (described above) - And
InjectRepository, which injects ourUserentity to theappServiceclass.
Also, we import bcrypt, JwtService, and MailerService, which we’ll configure in our app module later in this section.
In addition, we create a global code variable to store the random verification code that will be sent to the users after registration. We generate a random code and assign it to the code variable, and then create the sendConfirmationEmail and sendConfirmedEmail methods to send confirmation and verification emails to registered users.
Next, we create the signup method to handle the user’s registration. We do this with the code snippet below.
Our signup method is an asynchronous function that returns true when an account is created. We generate a salt value using the bcrypt genSalt() method and hash the user's password using the hash method. Then we store the hashed version of the user's password and create a new object using the userRepository insert method. Next, we call the signin method, which is an asynchronous function that returns the JWT token or an HTTP exception via the code snippet below:
Our signin method uses the user’s email address to check if their record exists in our database. If the user is found, we use the bcrypt compare method to check if the user's password matches the hashed password stored in the database. Then generate and send a JWT token to the user. If no record matches the query, we’ll return a corresponding error message.
Next, we’ll create a verify method, which is an asynchronous function that returns true or an error when a user is verified.
In our verify method, we query the database for a user with the code in the request body. If no user matches the search, we return an HTTP exception. Otherwise, we update the user’s isVerified property to true and reset the authConfirmToken to undefined to make it empty.
Let’s open the app.module.ts file and configure the JwtService and MailerService. First, import the JwtModule, MailerModule, ConfigModule, and HandlebarsAdapter, which we’ll use to configure our email templates. The ConfigModule will enable us to load our environment variables like the JWT secret that will be created later in this section.
import { ConfigModule} from '@nestjs/config';
import { JwtModule } from '@nestjs/jwt';
import { MailerModule } from '@nestjs-modules/mailer';
import { join } from 'path';
import { HandlebarsAdapter } from '@nestjs-modules/mailer/dist/adapters/handlebars.adapter';
…
Create a .env file in the project root directory to store your JWT secret. You can generate one using the built-in crypto module.
require('crypto').randomBytes(64).toString('hex')And store the generated secret in the .env file you created.
JWT_SECRET = [your secret goes here]Setup the Mailer Module
Now append the code snippets below in the app module imports array to load the environment variables. We’ll also configure the JwtModule, MailerModule, and HandlebarsAdapter.
Create the App Controllers
At this point, our app service is set. Now let’s set up our app controllers to handle incoming requests. Open the app.controller.ts file and import the required modules.
import { Controller, Get, Post, Render, Res, Body, HttpStatus, Req, Param } from '@nestjs/common';
import { AppService } from './app.service';
import { User } from './app.entity';
import { JwtService } from '@nestjs/jwt
Then we’ll use the @Controller method to define our app controllers. First, we’ll create an AppController class with a constructor method. We create two private parameters for our appService class and the JwtService.
Then we create our Root and VerifyEmail routes, which will listen to a Get request using the @Get decorator, and render the index and the verify templates, which will be set up later in this section using the @Render decorator.
@Get()
 @Render('index')
 root() { }

 @Get('/verify')
 @Render('verify')
 VerifyEmail() { }
Next, we create the Signup route which will listen to Post requests coming to /signup endpoint. The Signup controller gets the input from the user’s form and matches it with the user entity we created. Then it awaits the result of the appService signup method, which takes the user object as a parameter.
@Post('/signup')
 async Signup(@Body() user: User) {
   return  await this.appService.signup(user);
 }
Next, we create the Signin route which will listen to Post requests coming to /signin endpoint . The Signin controller gets the input from the user’s form and matches it with the user entity we created. Then await the result of the appService signin method, which also takes the user object form object as a parameter.
@Post('/signin')
 async Signup(@Body() user: User) {
  return await this.appService.signin(user);
 }
…
Then we create a Verify route and await the result from the appService verifyAccount method, which takes the user confirmation code as a parameter.
@Post('/verify')
 async Verify(@Body() body) {
   return await this.appService.verifyAccount(body.code)
 }
…
Lastly, open the main.ts file, delete the boilerplate code, and add the following code snippets below to set up our template engine and static files director to enable server-side rendering in our application.
Create the Email Templates
With our view engine and static files configured, let’s go create our templates. First, create a views folder in the project root directory, and in the views folder create an email-templates folder. Create an index.hbs and a verify.hbs files in the views folder. Then create a confirm.hbs and confirmed.hbs files in the email-templates folder. Open the view/index.hbs file and add the code snippet below:
Open the verify.hbs file and add the code snippet below:
Add the code snippet code below to the email-templates/confirm.hbs file:
<p>Hey {{ fullname }},</p>
<p>Verify your email with code below</p>
<p>Your verification code is: {{code}}</p>

<p>If you did not request this email you can safely ignore it.</p>
And the code snippet below to the email-templates/confirmed.hbs file.
<p>Hey {{ fullname }},</p>
<p>Your account for {{email}} has been confirmed!</p>

<p>If you did not request this email you can safely ignore it.</p>
Next, create a public folder in the project root directory for our static files, then create a js folder inside it. Inside that, create an index.js file with code snippet below:
The above code snippets make a post request to our /signup and /verify endpoint to register and to confirm a user’s email.
Lastly, get the other static files from the Github repository for this project, and add them also to the public folder.
Enable Google LSAA
With our email templates setup, we should be able to send emails to our users. We’re going to be using Gmail to send the emails in this tutorial. So, we need to configure our Gmail account to allow email from Less secure app access. Follow the steps below to enable LSAA on your Gmail account.
- Open Chrome. Click on the profile icon on the top right-hand side of your browser.
- Click on Manage your Google Account.
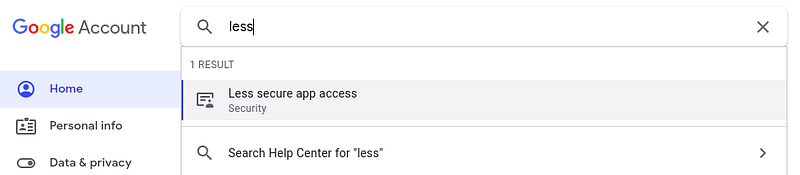
- Type less on the search box, and click on less secure app access.
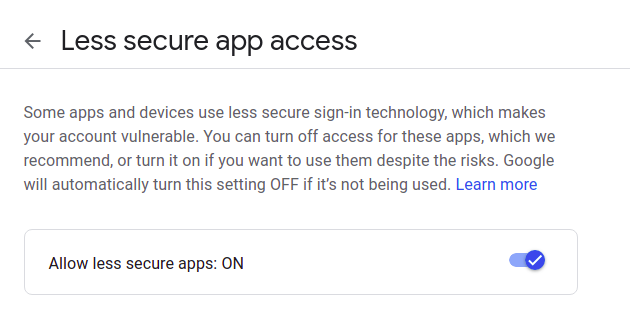
- Toggle the Allow less secure apps: ON input box to enable it.
Now, let’s run the application and get it tested.
Test the Application
At this point, our application is ready. Let’s test it out. In your terminal, change the directory so that you’re in the authentication folder and run the server with the command below.
#Change directory
cd authentication

#Start the server
npm run start:dev
Then go to http://localhost:3001/ to view the index page. You should see the result shown below:
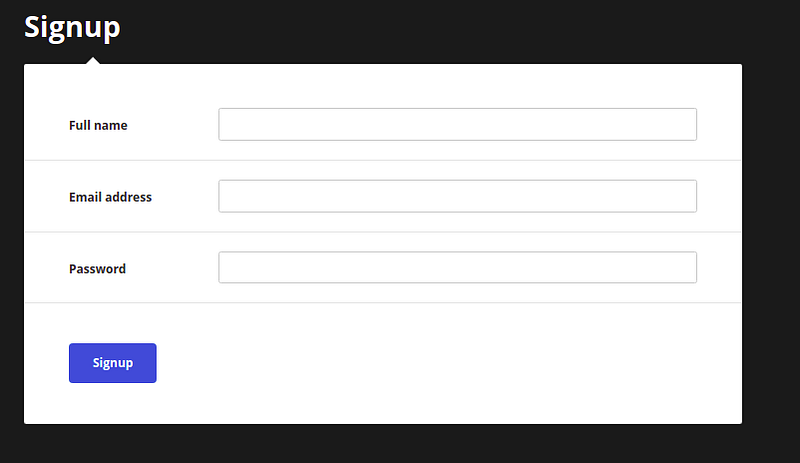
Fill in the fields and sign up. You’ll be asked to verify your account. Check your email for the confirmation code. Verify the code on the verify page.
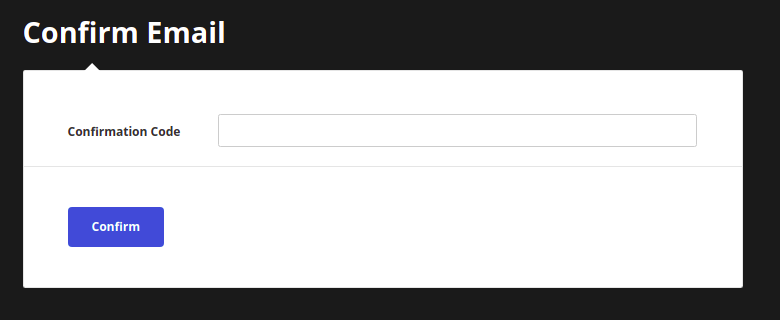
Success! We have a working 2FA application, as desired.
Got stuck? Have any issues? The code for this tutorial is fully available on Github if needed.
Conclusion
By building a demo project, we’ve learned how to implement 2FA authentication in a NestJS application. We started with the introduction of 2FA authentication concepts and learned how to create a NestJS application that puts them into practice.
Now that you’ve gotten the knowledge you seek, how would you increase the security of your next NestJS project? Perhaps, you can learn more about Nest from the official website and take things even further.


