
Building Next.js Typescript Apps with Supabase Authentication: A Step-by-Step Guide
Introduction
As a technology enthusiast, I’m always on the lookout for the latest and greatest tools and technologies to incorporate into my development arsenal. Recently, I stumbled upon Supabase and decided to give it a try with my Next.js app. One of the features that caught my attention was its out-of-the-box authentication capabilities, which is comparable to Firebase. However, what sets Supabase apart for me is its seamless and intuitive user experience.
If you’re interested in exploring Supabase for your own projects, you’re in luck! In this tutorial, I’ll walk you through the steps I took to integrate Supabase authentication into my Next.js application. By the end of this guide, you’ll have a solid understanding of how to incorporate this powerful tool into your own development workflow. Let’s get started!
Step 1: Setup Next.js Typescript application
npx create-next-app@latestStep 2: Create a project
Supabase has excellent documentation for a starter. Follow through this: https://supabase.com/docs/guides/getting-started/tutorials/with-nextjs#create-a-project
Step 3: Set Supabase credentials in .env
Your .env file should look like this:
NEXT_PUBLIC_SUPABASE_URL=YOUR_SUPABASE_URL
NEXT_PUBLIC_SUPABASE_ANON_KEY=YOUR_SUPABASE_ANON_KEY
Step 4: Install Supabase packages
Install the following @supabase packages in your package.json. You can go through each package and what it does. At a high level, these packages have pre-built UI components and utility functions you can utilize to build authentication pages faster.
"@supabase/auth-helpers-nextjs": "^0.6.1",
"@supabase/auth-helpers-react": "^0.3.1",
"@supabase/auth-ui-react": "^0.3.5",
"@supabase/auth-ui-shared": "^0.1.3",
"@supabase/supabase-js": "^2.21.0",
Step 5: Define the session context provider from Supabase library
import { Session, createBrowserSupabaseClient } from '@supabase/auth-helpers-nextjs'
import { SessionContextProvider } from '@supabase/auth-helpers-react'

// ...
function App({ Component, pageProps }: AppProps<{
  initialSession: Session
}>) {
  const queryClient = new QueryClient();
  // Create a new supabase browser client on every first render.
  const [supabaseClient] = useState(() => createBrowserSupabaseClient<Database>())
  return (
    <SessionContextProvider
      supabaseClient={supabaseClient}
      initialSession={pageProps.initialSession}
    >
      <div className={inter.className}>
        <Toaster />
        <QueryClientProvider client={queryClient}>
          <Component {...pageProps} />
        </QueryClientProvider>
      </div>
    </SessionContextProvider>
  )
}

// ...
Create SessionContextProvider wrapper for client-side authentication. I’d prefer handling authentication in the middleware and defining the paths of the application that require authentication. It’s the much cleaner solution that middleware handles auth logic before it returns the HTML from the response. For the login page, you’d still need client-side authentication logic to use Supabase’s pre-built auth UI.
Check out the link below for the Next.js middleware example:
https://supabase.com/docs/guides/auth/auth-helpers/nextjs#auth-with-nextjs-middleware
Step 6: Create a Login page
const LoginPage: NextPage = () => {
const { isLoading, session, error } = useSessionContext();
const supabase = useSupabaseClient<Database>()
useEffect(() => {
if (!isLoading && session) {
Router.push('home')
}
}, [isLoading, session])
return (
<>
<Head>
<title>Sidekiq AI</title>
<meta name="description" content="Your AI Sidekiq companion." />
<meta
name="viewport"
content="height=device-height ,width=device-width, initial-scale=1, user-scalable=no"
/>
<link rel="icon" href="/favicon.ico" />
</Head>
<main
className={`flex min-h-screen items-center justify-center p-10 lg:p-24`}
>
<div className="container flex justify-center" style={{ padding: '50px 0 100px 0' }}>
<div className='w-full lg:w-1/2' aria-disabled={isLoading}>
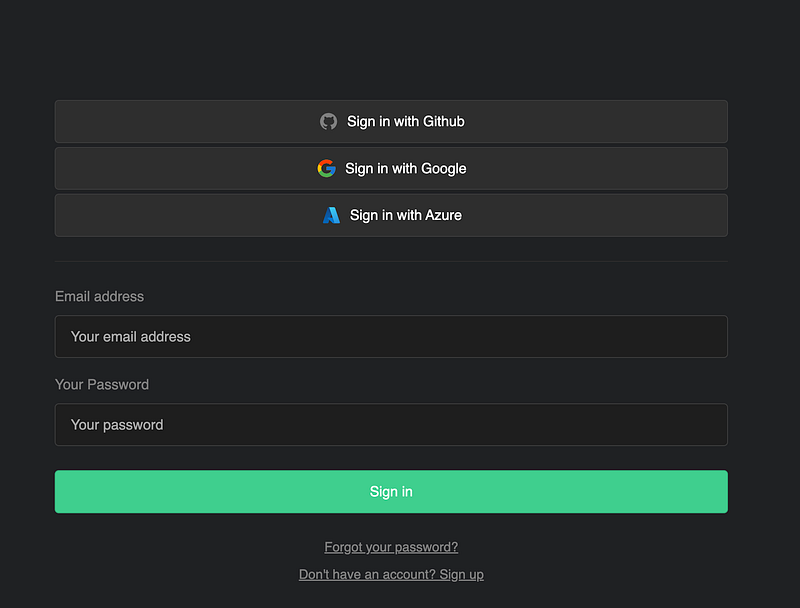
<Auth supabaseClient={supabase} appearance={{ theme: ThemeSupa }} theme="dark"/>
</div>
</div>
</main>
</>
)
}In this code, I’ve defined useEffect to route the user to a different page when the page is loaded. The best approach would be to use Middleware to automatically route users to /homebefore the page is loaded.
Read more about the Next.js middleware here.
Middleware allows you to run code before a request is completed. Then, based on the incoming request, you can modify the response by rewriting, redirecting, modifying the request or response headers, or responding directly.
Happy coding,
Stephen S. Lee


