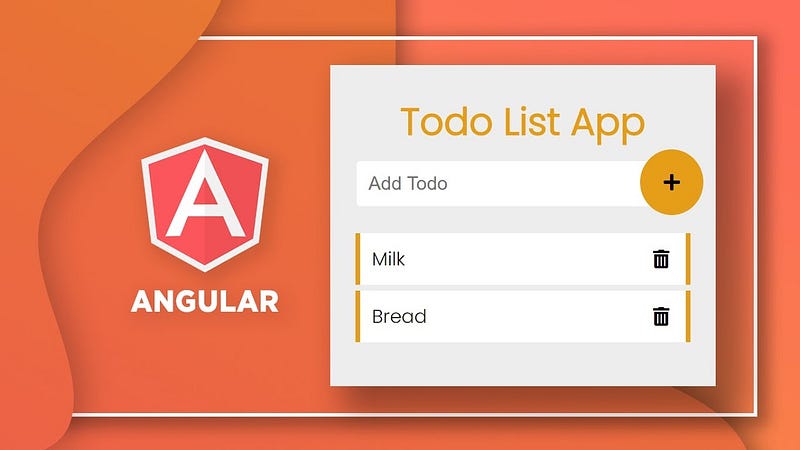
Building a To-Do List App with Angular: A Comprehensive Guide
Task Management Made Easy: Crafting a To-Do List App Using Angular

Introduction
In the fast-paced world we live in, staying organized is crucial. A to-do list app can be a lifesaver, helping us manage tasks efficiently. In this article, we’ll dive into the process of building a To-Do List App using Angular, a popular front-end framework. Follow along for a step-by-step guide, complete with code examples.
Getting Started with Angular
What is Angular?
Angular is a powerful JavaScript framework maintained by Google for building dynamic web applications. It uses TypeScript, a superset of JavaScript, to enhance the development experience with features like static typing.
Setting Up Your Angular Environment
Before we start coding, ensure you have Node.js and npm installed on your machine. Use the following commands to install Angular CLI globally:
npm install -g @angular/cli
Now, create a new Angular project:
ng new todo-list-app
cd todo-list-app
Creating the To-Do List App Components
Component Structure
Angular applications are built using components. Let’s create the necessary components for our To-Do List App:
- AppComponent: The main component that holds the overall structure.
- TaskListComponent: Displays the list of tasks.
- TaskItemComponent: Represents an individual task.
- AddTaskComponent: Allows users to add new tasks.
Building the Components
app.component.html
<!-- app.component.html -->
<div>
  <h1>Your To-Do List</h1>
  <app-task-list></app-task-list>
  <app-add-task></app-add-task>
</div>
task-list.component.html
<!-- task-list.component.html -->
<ul>
  <li *ngFor="let task of tasks">
    <app-task-item [task]="task"></app-task-item>
  </li>
</ul>
add-task.component.html
<!-- add-task.component.html -->
<input [(ngModel)]="newTask" placeholder="Enter a new task" />
<button (click)="addTask()">Add Task</button>
Implementing Functionality
Now, let’s add functionality to our components.
task-list.component.ts
// task-list.component.ts
import { Component } from '@angular/core';

@Component({
  selector: 'app-task-list',
  templateUrl: './task-list.component.html',
})
export class TaskListComponent {
  tasks: string[] = ['Task 1', 'Task 2', 'Task 3'];
}
add-task.component.ts
// add-task.component.ts
import { Component } from '@angular/core';

@Component({
  selector: 'app-add-task',
  templateUrl: './add-task.component.html',
})
export class AddTaskComponent {
  newTask = '';
  addTask() {
    if (this.newTask.trim() !== '') {
      this.tasks.push(this.newTask);
      this.newTask = '';
    }
  }
}
Styling Your App
Enhance the visual appeal of your app by adding some simple styles. Create a file styles.css in the src folder and include your styling:
/* styles.css */
body {
  font-family: 'Arial', sans-serif;
  background-color: #f4f4f4;
  margin: 0;
  padding: 0;
}

div {
  max-width: 600px;
  margin: 50px auto;
  background-color: #fff;
  padding: 20px;
  border-radius: 8px;
  box-shadow: 0 4px 8px rgba(0, 0, 0, 0.1);
}

h1 {
  color: #333;
}
Include the stylesheet in your angular.json file:
"styles": [
  "src/styles.css"
],
FAQ Section
Q: How can I enhance the functionality of my To-Do List App?
A: Consider adding features like task completion tracking, due dates, and task prioritization. You can also explore integrating backend services for data persistence.
Q: Can I deploy my Angular To-Do List App?
A: Absolutely! You can deploy your app to platforms like GitHub Pages, Netlify, or Firebase Hosting. Angular CLI provides easy commands for deployment.
Calculations
Building a To-Do List App with Angular not only helps you stay organized but also provides a hands-on learning experience with this powerful framework. By following this guide, you’ve created a foundation that can be expanded with additional features and improvements.
In conclusion, Angular empowers developers to create robust and scalable web applications. Keep exploring its features and capabilities to unlock the full potential of your projects. Happy coding!


