

How to build your cybersecurity testing environment 🚀
Building a cybersecurity lab: A simple guide on using security operating systems to build a home lab
Often when we discuss pathways into cybersecurity, we emphasize how practice makes perfect, in fact, it’s often mentioned that it’s good to have a home setup. However, for those not in tech looking to understand what a home setup actually looks like this post is intended to be a walkthrough of setting up a virtualized environment with explanations as well to aid those starting out their journey into cybersecurity.
A very popular route into cybersecurity is penetration testing, so popular in fact, it’s often the first career that comes to mind when people hear about “hacking.” If you are interested in learning some of the tools pen testers are using this guide will help you set up a testing environment for you to learn how to use Parrot OS or Kali. We have seen a change in culture lately, more people are looking towards platforms like the Hack The Box and TryHackMe as gateways into pen testing, but having a home environment that you’re in control of also gives you so much more.
Things you’ll need:
- A laptop/PC — For this, I am using a Macbook with 16gb RAM (I highly recommend using a laptop with 8gb and above as the minimum.)
- Optional — A Raspberry Pi running Raspbian.
- Oracle Virtualbox or VMWare Fusion.
Why did I specify the RAM when listing my laptop requirements?
Virtualized Machines (VMs) are described by Microsoft as:
A virtual machine is a computer file, typically called an image, that behaves like an actual computer. In other words, a computer is created within a computer.
For the VM to run, it will need resources (storage, RAM & processing power) and this must come from somewhere right? If you have a 4GB laptop, and you run 3 VMs with 1GB, that means your laptop is now left with 1GB of RAM to actually use for itself and yeah, things won’t work out well.
One key piece of advice for those starting out, read the settings once, and then twice and a 3rd time for good measure and understand how powerful or under-resourced the machine you’re building is. The knowledge used here is often the underlying knowledge people have when they move onto cloud deployments using GCP, AWS or Azure as using tools like Virtual Box & VMWare introduces you to setting up virtual networks and making sure your VMs can actually communicate. If you are interested in malware and building sandbox environments this is a good place to start by building your own environment.
Which operating system will we be installing? 💻
For this guide, we will be installing Parrot Sec but the instructions will apply if you choose to use Kali as well.

Parrot OS is a GNU/Linux distribution based on Debian with a focus on security, privacy, and development. If this is your first time using Linux or aren’t comfortable with Linux, it will give you the best user experience as the out the box install we will be using is similar to a few operating systems you may have come across.
To download Parrot OS you will need to download and install Oracle Virtual Box or VMWare. Once installed, you will need to download the ISO image from the respective website of the operating system you wish to use.
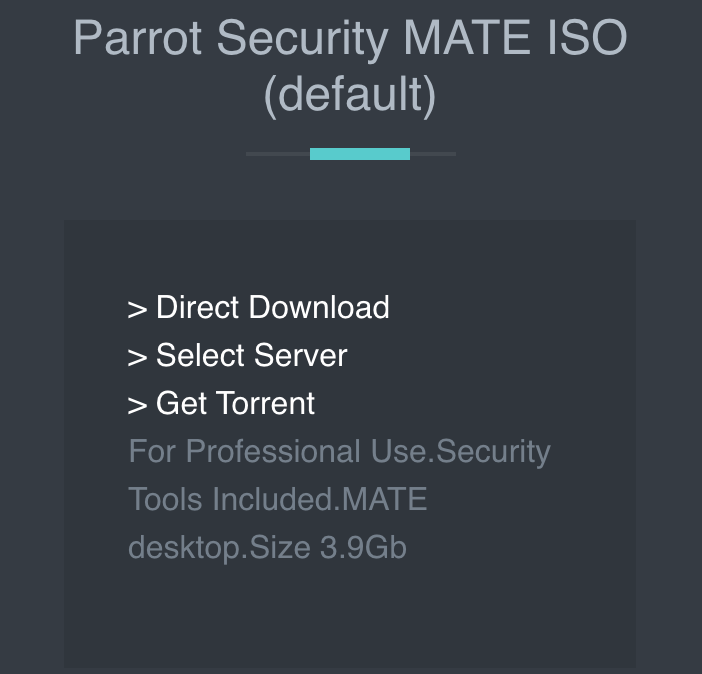
For this tutorial, we will be downloading Parrot Security MATE ISO as it includes the tools we need.
Remember back in the day we would input a CD to install a new operating system? Well, this is what an ISO is. On VMWare, you can just drag the ISO file and it will detect the operating system and build the system.
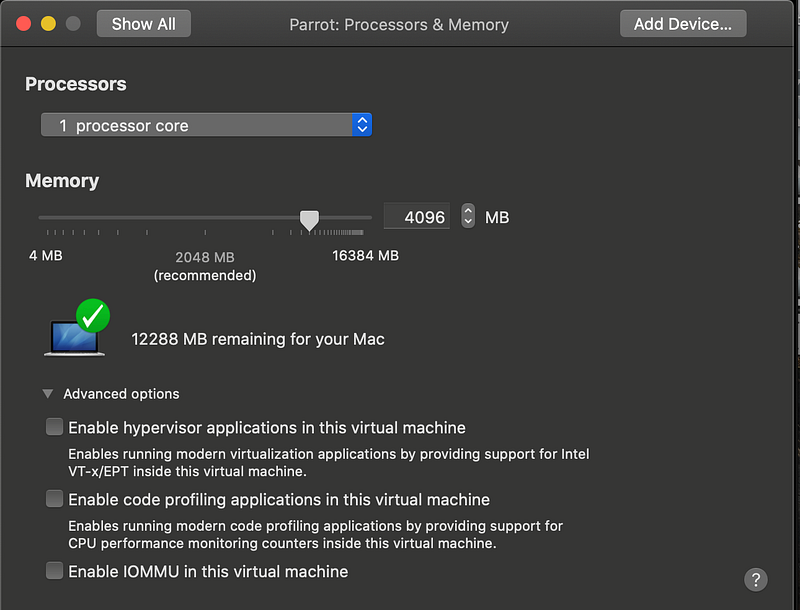
As we can see from the screenshot, I have given the VM access to 1 core and 4GB of RAM leaving 12GB available for my machine to use. Before I had adjusted the memory, it had given the virtual machine 2GB memory and access to 2 cores. This would’ve made the VM unstable as it would’ve impacted performance on the host machine. As I plan on running 2 virtual machines, 1 for active use and 1 to perform tests on I need to be conservative with memory resources.
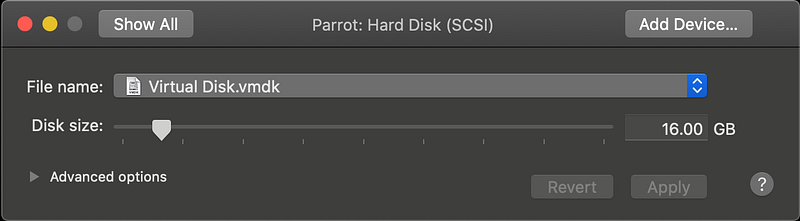
As we can see for storage I have given the VM 16GB, this means that the machine will now take a chunk out of my own laptop storage, so if you have a laptop that’s full, you may struggle running VMs. To be fair, I could give it 6GB but I am not looking to run into storage issues as it can sometimes be a hassle to resize and allocate storage again.
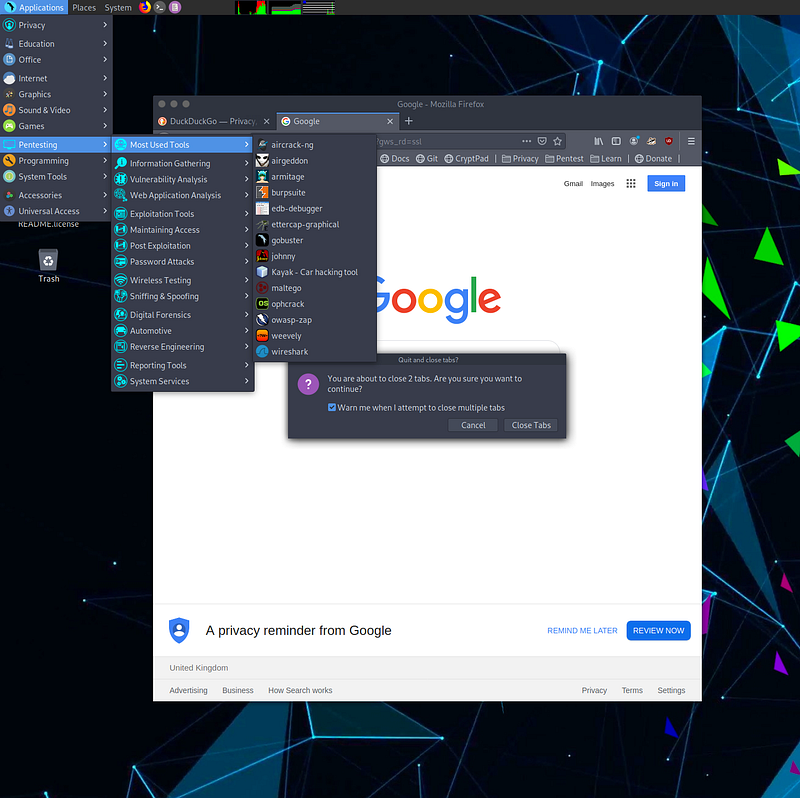
Once you log in, you can view the pentest menu as the screenshot above shows. The reason I chose Parrot OS over Kali for this tutorial is that it perfectly puts some of the industry-standard tools in nice classifications. So if you start doing tutorials on breaking into databases, you can see what arsenal you have at your disposal. With these tools, you can’t just read a manual and be an expert, you need to keep using them and learning from each mistake. I recommend always checking the documentation and then finding guides on Youtube.
Okay, it’s installed, now what? 👩🏾💻👨🏽💻
As this is a home deployment, it’s good to have it installed on your network with devices that you know are on your network. As if you live in the UK, the Computer Misuse Act 1990 is real and you can get prosecuted for cyber activities, it’s worth building another virtual machine with a standard OS, Windows or another Linux flavour. As I already had a Raspberry Pi set up, I will be using that.
Alternative operating systems you can deploy to test as VMs:
Let’s see what we have on the network!
Nmap, short for Network Mapper, is a free, open-source tool for vulnerability scanning and network discovery. Network administrators use Nmap to identify what devices are running on their systems, discovering hosts that are available and the services they offer, finding open ports and detecting security risks.
How do I scan my whole network? 🗺
We can open up a terminal session on our Parrot OS VM and run the following command. It will scan across all IP ranges on the following subnet and tell us which hosts are responding and alive.
If you are not comfortable with Nmap I recommend using this cheat sheet or utilizing the documentation.
nmap -sP 192.168.0.101/24Output:
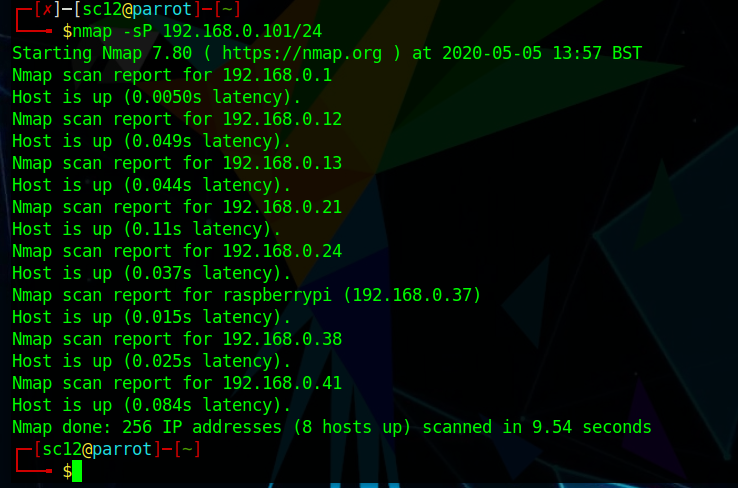
The following results show that currently on my network, there is 6 devices connected and the network addresses. It has also identified a raspberry pi with the host address 192.168.0.37.
The rest of the other devices are most likely my phone and other devices currently connected to the router. I can now run further probes to find out what these devices are.
We will use this address to now do a full scan:
As this is my environment, the scan below is actually very loud (in terms of it can be easily detected)! And would easily be detected by good sys admins with even the lightest monitoring in place. So I wouldn’t use this unless for testing purposes to see a full result.
nmap -sT -p- -A -sC -vv -n -Pn 192.168.0.XXOutput:
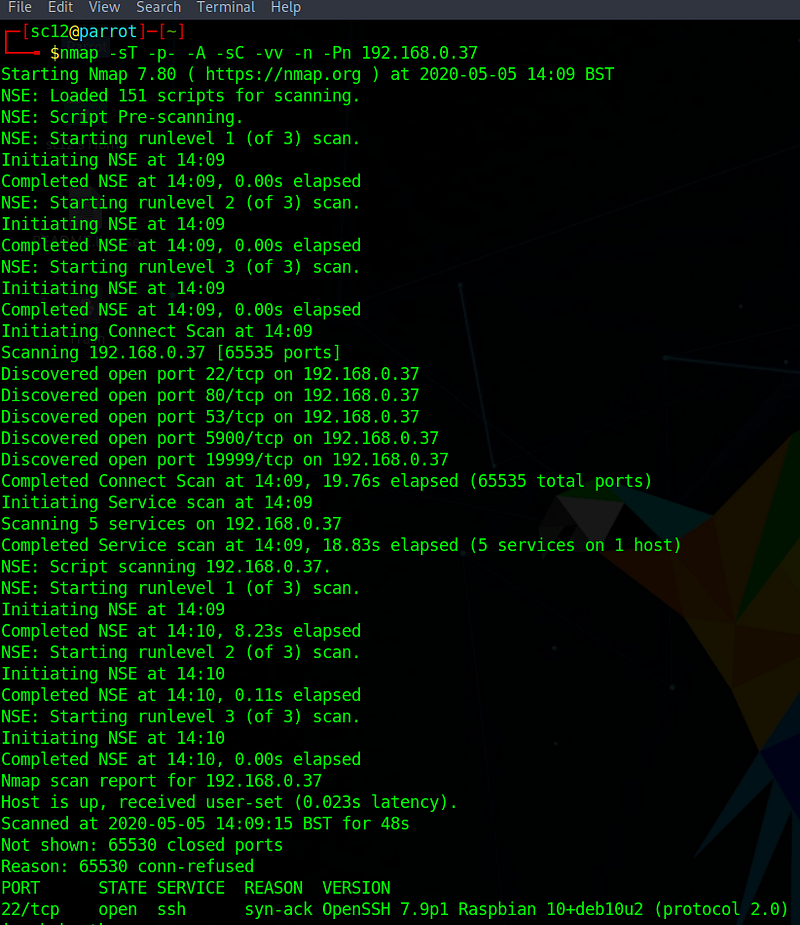
This is not the complete output but from the initial scan, we can see that it first started out by seeing what’s open on this host by probing all the ports.
We can see that common ports like 22 (ssh), 80 (HTTP) are open. As an attacker using Parrot I will now be looking for brute force tools and also tools to do with finding out about HTTP to see if I can find a way in.
I am also seeing unusual port numbers, 19999 which means I will need to do more work to find out what’s running here.
But the good thing about the comprehensive scan is it does most of the work for me. So that rogue port running a service on 19999?
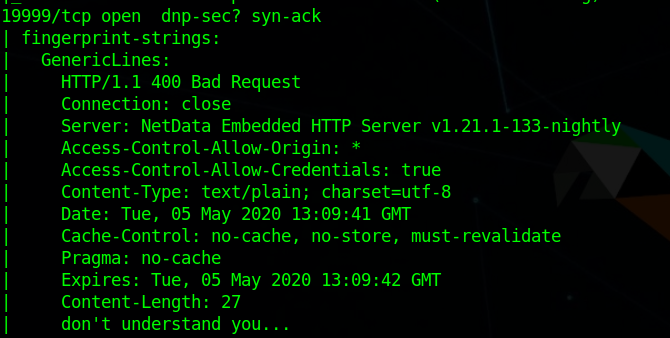
So as we can see, it’s actually returned a 400 code letting me know what kind of web service is running. This is called an information leak, as now I’m aware that something is definitely running that allows credentials and it’s called NetData Embedded HTTP Server. As it’s also done me a favour and told me it’s running v1.21 I can now focus on finding what vulnerabilities this software version has and how I can exploit them. This is one of the benefits of having some of these tools deployed in your own environment.
From this information now, I can choose what kind of path I want to go down. Perhaps a brute force SSH attack to try force my way in? Or I could just try every automated attack I have to see what hits and what sticks and lets me in. Sometimes this can be as simple as performing DDOS attacks on the Raspberry Pi to knock it off the network but when we now consider in real life how easy it is for attackers to scan and map a network and then launch attacks, that maybe we don’t have to connect to every free wifi we see in airports and hotel lobbies.
The important thing to realise about tools like Kali and Parrot OS is that literally anyone can download these and start using them. From running a Nmap scan, I found out there was a machine on my network, I found out which services were running and then I now have an arsenal of tools available to run exploits. As a cybersecurity professional, we often need to know how attacks happen and work, for us to be able to defend against them. Having an environment such as this is a great way to learn how to protect against these threats. Your career might not head towards penetration testing, but being comfortable with deploying VMs and also knowing how to use the basic tools will help boost your knowledge. Whether you work in cyber policy or log analysis & audit, it’s good to know what the attackers know.
And to help you with your journey here is the last tutorial focused on hacking into a raspberry pi with Parrot OS by YouTuber Novaspirit Tech.
And last but not least, during this crisis, I recommend keeping up to date with cyber issues with one of my favourite podcasts currently The CyberWire!


