
Build an SPL Token Creation Site with Webflow (1) — Preparation and Design
If you are not a medium member yet and want full access to my stories, please use this link to subsribe for Medium membership. Your membership fee directly supports me and enourage me to write more quality materials in the future. Cheers!

Hi there! Welcome to my new series about how to build an SPL creation site with webflow.
In case you do not know what SPL token is, it is a type of token in Solana blockchain (just like ERC20 token in Ethereum). If you want to know more about how SPL Token works in Solana, you can take a look of my previous passage:
A Deep Dive into Solana Account Model (2) — SPL Token
A Deep Dive into Solana Account Model (3) — Associated Token Account
Description of the Project
In this project, what we would do is to create a website which allows user to create and mint their own SPL token using a web UI.
We will use webflow to design our frontend and use Javascript to handle the logic.
To handle Solana connection and SPL Token opeartion, we will use two JS Node modules:
Both would be served to our website using CDN.
Prior Knowledge Needed
This project assumes you already know:
- How to use browserify to bundle Node module for frontend to use;
- How to serve CDN from your own github page to frontend;
- Some basic concept of Solana Web 3 JS module;
- Basic knowledge of webflow.
Node JS Package
First, we need to download the required Node pacakge and use browserify to bundle it so we can use it in frontend:
npm install --save @solana/web3.js
npm install --save @solana/spl-token
browserify -r @solana/web3.js -s solanaWeb3 -o solanaWeb3.browser.js
browserify -r @solana/spl-token -s splToken -o splToken.browser.js
Now, we would need to put it in a github page and serve it as CDN to your frontend application. You may refer to my previous passage on how to do it:
One thing different from my previous example is I use -s command in browserify in this example. In case you are not familiar, browserify -s allows us to directly call the package by the name after -s command without import such package to frontend code. In the other word, in your JS code in this example, you can simply use solanaWeb3 instead of including const solanaWeb3 = requires("solanaWeb/web3.js") in your code.
Design of the Web Page
In this project, we would build two pages in our website:
- Home: This allows user to enter the details of the SPL token they want to create;
- Confirm: A page that captures user's input for user's confirmation.
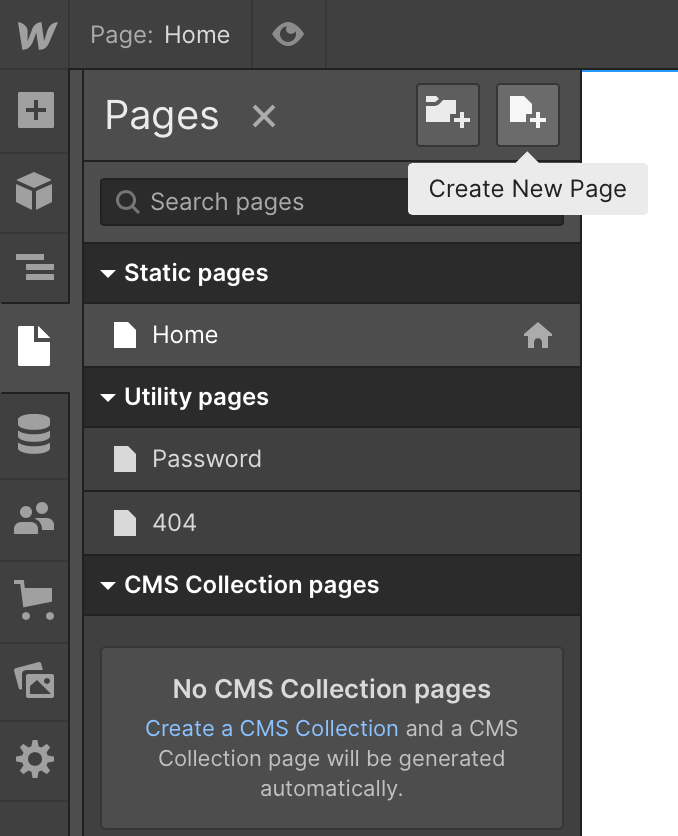
To create page in webflow, you can scroll down the dropdown list on the left, click on page icon and click on create new page:
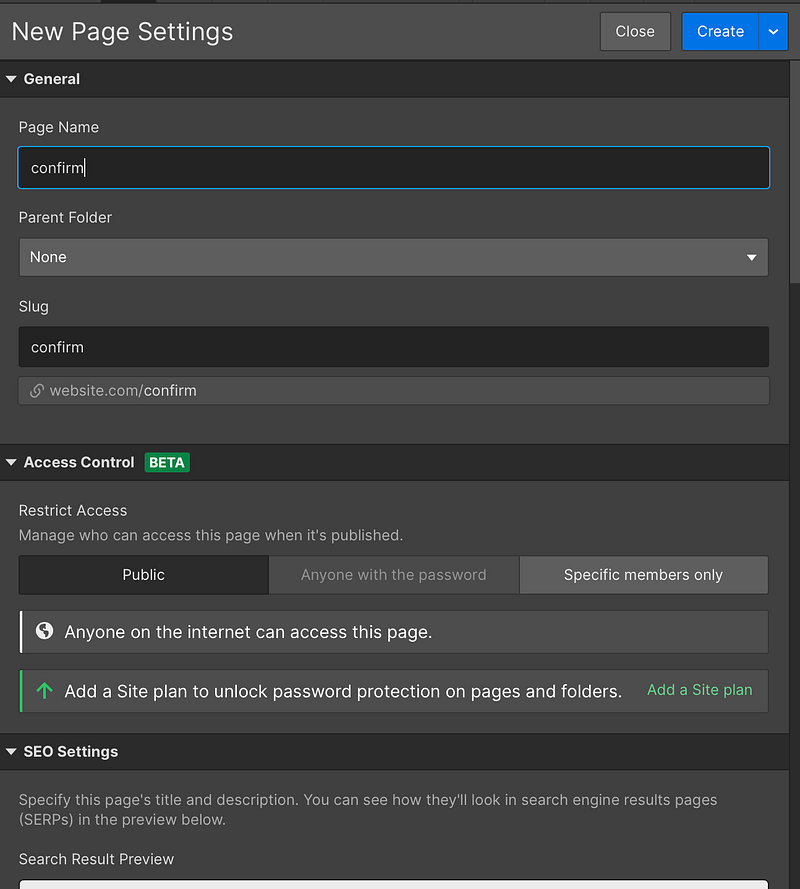
Then, you can name your page as confirm like below then press create:
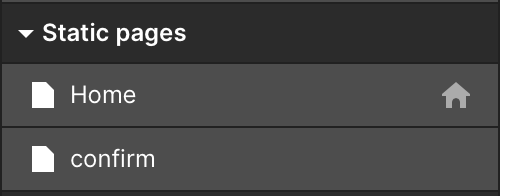
Now you would find that you have two pages in your webflow:
Frontend Design of Home
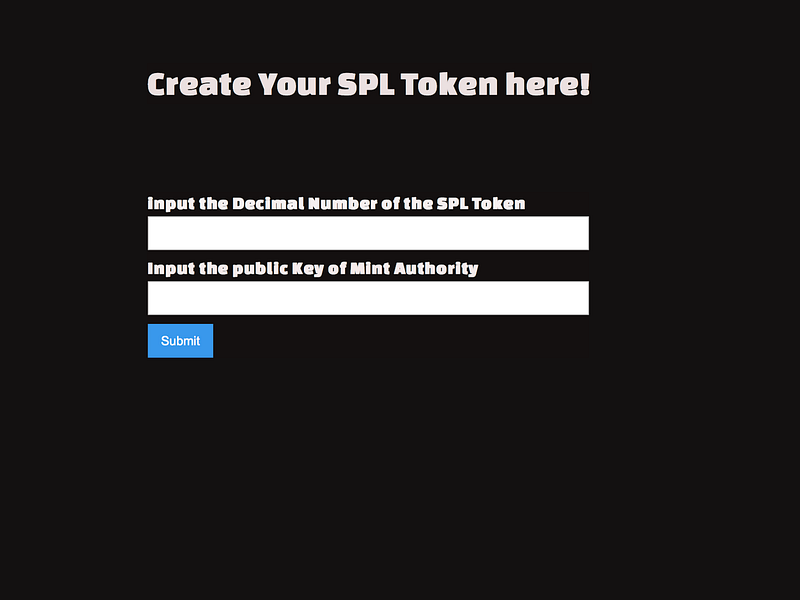
In frontend, we want a form that can pass some simple information of the SPL Token user want to create. In our first version, we only need number of decimal and public key of Mint Authority. We would add on some more in latter version.
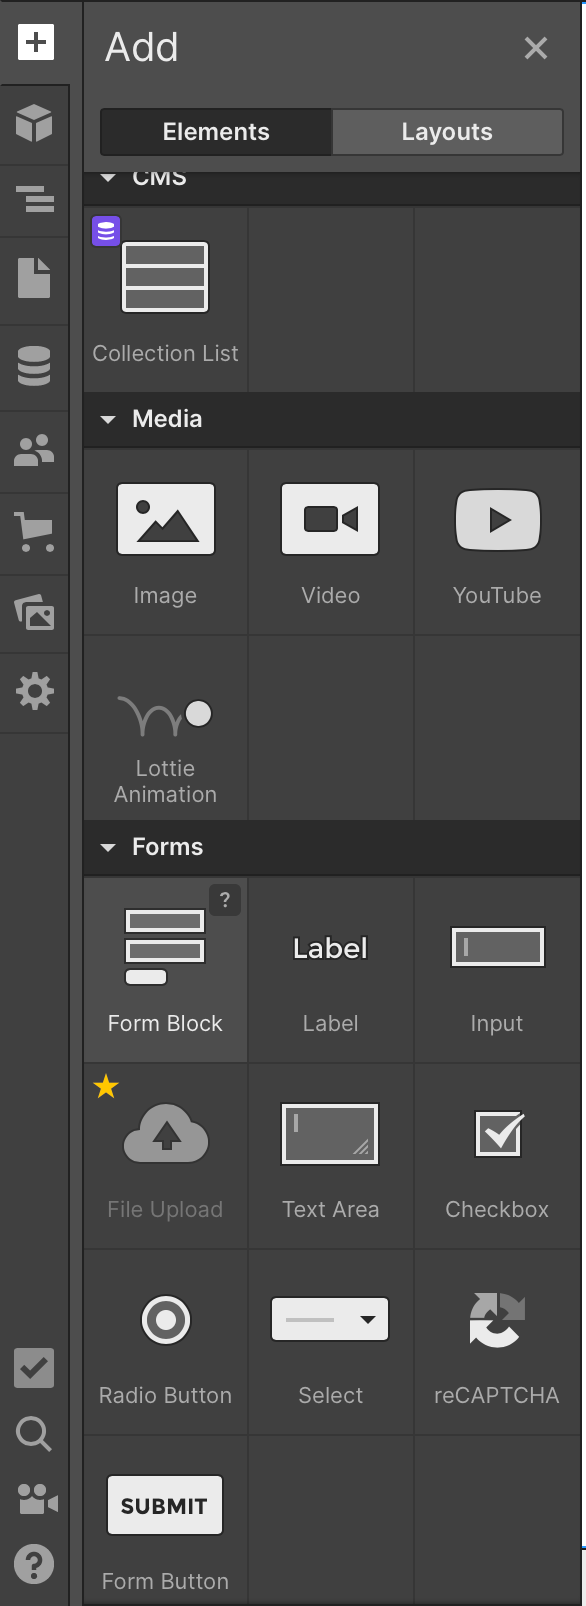
So, to create a form, scroll down the list of left hand side and click on the + icon. Then, pick form block
Then, you can use Webflow to design where you want to put your form in. There are a lot tutorial out there teach you how to design your webflow page. So, I wouldn't discuss much about the design part here. Just in case you interest, my home page design is like below:
Now, the most important thing is to setup your form block right. In form block, click on the first input box and click on the setting icon:
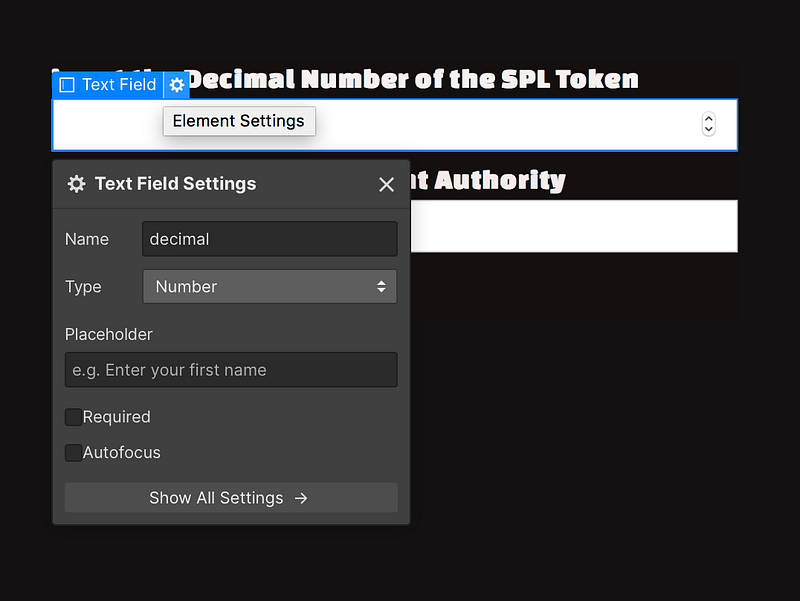
Name this id to decimal and type changes to number.
Repeat this step in second input box and name it to mintAuthority and plain.
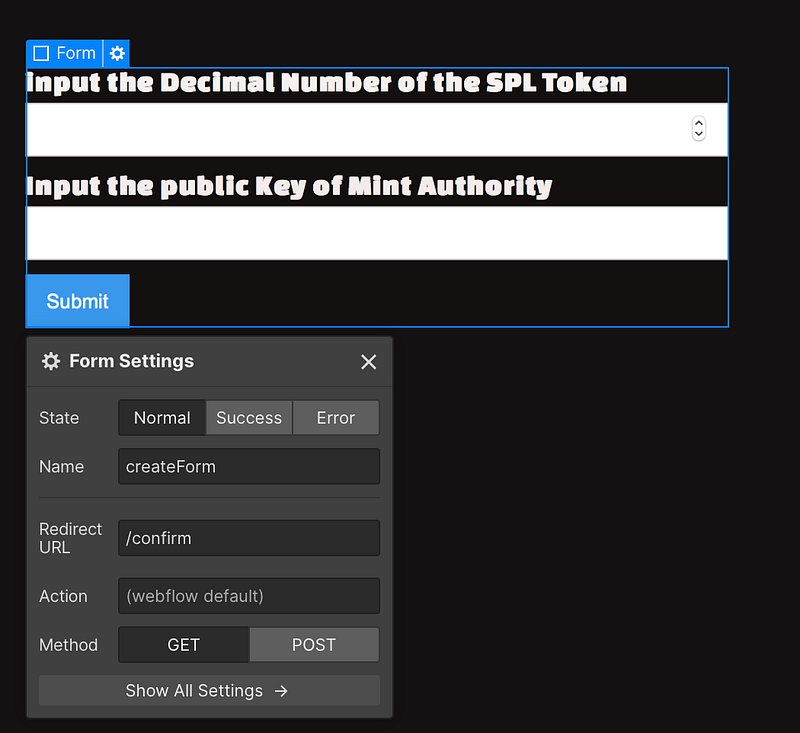
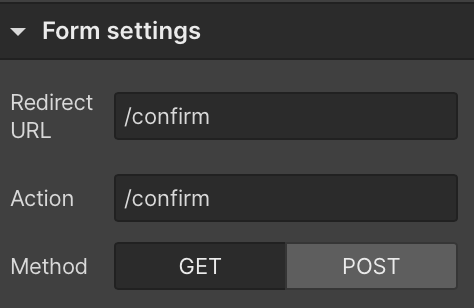
Now, click on form, enter redirect URL as /confirm and use GET method.
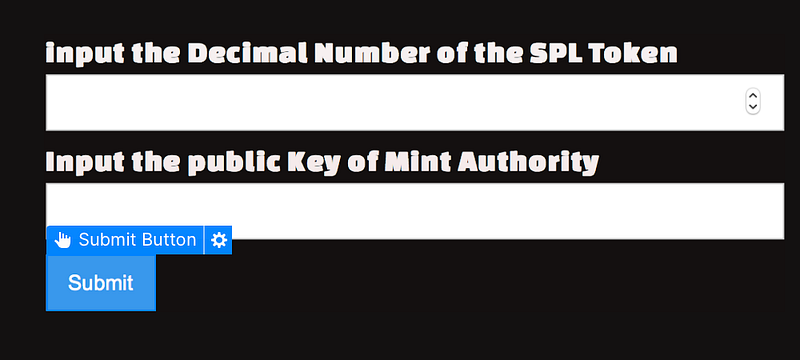
Now, click on button
In form setting / action, also change to /confirm:
Deploy!
Now, try your first version of site by deploying it:
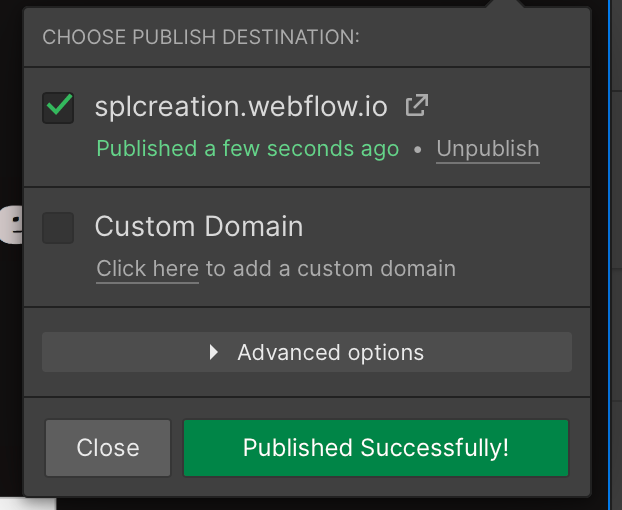
Go to the site you published, try enter the form:
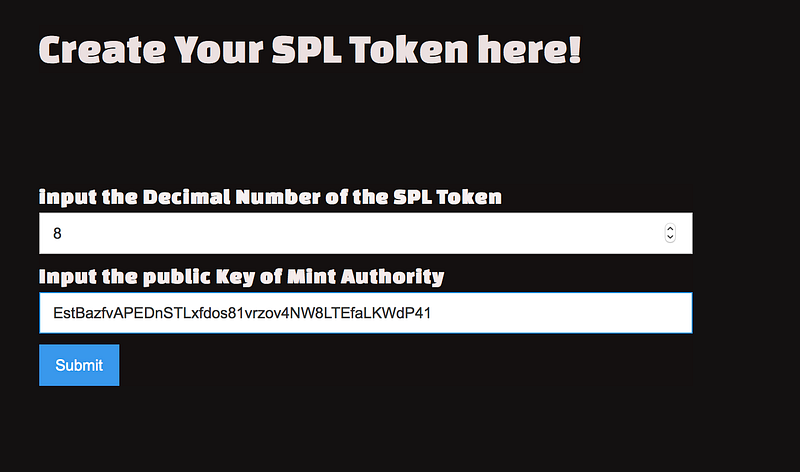
Now, if yours is correct, it should redirect you to:
https://
Conclusion
So, it is done! In next article, we would work on the /confirm page and show you how you can initialise mint with Javascript.
So, stay tuned and see you soon!
Also read:
Build an SPL Token Creation Site with Webflow (2) — Initialise Mint