
Build a Solid and Secure Login Workflow in NextJS with Strapi
Part 1: Concept and setup for building a solid, secure, and scalable login system with NextJS and Strapi.

During the last 3 months, we built a full e-commerce from scratch in NextJS using Strapi (https://strapi.io/) as backend, during this development we faced some issues and we needed a lot of trial and error to achieve the behavior we been looking for since Strapi (especially v. 4) is not always well and correctly documented. In any case, we were able to overcome difficulties and we kept a log of our development path. As always in our project, we started with the most annoying task: building a solid, secure, scalable, reliable, and reusable login workflow
Strapi offers a built-in user management and login system that is extensible with social login. Unluckily most of the tutorial covers the use of this system with external libraries (for example next-auth), and documentation is not always up to date with v. 4, so we decided to share our experience with this tutorial.
Since building a production-ready login system is a long and complex task we split the tutorial into 3 parts:
- Part 1: Concept and setup
- Part 2: Register and login
- Part 3: Social login and password reset
You can also download or clone the repository for this project to follow along :
Basic concept
Strapi offers user registration and login (both even using social networks provider) out of the box. The Strapi API exposes endpoint for all the major login tasks (registration, login, password reminder, and so on…), once the user is authenticated Strapi provide a JWT that can be used for all the other requests that may need it (for example in our case, an authenticated user can query the Orders to get their past orders list or authenticated user can access to special offers, cases are limitless). It also offers the ability to register with an email confirmation (that we used partially, but it’s present in this tutorial).
As said upon successful login, Strapi send back to the client a JWT, if we want to persist our session we need to store it, and we need to store it securely in an httpOnly cookie (more on httpOnly cookies), so it can be accessed (for example) by getServerSideProps. HttpOnly cookies can be set only by the server, so we need a middleware between our frontend and Strapi backend that can handle it. We choose the API routes that are included in NextJS and we also used a Context to centralize every login-related function and state.
It looks quite intricate at first, but (in our opinion) this is the most efficient and secure way to handle the login process. At the most basic you will have the following workflow:
- A component with a login form will post the data via a Context function
- The Context function will get the data, and post it to a NextJS API
- The NextJS API sends the data to the Strapi API
- The Strapi API verify the data and replies to the NextJS API (let’s assume it was a successful login)
- The NextJS API read the response, set the httpOnly cookie, and send back the confirmation to the Context
- The initial component rehydrate with the logged-in data (or redirect somewhere)
Tools and prerequisites
We tried to use the minimal amount of libraries to develop this project, for the frontend we used (besides NextJS):
- axios (to access API)
- react-hook-form (to validate and manage forms)
- cookie (to parse and serialize cookies)
- Tailwind CSS (for styling)
For the backend, we only used a clean installation of Strapi v4
To follow along with this project you need:
- Good knowledge of React and NextJS
- A good understanding of React Context,
- Good knowledge of NextJS API routes
- A basic knowledge of Strapi
- Basic knowledge of Tailwind CSS
- Good knowledge of how a login workflow works
- SQLite database installed
Installing and configuring Strapi
We are installing Strapi and NextJS on the same local machine, but it can be later deployed on different servers or on the same server with different ports or domain names.
Install a fresh copy of Strapi with the default SQLite database with
npx create-strapi-app@latest my-project --quickstartOnce the installation is completed, open the address http://localhost:1337/admin and configure your user.
Move to Settings -> Advanced Settings:
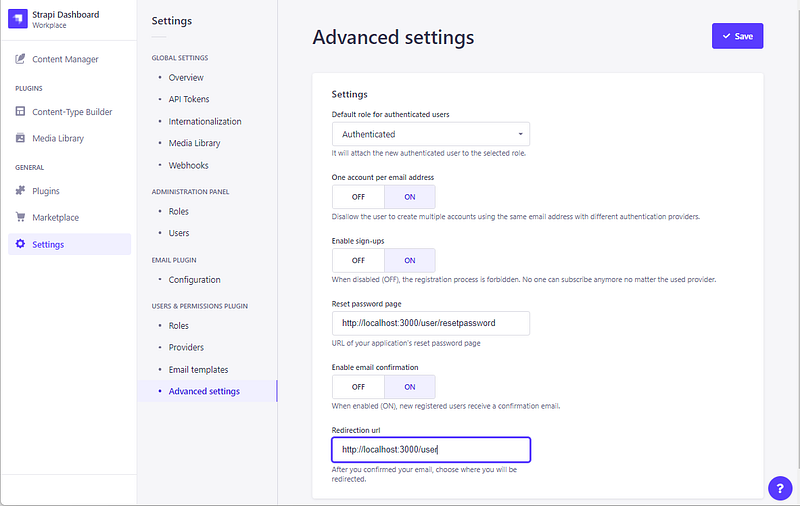
and activate “Enable sign-ups” and “Enable email confirmation”, also set the Reset password page to http://localhost:3000/user/resetpassword and Redirection url to http://localhost:3000/user (more on this later).
Next, go to Settings -> Roles, and select Public:

Select Users-permissions and enable all in the AUTH section. Get back to Roles and select Authenticated:
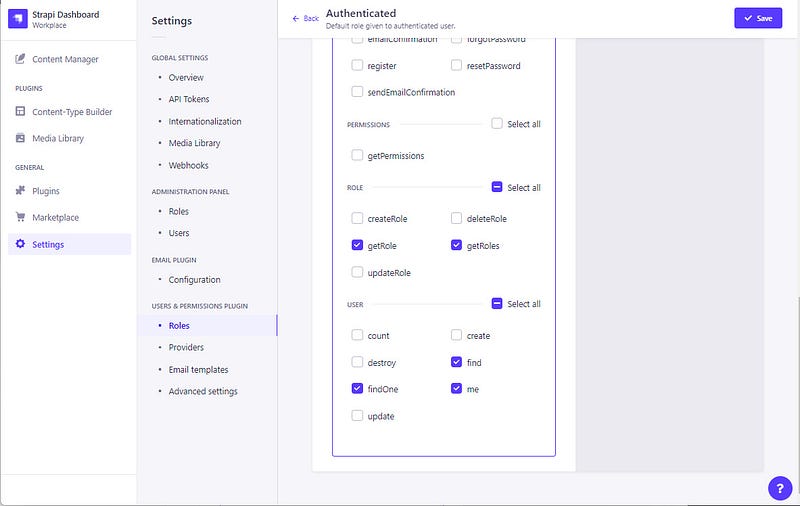
Enable at least the “me” endpoint for User in User-Permissions section
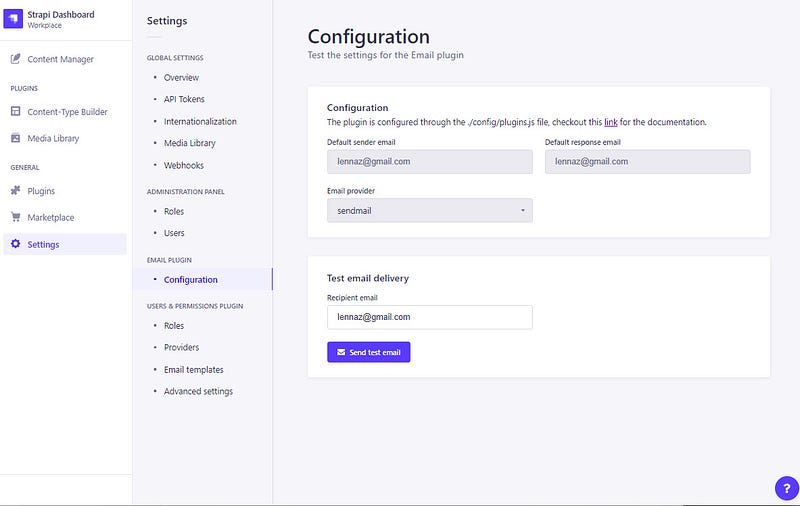
Configure the email plugin for Strapi, you need to create (or edit if already there) a configuration file /config/plugin.js.
This is our configuration using sendmail (you can find more on configuring the email plugin on https://docs.strapi.io/developer-docs/latest/plugins/email.html#configure-the-plugin). Please be sure to add a real email address
Once the server is restarted, check if the configuration is ok by going to Settings->Email Plugin->Configuration and sending a test email:
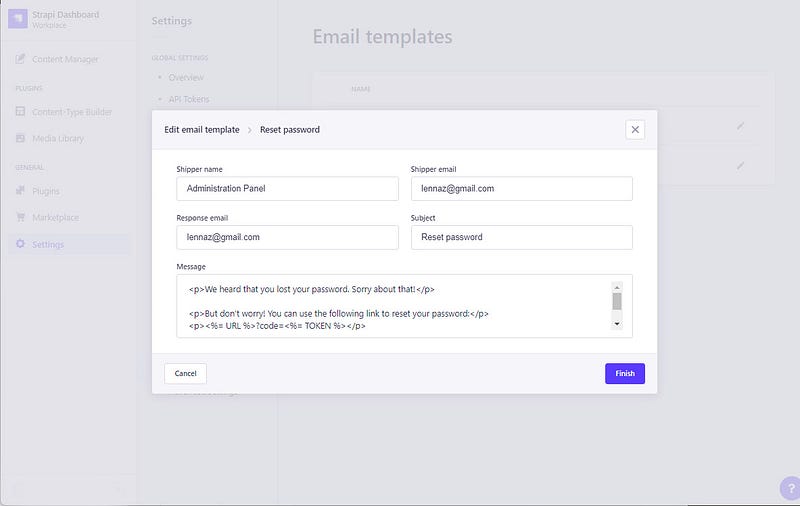
You will also need to configure the Email templates in Settings->Email Templates. You should configure a real email address to have everything working correctly.
Configure Google Login
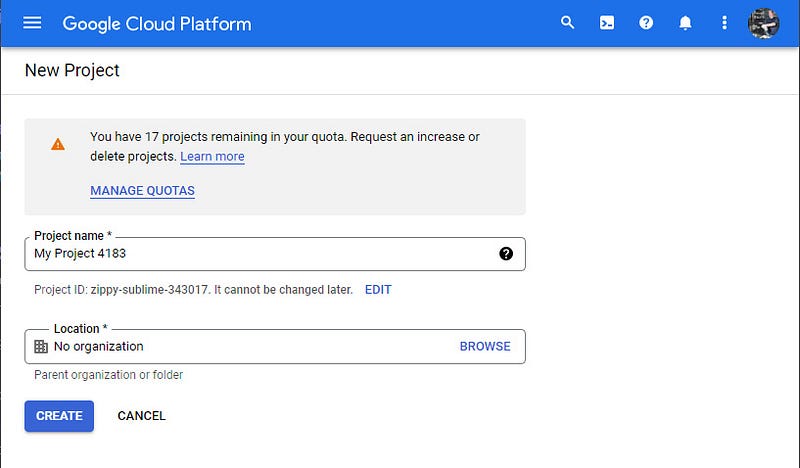
If you want your user to log in using a third-party provider (such as Google or Facebook) you need to configure it in Strapi using some data you will need to get on the login provider site. In this guide, I will show how to configure Google Login and Facebook Login, but basically, every provider will follow the same pattern. Go to Google Cloud Platform, login, or signup using your Google credentials. Create a new project and name it as you like (we used nextLogin):
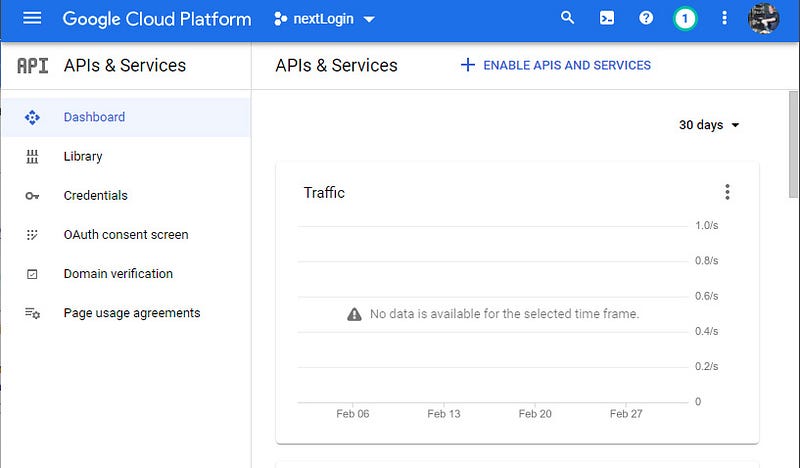
Once the project is ready select it and go to the API & Services dashboard:
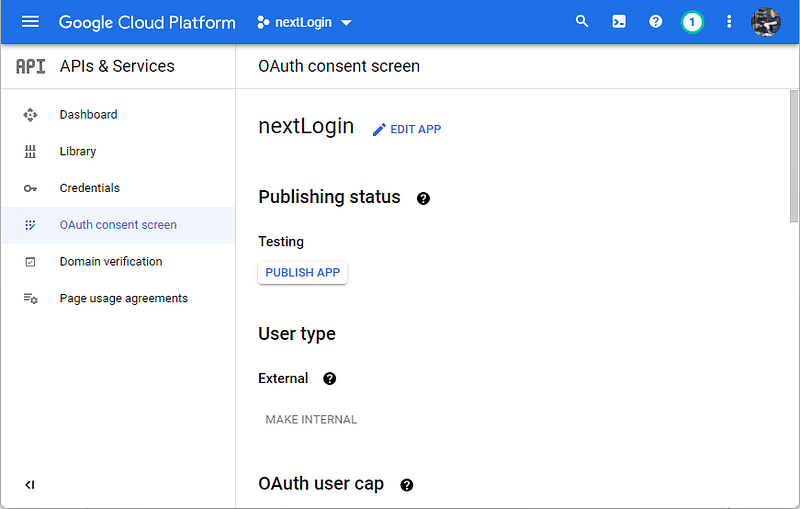
Configure the OAuth consent screen, choosing external and filling in all the required fields, when requested add the following scopes: ./auth/userinfo.email and ./auth/userinfo.profile, save it, and then publish the app by clicking “Publish App”
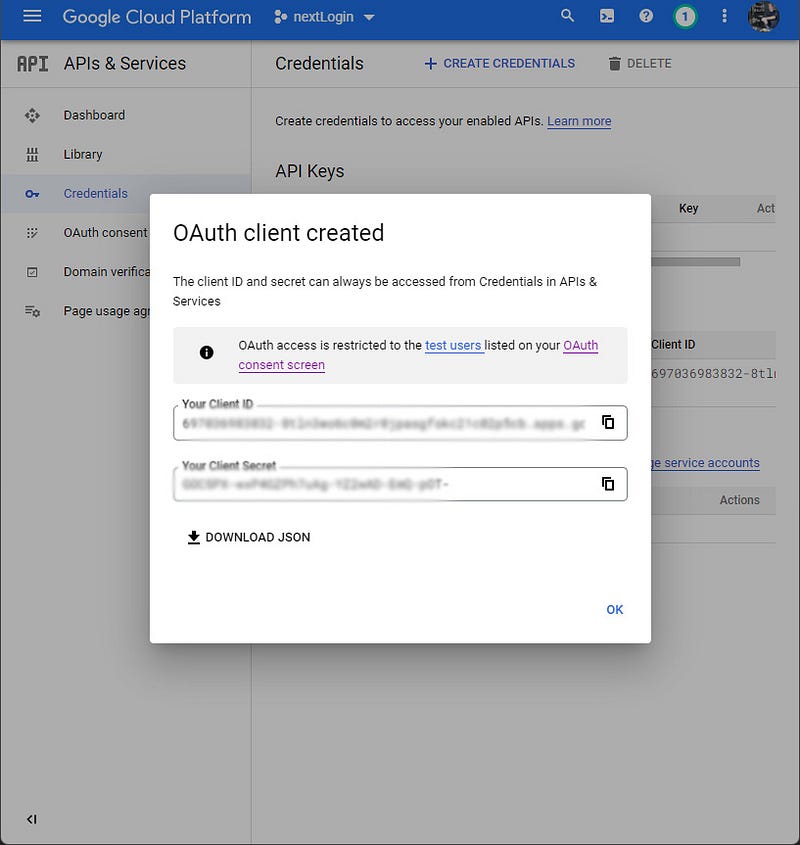
Create the credentials by clicking on Credentials, then click on Create Credentials and choose OAuth client ID

Fill in the requested information, add http://localhost:1337/api/connect/google/callback as authorized redirect URI
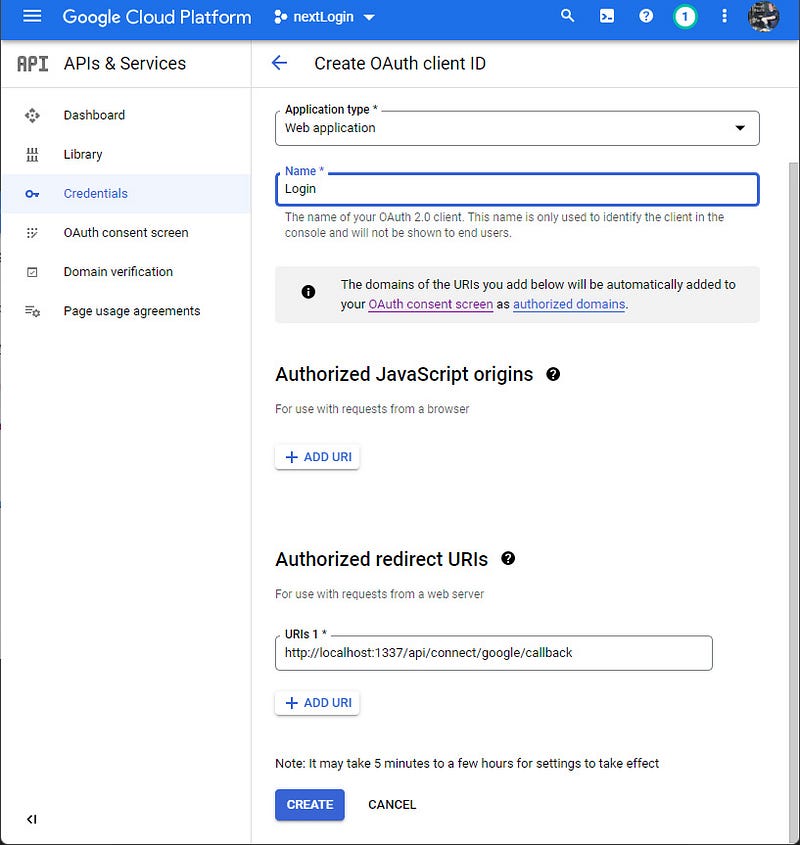
Save and get the credentials (Client ID and Client Secret)
With the credentials, go back to your Strapi panel, go to Settings -> Providers and enable Google:

Paste the Client ID, the client secret, set the redirect URL to http://localhost:3000/user/googleCallback (this will be the page that will be called later by the Strapi API with an access token provided by Google) and check that the redirect URL you added to your Cloud Console is the same as the one shown here.
Configure Facebook Login
Facebook Login configuration is very similar, you need to create a new consume app (or use one you already have) on Meta for Developers.
Once you log in click on “Create App” and then choose “Consumer”
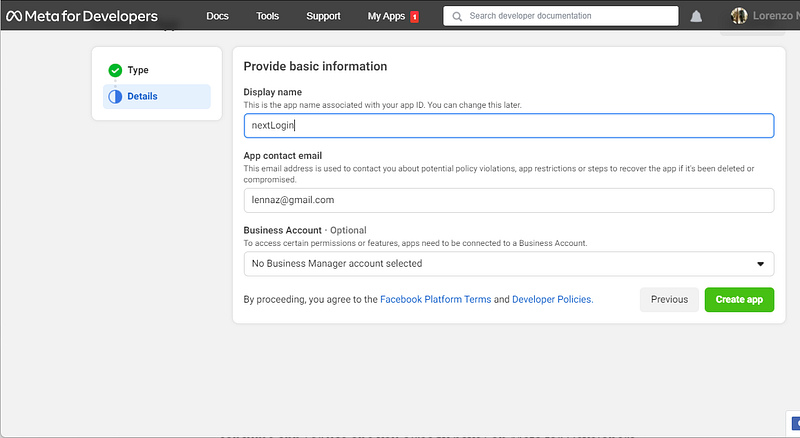
Fill in the form with the required information, then choose “Facebook Login” as product:
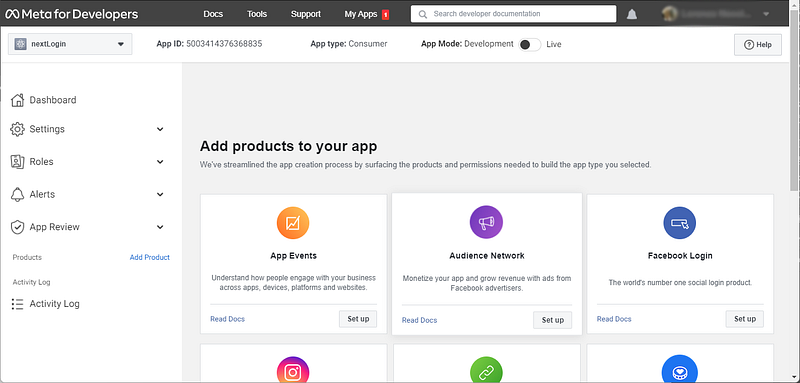
In the next steps, choose Web, set the domain as http://localhost:3000 and save it, you can now click on the menu Settings -> Basic where you can get your App ID and App Secret:
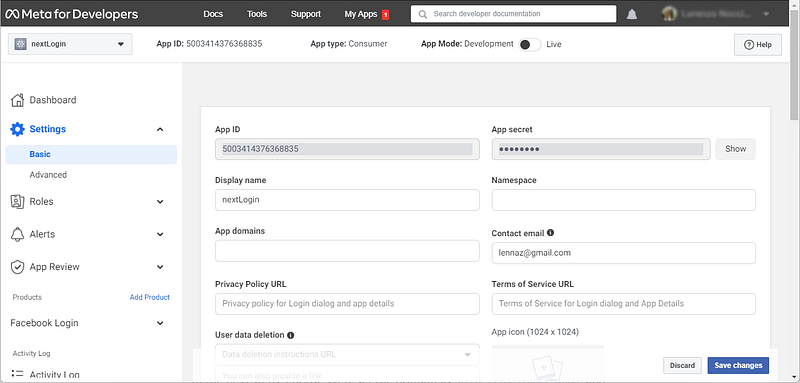
Once you got them, get back to Strapi and configure Facebook as you did for Google:
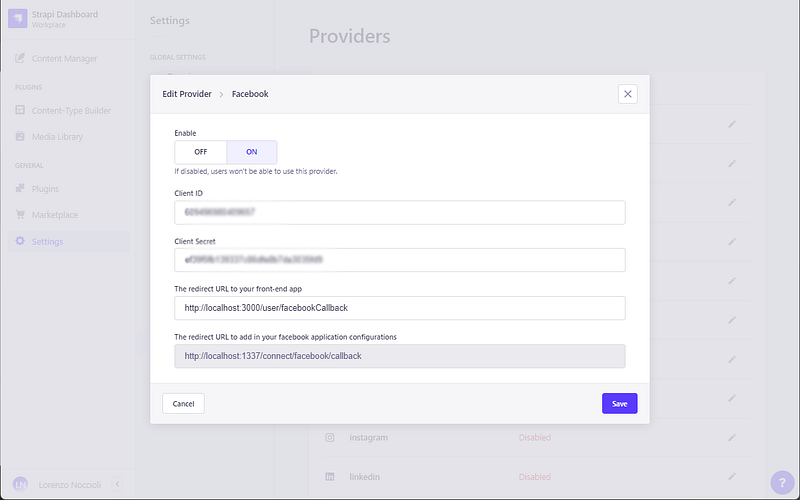
This time use http://localhost:3000/user/facebookCallback as your redirect URL.
If you need to configure more provider, just follow this pattern: create keys on the provider site, add them to Strapi, if the provider requires a callback URL you can use http://localhost:1337/connect/[provider]/callback
In Strapi front-end redirect URL use something like: http://localhost:3000/user/[provider]Callback (you need one of these for every provider).
Setup and configure NextJS
We are starting with a new NextJS app, create one using this command (feel free to change the app name)
npx create-next-app fullcommInstall the required modules:
npm install axios
npm install cookie
npm install react-hook-form
Install and configure Tailwind CSS:
npm install -D tailwindcss postcss autoprefixer
npx tailwindcss init -p
npm install @tailwindcss/forms
Edit the tailwind.config.js like this:
Empty the filestyle/global.css and add to it the following lines:
@tailwind base;
@tailwind components;
@tailwind utilities;
Clean the file pages/index.js and keep it like:
Delete pages/api/hello.js and styles/Home.module.css, remove its reference from pages/_app.js
Create .env.local and add the following lines to it:
This way you should have a blank canvas to start coding.
run npm run dev and if everything is correct, if you open the address http://localhost:3000 you should get a white page with Home in it.
Next, we will prepare a utility that will be used to initialize all of our axios connections, create the file lib/api.js
We basically export two functions that initialize axios to connect to Strapi (instance) and to connect to NextJS API (linstance). These two connections will be used along with our project every time we need to get or post to an API endpoint.
Before we start coding, we need to set up a Context (https://reactjs.org/docs/context.html) that will wrap all of our app, this context will keep all the data, states, functions, preferences and so on that will be available to all our pages and components.
Let’s start by creating an empty provider in context/user.js:
We created a dummy state and a dummyfunction that will be available to all our pages and components in the project, we also imported linstance because later we will add more functions to the provider (for example login and logout function) that require it.
To propagate the provider to all the children, we need to wrap our app in it, and it can be done by modifying pages/_app.js, by importing the UserProviderand wrapping the app in it:
We chose to keep all the user-related actions in a context, so we can access them whenever we want from any component, no matter how nested is it. For example, we will have a function in context that will check if the user is logged in that can be called from every page, or a single component, every time we need it. We also follow a design in which all the context functions send a reply in return and do not perform any action (like redirect, or interface modification), this way any component or page is responsible for getting the response, elaborate it, and perform the required action.
In the next part, we will start to code our app, and we will allow the user to register to our site and log in using username (or email) and password, after confirming the email address.
More content at PlainEnglish.io. Sign up for our free weekly newsletter. Follow us on Twitter and LinkedIn. Join our community Discord.


