Build a Login System in Node.js
How to use Passport.js for user authentication in your node app

You’re a talented web developer in extremely high demand. Time and time again, you’ve proven yourself capable of building extremely complex apps with big success.
Let’s start with an example. A local school desires its students to view their academic progress and homework right from an app. Due to your glowing recommendations, naturally, the school department hires you. These are their requirements:
- Students first log in to the app using their email and required credentials. If an existing account is not found, they are prompted to create an account.
- If an existing account is found, the student can now view their academic progress and homework.
- A logout option is also provided so that the student can sign out from the app if they are using a public computer.
- The student cannot access the dashboard unless they are logged in.
This tutorial will be focusing on the login and logout system portion of the website. This is called user authentication. If you’re using JavaScript, a library called Passport.js can be used for user authentication. Passport.js is essentially middleware used for authentication in Node.Js.
This is your objective as it meets the requirements of the client:
Get Started
Before typing any code, first install the following modules:
expressfor handling your routesexpress-sessionfor building a user sessionexpress-ejs-layoutslayout support forejsin Expressconnect-flashwill be used to display flash messages. We will cover more on this later.passportto handle user authenticationpassport-local, which is a strategy(authentication mechanism) with a username and passwordmongoosefor storing users in the databasebcryptfor encrypting your passwords before you store them in your database. It’s a necessity to never store passwords in plain text for obvious security reasons.ejsmodule to send data from Express toejsfiles
This is the command you should run:
npm i express express-session express-ejs-layouts connect-flash passport passport-local mongoose bcrypt ejsWhen that’s done, follow the further steps listed below for the initial stages.
The index.js route
Create a folder in your project directory with the name of route. Here, create a JavaScript file called index.js. In the end, the location of index.js
will be at routes/index.js.
In routes/index.js, write the following code:
line 4: When the user navigates to therootdirectory (performs aGETrequest) render thewelcome.ejspage.line 8: When the user does aGETrequest to theregisterpage, render theregister.ejspage.line 12: Export the router instance so that it can be used in other files.
The users.js route
Go to your routes folder and create a file called users.js such that the users.js location is routes/users.js.
In routes/users.js,
Lines 5 to 9: Handle the respectiveGETrequests and render the appropriate pagesLines 12 to 14: Handle the respectivePOSTrequests. They will be filled in later on in this tutorial.
app.js
This will be your main file. In your root directory, create a file called app.js. Here, write the following code:
line 11: Tells Express that you will be usingejsas your template engine
Now that you have defined your routes, let’s create the ejs files that will be rendered to the screen.
Create a views folder in your root directory and write the following files. These are standard, static ejs files. You can find the explanations for the code in the EJS documentation website.
layout.ejs
In views/layout.ejs:
<html>
<head>
<title>Node.Js and Passport App</title>
</head>
<body>
<%- body %>
</body>
</html>
register.ejs
welcome.ejs
<html>
<h1>Welcome!</h1>
<p>Create an account or login</p>
<a href="/users/register">Register</a>
<a href="/users/login"> Login</a>
</html>
login.ejs
Note: You have used the name attributes for the elements in the form as you will extract the values in the form by identifying each element by name.
To run this code, go to the command line to run the app.js file.
node appGo to localhost:3000 and you will find your output to be identical to this:
You have finally completed your beginning stages. It’s now time to use Mongoose to save your users in your database.
Save Users to Database
The user schema and model
As usual, you have to define a schema before creating documents and saving them to the database. First, create the models directory and there create a file called user.js such that it is models/user.js. First, let’s create a schema in user.js. Next, we’ll create a model from that schema.
In models/user.js:
This means that your model will have a name, an email, its associated password, and the date of creation.
On line 20 , we’re using that schema in your User model. All of your users will have the data in this format.
Handling the POST request to the register directory: validation checks
In this step, you will create a document in the MongoDB database with the client-provided data.
At the beginning of the routes/users.js file, import the Mongoose library, and import the User model that you just created.
const User = require("../models/user.js")Now, in the routes/users.js file, find the following piece of code:
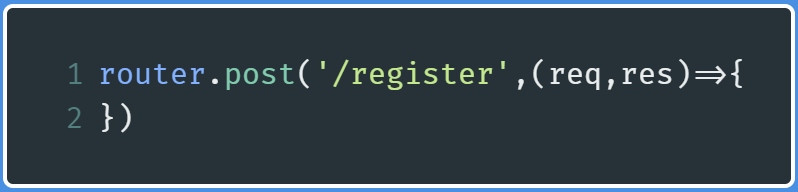
Within this handle, write the following code:
Line 1: Extract the values from the elements in the form. You are taking out the email, the name of the user, his password. The last field (password2) is a validation check to ensure that the user has confirmed that the password they are typing is correct.Lines 4-6: If any of the fields has not been filled, add an appropriate message to theerrorarray.Lines 8–10: If the passwords don’t match, add the appropriate message to theerrorarray.Lines 13–15: Check whether the password has a minimum of six characters.Lines 16–23: If any content within theerrorarray is present, re-render theregister.ejspage and then send the appropriate data along with theerrorsarray. All of the contents of this array will be displayed on the page.Lines 24–36: You have successfully passed the validation! Now you will first find if there is already a user present in the database via the email. If there is, then you will re-render theregister.ejspage and display the relevant error. Otherwise, create a new user with the provided email, name, and its associated password. Bear in mind that you haven’t saved it yet. You will save it after encrypting the password.
As an example, let’s run the code and enter a single-character password so that it re-renders the page:
You now need to display the errors, that is, display the contents of the errors array.
Display the errors
Now go to views/register.ejs and find the following piece of code (this will be around the beginning of the file):

When you’ve found it, write the following line just under this h1 tag:
<%- include ('./partials/messages') %>This line means import a new file that will help display the messages.
Go to your views directory, create a new directory called partials, and within partials, create a file called messages.ejs. There, write the following code.
views/partials/messages.ejs
<% if(typeof errors!= 'undefined') { %>
<%    errors.forEach(function(error){ %>
<p> <%= error.msg %></p>
<%    })        %>
<% } %>
This code says that if there are any errors present, then display the contents of the array with its own paragraph(p) element.
Re-run the code and write a single character password. This will be the output:
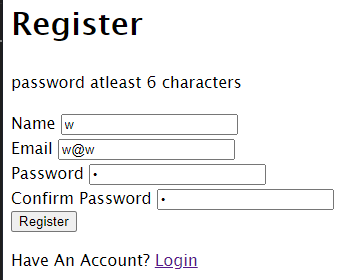
If you leave any of the fields empty, then you will get this error message:
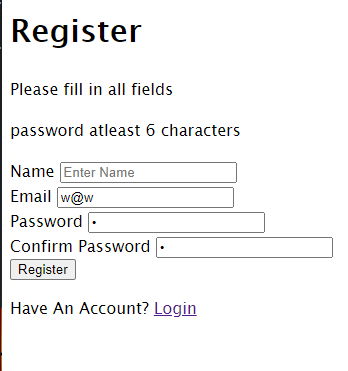
Make both password fields contain different values:
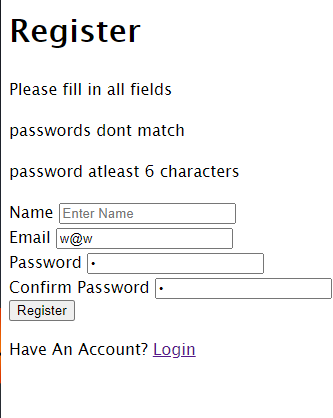
Handling POST requests to the register: save the users to the database
In this step, you will save the registered users to the MongoDB database. You will first encrypt their passwords and then save them to the database.
In routes/users.js, find the following piece of code:
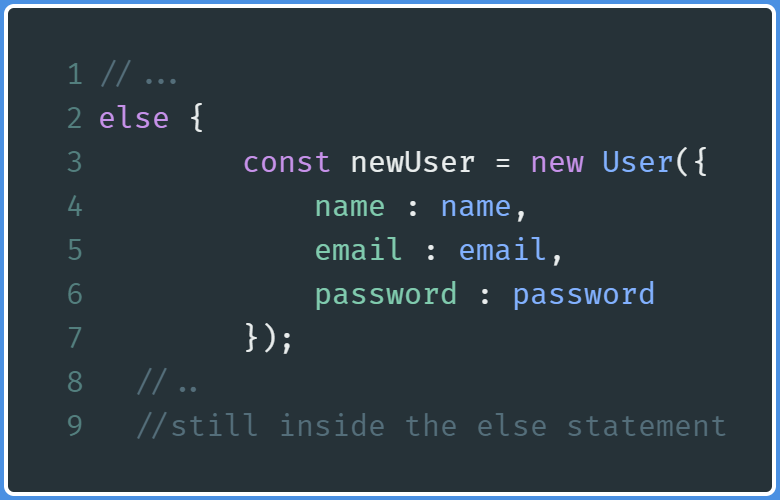
Within this else block, write the following piece of code:
And on that note, end the else statement here.
Lines 2–7: Generate a salt, hash the user’s password. Assign this encrypted value to the user’s password and then save the client to the database.Line 10: When the document is saved without errors, then redirect the user to thelogindirectory, where the user will now log in with their credentials.
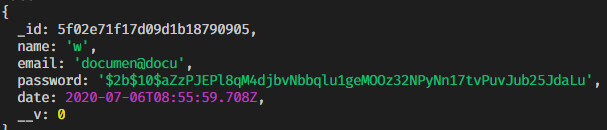
This will be the output of the code when you register yourself as a user:
Since you have logged out the contents of the document in your console, here’s the output in the console:
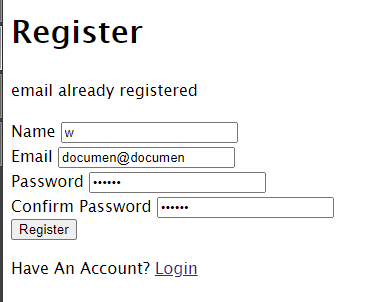
Enter a registered email. As expected, you get an error telling you that the email has already been stored:
With this step, you’ve finally saved users to the database. Let’s move on to creating flash messages with Express.
At the end of this section, this is what your code looks like:
Flash Messaging With Express
When you register an account on a website, notice it redirects you to the login page, along with displaying a success message indicating that you’ve successfully logged in. That success message is called a flash message. In this section, we’ll create a flash message.
Before moving on, start by importing the following two libraries within app.js.
const session = require('express-session');
const flash = require('connect-flash');
Success flash message
You will display this message when the user has registered and then is redirected to the login page.
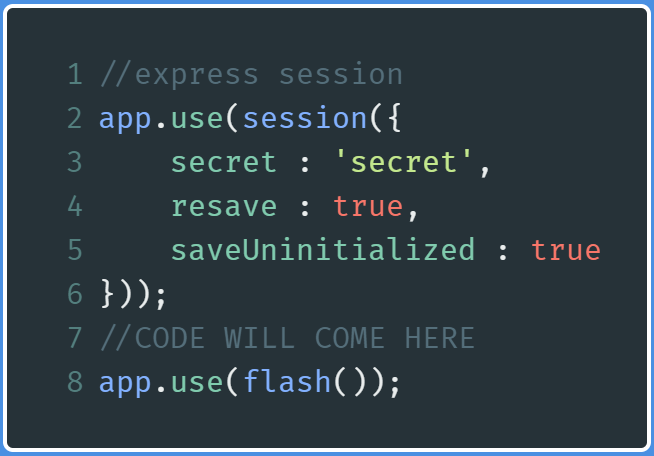
Go to app.js in your project directory and find the following lines of code:
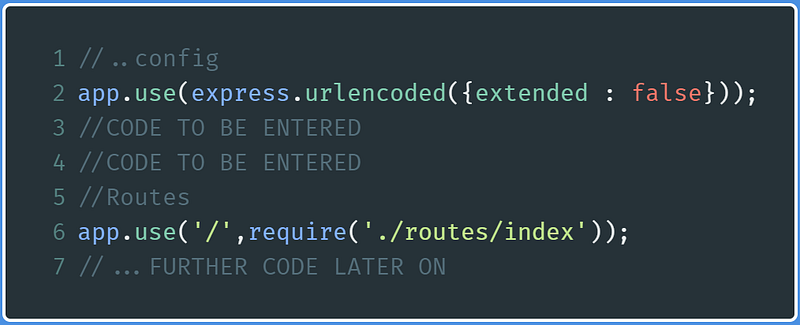
Where CODE TO BE ENTERED is written, write the following code:
This piece of code basically now allows you to use flash messages within your app.
Now go to routes/users.js and find the following lines of code:
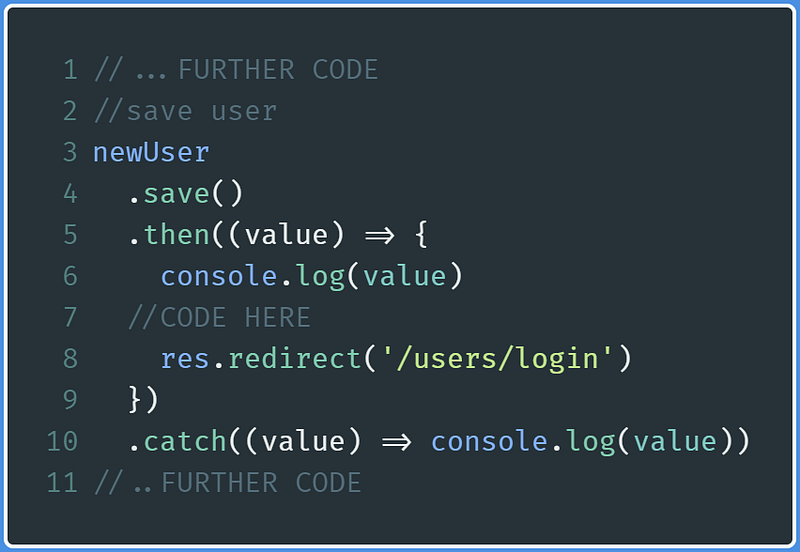
Where CODE HERE is written ( line 7) write the following line of code:
req.flash('success_msg','You have now registered!')You are not done yet, though. Go to views/login.ejs and find this piece of code. It’s located just at the starting of the file.
Just after this line, type this line:
<%- include ('./partials/messages') %>You have now imported your messages file to display the message in your login directory.
Go to views/partials/messages.ejs and append these lines at the end:
<% if(success_msg!= '') { %>
<p><%=success_msg %> </p>
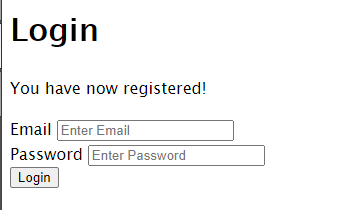
<% } %>This is the output of the code:

Error flash messages
For now, you will also implement an error flash message. It will be displayed during user authentication when an error occurs.
Go to views/partials/messages.ejs and then append the following code at the end of the file:
<% if(error_msg != '') { %>
  <%= error_msg %>
<% } %>
<% if(error != '') { %>
  <%= error %>
<% } %>
Let’s now move on with user authentication by bringing in the Passport.js framework
User Authentication With Passport
LocalStrategy
Create a file /config/passport.js and then start by importing the following libraries:
const LocalStrategy = require('passport-local').Strategy;
const bcrypt = require('bcrypt');
const User = require("../models/user");
You are now importing passport-local with its Strategy instance for a user authentication mechanism with a simple username and password. Since you will be comparing passwords this time, you need to decrypt the password that was returned by the database. For this reason, you will also bring in bcrypt. Furthermore, since you are essentially comparing passwords returned from the database, you will import User model for database-related operations.
Further on, type the following code:
Line 2: Configure thepassportinstance such that it will be using theLocalStrategystrategy. You have to specify theusernameFieldoption, as this option will be used to identify the email address that will be compared against the database. You have identified with this option that you will be using theemail input typeelement in the form. You can specify thepasswordFieldoption as well. However, by default, it ispassword, so you don’t need to specify it here.Lines 5–24: First, find whether the given email address is present in the database. If it is not, it’ll throw an error that the email isn’t recognized. Later on, you then compare whether the user-entered password matches the password in the database. If it does, it will return the relevant user information.Lines 25–34: In order to support login sessions,passportwill use theserializeanddeserializemethods on theuserinstances to and from the session.
Handling the POST request to the login directory
You now need to tell Passport where you want to use user authentication. You will use this authentication mechanism on the login page.
Go to /routes/users.js and find the following piece of code:
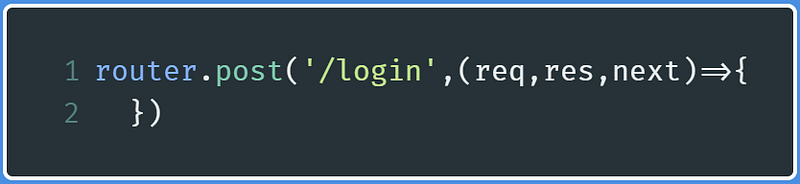
Within this POST handler, write the following lines of code:
passport.authenticate('local',{
successRedirect : '/dashboard',
failureRedirect : '/users/login',
failureFlash : true,
})(req,res,next);
This means:
- If the user has successfully logged in, they will be redirected to the
dashboarddirectory (successRedirect). - If the user does not log in successfully, redirect them to the
logindirectory (failureRedirect). - Get flash messages when an error occurs (
failureFlash).
Now go to app.js and start by importing the passport library:
const passport = require('passport');Then assign this the LocalStrategy configuration you created earlier. Do this step just after the imports:
require("./config/passport")(passport)Now, find the following lines of code:
At the comment CODE TO COME HERE (line 7) write the following code:
app.use(passport.initialize());
app.use(passport.session());
You can now use user authentication functionality in your app. However, you are not done yet. You still need to handle the redirect to the dashboard directory.
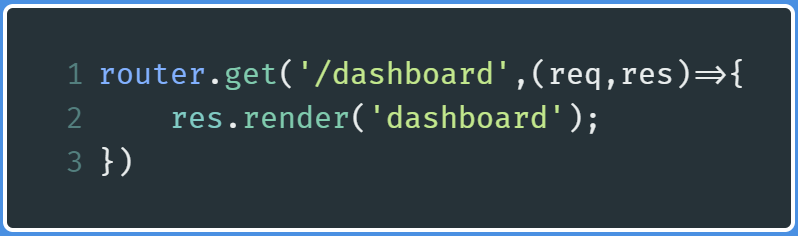
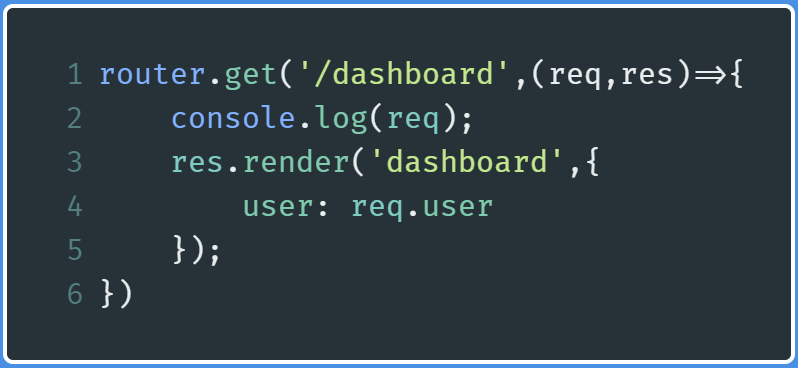
Go to /routes/index.js and type the following code:
router.get('/dashboard',(req,res)=>{
res.render('dashboard');
})
Now run the code and go to localhost:3000/users/login. This will be the output:
Notice that you can finally log in. This indicates successful user authentication.
Entering the wrong password gives you this:
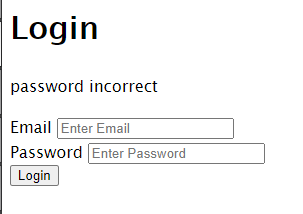
You can try entering an email that’s not registered to receive the appropriate error message.
Let’s now move on to display user data.
Render the Dashboard to Display User Data
You’re almost done!
Go to /routes/index.js and find the following piece of code:
Replace the res.render method as follows:
res.render('dashboard',{
user: req.user
});
You’ve now sent the user information data to the web page. This user information data is returned by Passport.
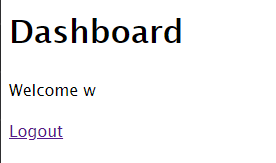
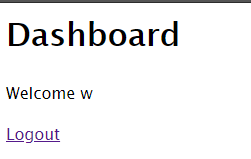
Then go to /views/dashboard.ejs and modify the Welcome message like so:
<p> Welcome <%= user.name %></p>You are displaying the name field from the user data of the logged-in user.
If you log in with the correct credentials, this is the output:
Handling Logout Requests
This is your last step, and the easiest one.
Go to /routes/users.js and find the following piece of code:
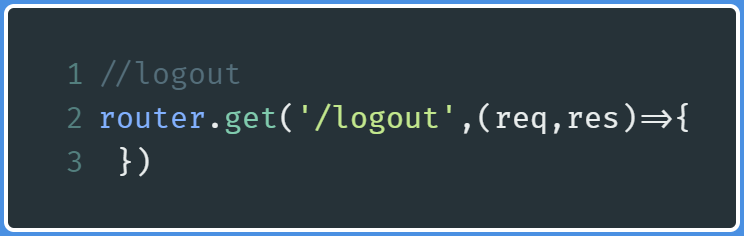
In this handler, write the following code:
req.logout();
req.flash('success_msg','Now logged out');
res.redirect('/users/login');
The req.logout function is created by Passport. As the name suggests, it logs out the user session. Later on, you send a success flash message and then redirect the user to the login page.
This will be the output of the code:
However, if you now go to localhost:3000/dashboard, you’re greeted with a server error. Now let’s handle this.
Prevent access to dashboard when logged out
Go to config and create a file called auth.js.
In /config/auth.js add:
module.exports = {
ensureAuthenticated : function(req,res,next) {
if(req.isAuthenticated()) {
return next();
}
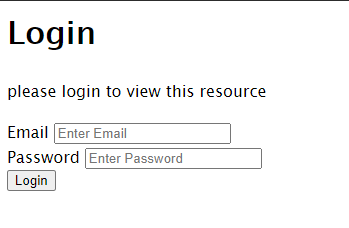
req.flash('error_msg' , 'please login to view this resource');
res.redirect('/users/login');
}
}This creates a function called ensureAuthenticated, which will ensure that a user has logged in (req.isAuthenticated()). If so, it moves on to the next middleware. If not, it throws an error and redirects the user to the login page again.
Now, go to /routes/index.js and import this function:
const {ensureAuthenticated} = require("../config/auth.js")Find the following code:
Now modify the router.get function like so:

You’ve now indicated that you want to use this function as middleware in this directory.
The code will output the following. Click on Logout:
Then go to localhost:3000/dashboard
Links
Passport documentation contains everything you need to know about user authentication out of the box, but it’s out of order, which is why I find it a bit confusing. Nevertheless, here are the best resources available needed to learn about Passport.
- NodeJS with Passport Authentication by Traversy Media
- Passport Login System Tutorial by Web Dev Simplified
- OAuth Login Playlist by The Net Ninja
Conclusion
This was a long tutorial! Thank you for making it this far. In the case of confusion, you are advised to deconstruct the code and research on what function does what- never give up! Thank you so much for making it to the end. Have a great day!
Next Post: React’s Context API Explained Previous Post: Get Your Daily Dose Of Inspiration With React.Js


