
Beginner's Guide to Build SpringBoot Application with Gradle
A simple example
I have been building SpringBoot applications for the past 7-plus years, and never once have I thought of using Gradle.
Always felt a solid resistance to moving away from Maven. We had a strong bonding, I thought 😜
Recently, for one of the projects, the client preferred Gradle.
While I was doing my research on this, I thought I might as well write it down for first-timers like me.
Below are the steps to create a SpringBoot project using the Gradle build tool.
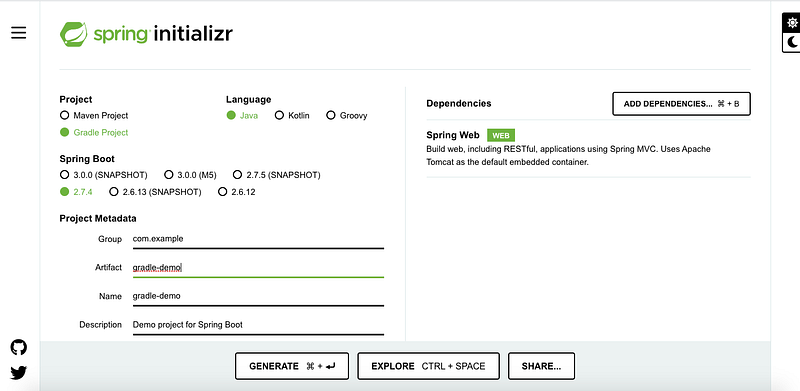
Create a Project
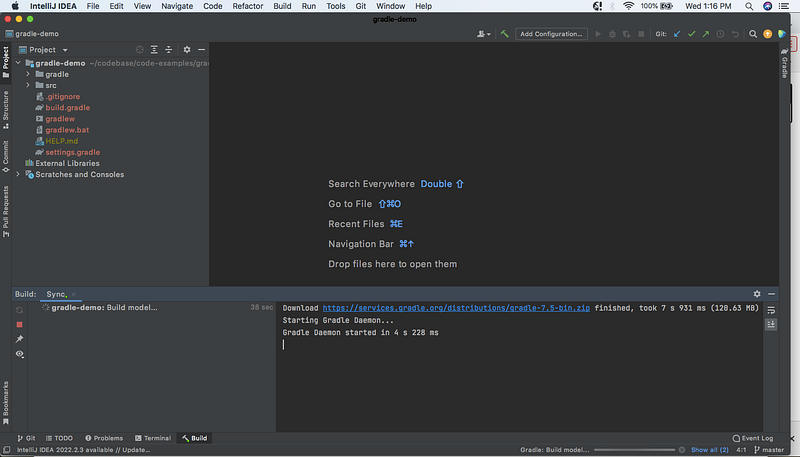
2. Import code to IntelliJ (or any other IDE)
Analyzing Gradle Files
- settings.gradle file
This file contains one mandatory line,
rootProject.name = 'gradle-demo'This statement assigns a name to the build.
The build name need not necessarily be the root folder’s name but could be any name of our choice.
Another line that goes in this file is optional,
include('<subfolder>')This statement defines that the project contains a subfolder that needs to be included in the build or might contain the main java class.
2. build.gradle file
This file is the equivalent of pom.xml in Maven, where all the dependencies are defined.
Unlike Maven’s build file written in XML, the build file is written as a code.
Gradle build files support both Kotlin and Groovy.
In this example, the file is written in Groovy.
plugins {
   id 'org.springframework.boot' version '2.7.4'
   id 'io.spring.dependency-management' version '1.0.14.RELEASE'
   id 'java'
}

group = 'com.example'
version = '0.0.1-SNAPSHOT'
sourceCompatibility = '1.8'

repositories {
   mavenCentral()
}
dependencies {
   implementation 'org.springframework.boot:spring-boot-starter-web'
   testImplementation 'org.springframework.boot:spring-boot-starter-test'
}

tasks.named('test') {
   useJUnitPlatform()
}- plugins: Used to declare plugin dependencies.
- A core plugin can be applied using the short name. For example,
id 'java'- A community plugin is declared using the fully qualified id
id 'org.springframework.boot' version '2.7.4'2. repositories: Defines the repository to be used to resolve dependencies.
We can add the URL in the repository block to define a custom Maven repository (for example, an in-house repository hosted by a company).
repositories {
    maven {
        url "http://repo.mycompany.com/maven2"
    }
}
3. dependencies: Defines the dependent jars, an equivalent of
<dependency>
  <groupId>org.springframework.boot</groupId>
  <artifactId>spring-boot-starter-web</artifactId>
</dependency>
in maven.
4. Task: A task is a piece of work that the build performs, like compiling classes, creating a jar, etc.
A task comprises a sequence of Action objects. When the task is executed, each of the actions is executed.
In the above-given example,
- name of the task is — test
- action is defined within the { and } brackets
A task could be as simple as,
tasks.register('sample') {
    doLast {
        println 'Sample Task'
    }
}
Run the App as SpringBoot
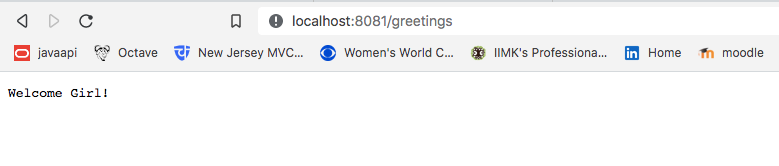
- Add a GET API to the application
@GetMapping(value="greetings", produces = MediaType.APPLICATION_JSON_VALUE )
public String greetings(){
    return "Welcome Girl!";
}
2. Run the application as SpringBoot and hit the GET API from browser
http://localhost:8081/greetings
Output:
Code
You can download the complete code from GitHub, and if you do, please leave a star (I’m aiming for 50 😝)
Check out my Weekly Newsletter, The NonConformist Techie.
Subscribe, if it interests you. It’s 🆓


