
STABLE DIFFUSION
Beginner’s Guide to a Text-to-Image (txt2img) Workflow in ComfyUI

Getting started with ComfyUI can seem overwhelming at first, but once you understand the basics, generating images from text prompts becomes a breeze.
Here’s how you can do this in ComfyUI:
👉 Want to power-up your AI art skills? Then consider signing up for one of the FREE Prompting Pixels courses.
Easy Method
Once you start up ComfyUI, in the bottom right corner, you have the Load Default button:
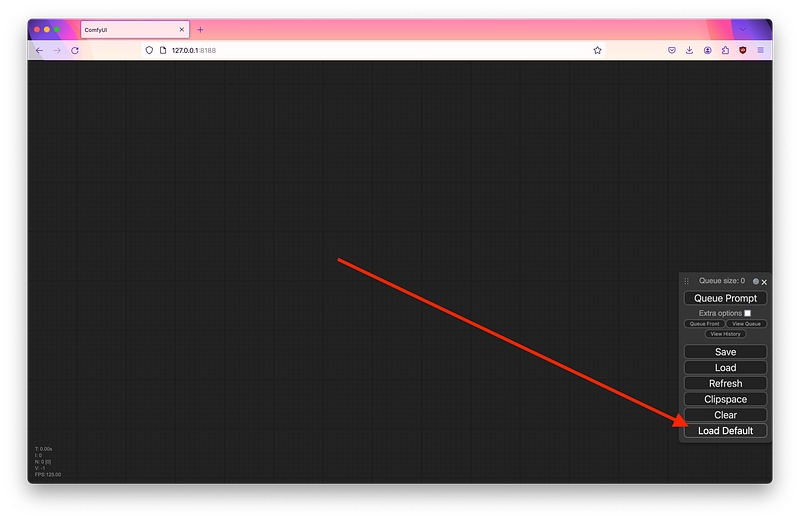
When you click that, this will load up a text-to-image workflow that has already been filled out with default settings and a simple positive and negative prompt:
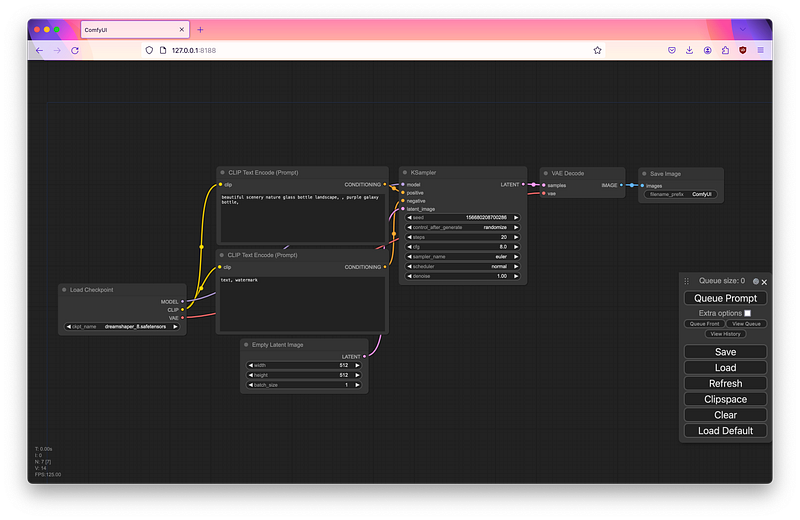
You can then modify the prompt to your liking by typing into the respective fields, adding or removing keywords as you see fit.
Once set, you can simply press the Queue Prompt button, and the image will be generated:

Voilà, your very first text-to-image creation in ComfyUI is complete! All outputs will be in the ComfyUI/output directory.

Learning Method
I was going to say this is the hard method, but to be honest, it’s actually more like the “learning method” because it allows you to interact with the workspace and load each node separately, giving you a better understanding of how the workflow is structured and how each component contributes to the final output.
When building a text-to-image workflow in ComfyUI, it must always go through sequential steps, which include the following: loading a checkpoint, setting your prompts, defining the image size (latent space), setting the sampler/seed/etc., decoding the image, and reviewing the output.
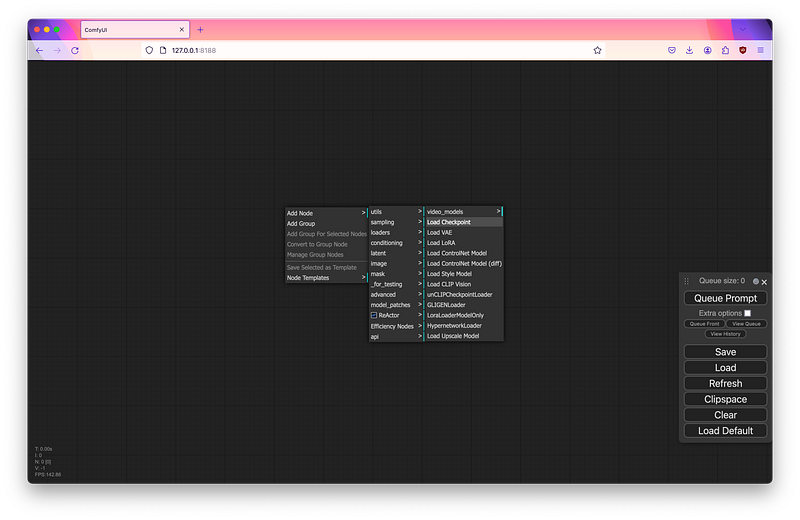
To do this, you can either double-click on the workspace and search for nodes or right-click and navigate through the context menu:
As you build the workflow, you’ll have to connect the nodes to one another through various inputs and outputs:
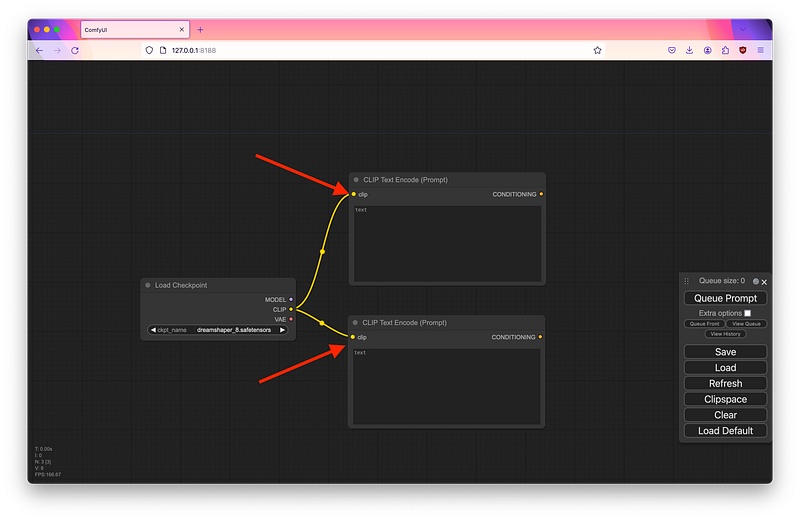
If you are familiar with other GUIs like Automatic1111, Fooocus, or Forge, this is all the same thing going on under the hood. Where ComfyUI differs is that it’s modular, and each of these nodes is disconnected in a way, rather than following a linear interface.
To demonstrate, here’s a side-by-side comparison of ComfyUI and WebUI Forge:
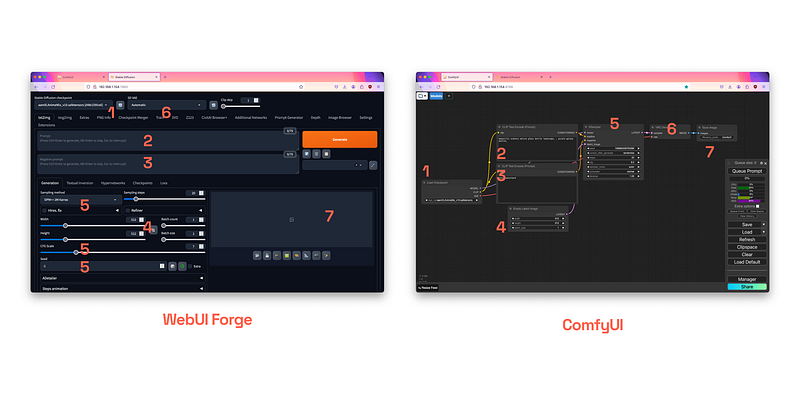
When you build a basic text-to-image workflow in ComfyUI, you are just basically recreating the interface to do the same things in other applications.
Once you’ve grasped the core concepts of what happens when you click that Generate or Queue Prompt button, building workflows in ComfyUI becomes much easier.
For All Stable Diffusion Lovers
Thank you for being a part of the Stable Diffusion community!


