
How To Run Stable Diffusion With InvokeAI Toolkit — A Step-By-Step Guide
A few weeks ago, Automatic1111, the most popular UI for Stable Diffusion AI, got briefly banned from GitHub for unknown reasons. Some people think that there were a large number of reports from users who didn't like the idea of using AI to make art.
Although Automatic1111 has already been restored from GitHub, nobody knows if this will ever happen again. If it gets taken down again, there are other alternatives out there that are just as good. I recommend Invoke AI because it is relatively easy to install and has a robust feature set.
In this article, I am going to share how you can install and run InvokeAI on your local PC.
Note that I am currently running on Windows 11, so the tutorial is only for Windows users. If you’re running on Mac or Linux, head over to this GitHub documentation for the step-by-step guide.
Okay, let’s start with the hardware requirements.
System Requirements
You will need the following hardware.
- An NVIDIA-based graphics card
- At least 4 GB of VRAM
- At least 12 GB of disk space
- At least 12 GB Main Memory RAM
If everything is fine, let’s move on to the installation steps.
Step #1: Setup the environment
Download and install the following:
Step#1: Download the latest installer
Download the latest version of the InvokeAI installer from here.
As of now, the latest version is v2.2.5.
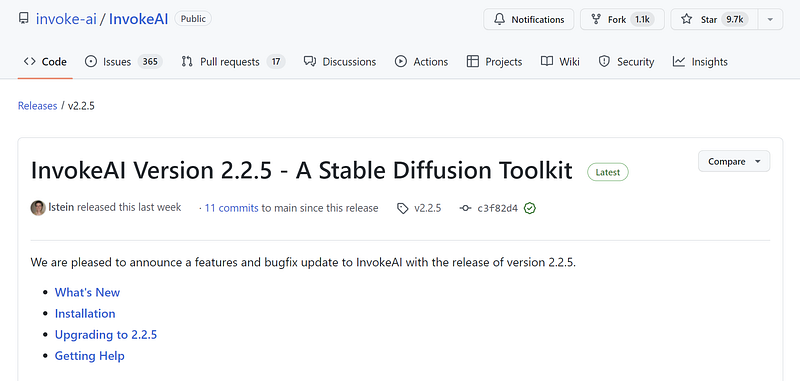
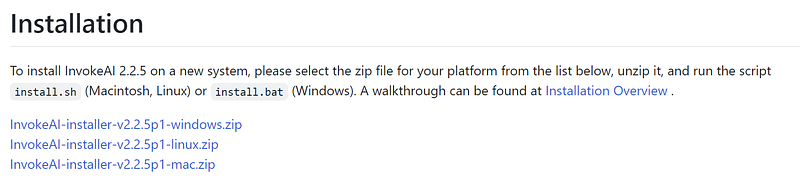
Scroll down to the “Installation” section, and there you’ll see a list of installers compatible with Windows, Linux, and Mac.
Step#2: Install InvokeAI
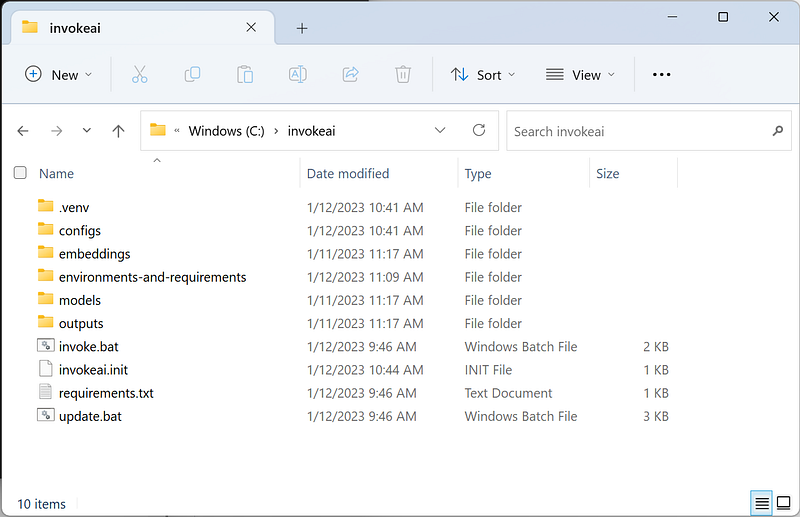
After downloading, extract the files to your local disk, and you should see these files.
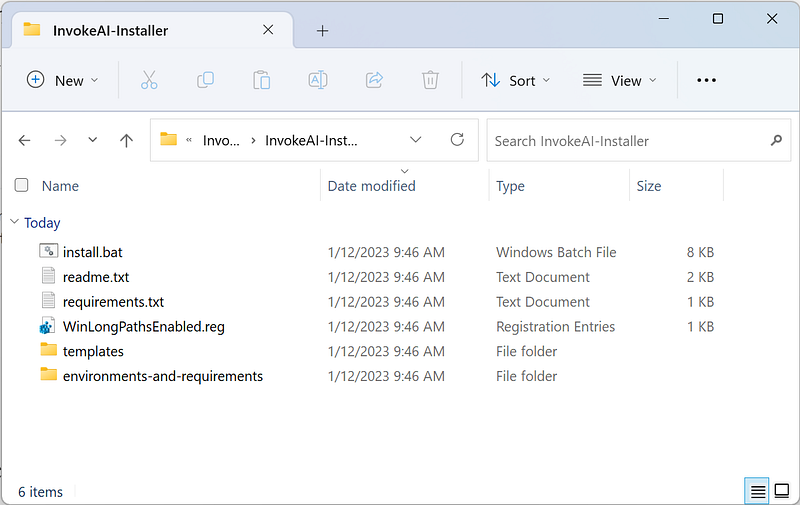
Run the WinLongPathsEnabled.reg file to change the registry and allow long paths on your system.
Next, run the “install.bat” file to start the installation.
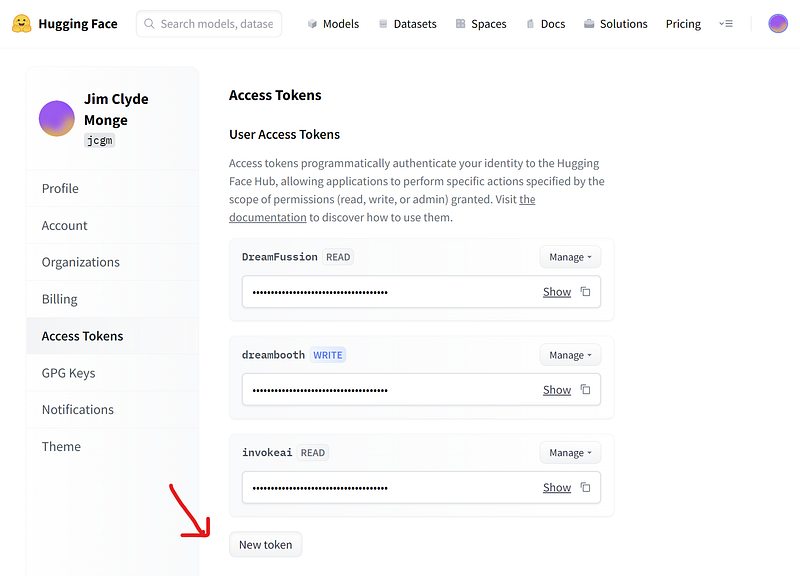
If you want to download models, you must first provide a HuggingFace token. A token can be generated from your hugging face account’s Settings page and the Access Tokens tab.
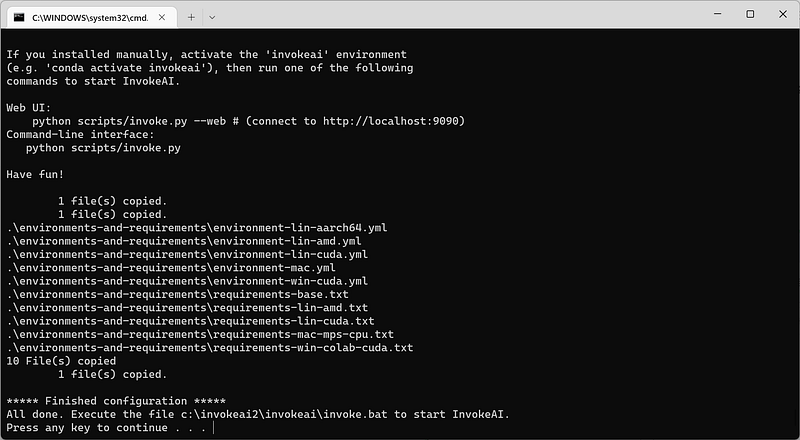
The installation may take some time, so while you're waiting, go grab a snack or a coffee.
Once the installation is finished, you should see this message.
Note: Install all recommended models when asked. These are the final files on the list.
Step #3: Start the Web UI
Double-click on the “invoke.bat” file and select “Browser-based UI” in the choices.
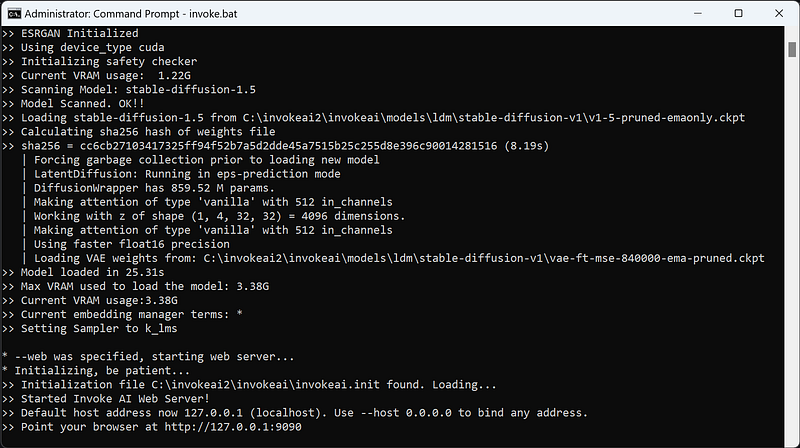
Copy the localhost IP and paste it into your browser. You should see this dashboard.
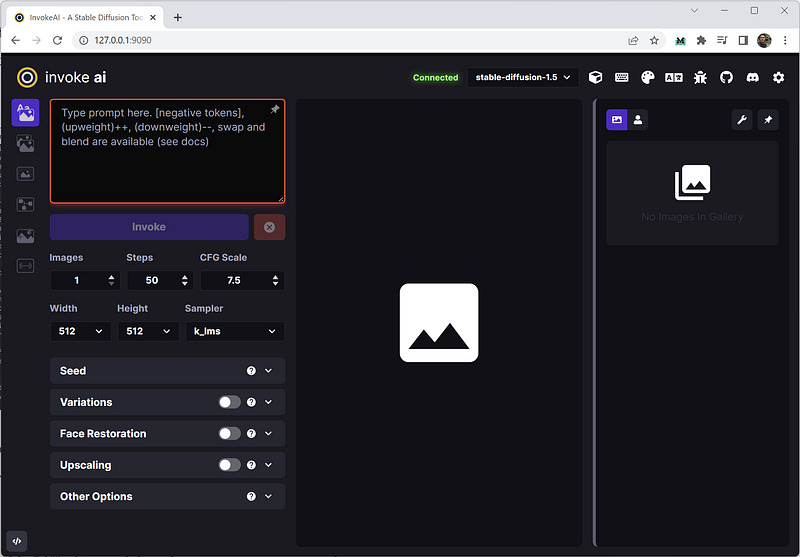
Awesome! We can start making images.
Step #4: Generate sample images
For this tutorial, we’ll leave all settings at default. Add your text prompt, saying, “An astronaut riding a horse in space." Here is a sample result.
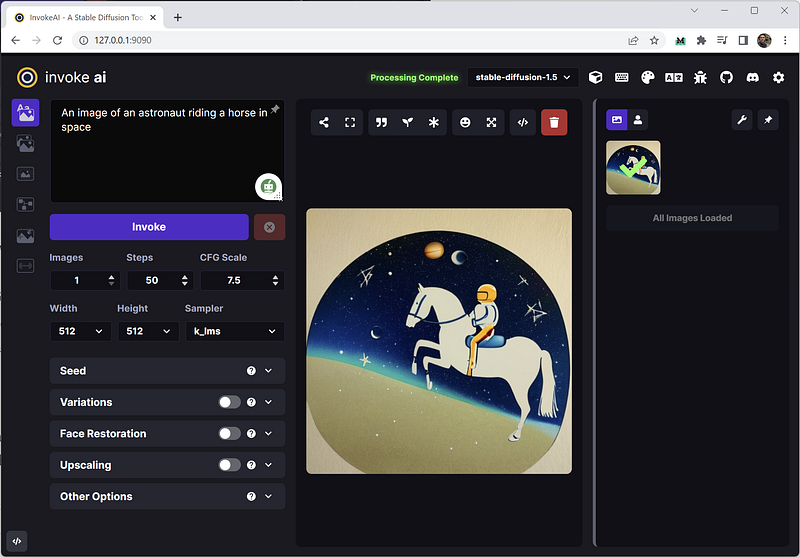
The generation process of 512x512 images took ~30 seconds on my RTX 3060 Ti with 8GB of VRAM.
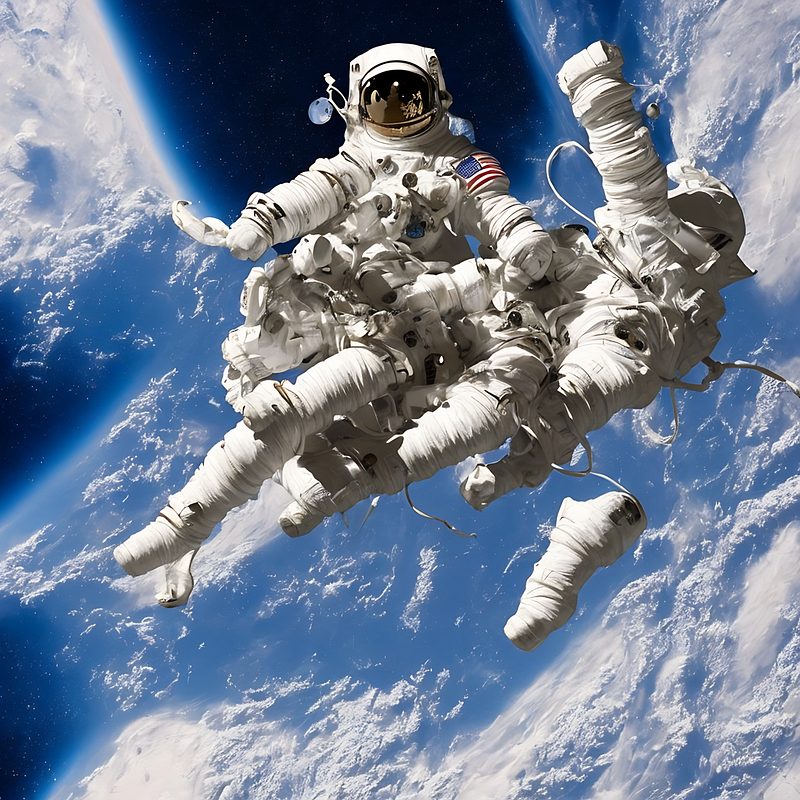
You can push some settings up to whatever your hardware can handle. The 1024x1024 image below took 2 minutes to generate.
Go ahead and play around with the text prompts and settings to generate unlimited images on your local PC. Enjoy.
Okay, that’s about it. I hope you find this tutorial helpful. If you encounter any issues, put them down in the comment section, and I will try to answer them all.
Stay up to date with the latest news and updates in the creative AI space — follow the Generative AI publication.
Please support my work on Medium and get unlimited access by becoming a member using my referral link here. Have a nice day!