
Authentication Flask API using Json Web Tokens
Simple flask app with authentication using JWT — Python
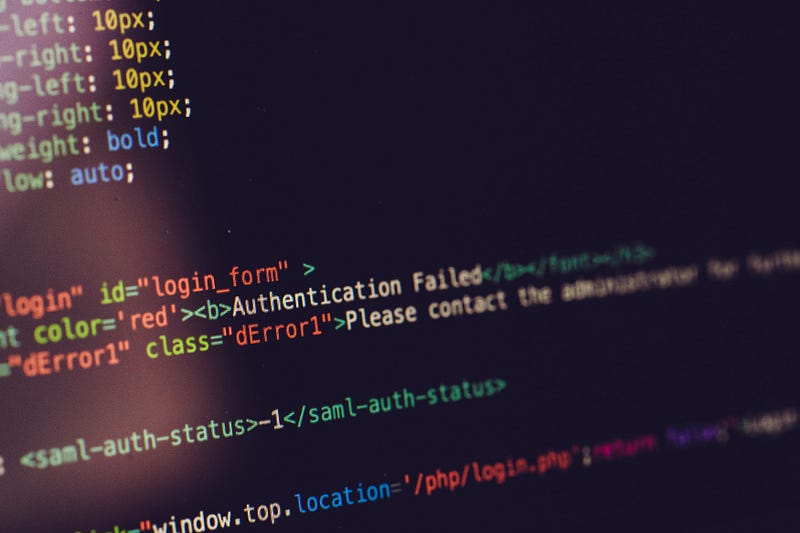
In this story we are going to look how authentication and authorisation using flask login in flask python. Authentication means you validate someone’s credentials and authorisation is determining they can access the part of the site.
Let’s get our hands on and understand what it is.
First let us go through the libraries which we are going to use in this tutorial.
- Libraries Used
Flask: Flask is a popular Python web framework, meaning it is a third-party Python library used for developing web applications.
uuid: UUID, Universal Unique Identifier, is a python library which helps in generating random objects of 128 bits as ids.
werkzeug: Werkzeug is python library which contains lot of development and debugging tools for implementation of web application gateway interface(WSGI) applications. In this tutorial we use it to generate and check password hash.
PyJWT: PyJWT is a Python library which allows you to encode and decode JSON Web Tokens (JWT).
functools: functools is a standard Python module for higher-order functions (functions that act on or return other functions). wraps() is a decorator that is applied to the wrapper function of a decorator. It updates the wrapper function to look like wrapped function by coping attributes such as __name__, __doc__ (the docstring), etc.
pymongo: The PyMongo distribution contains tools for interacting with MongoDB database from Python.
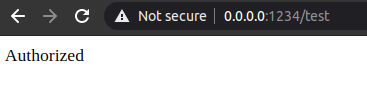
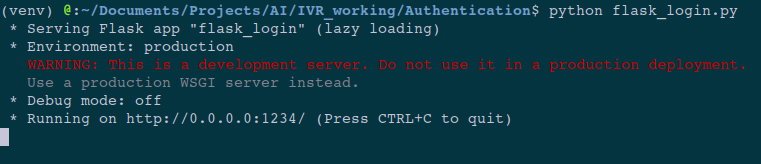
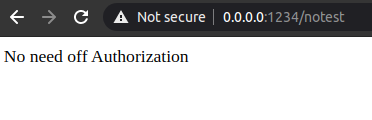
Now let’s create a simple flask application with two routes. Since this a tutorial one of route can be accessed without authentication but the other require authentication.
Here you can see that when I run this flask app. I was able to access both the routes. See the below image.
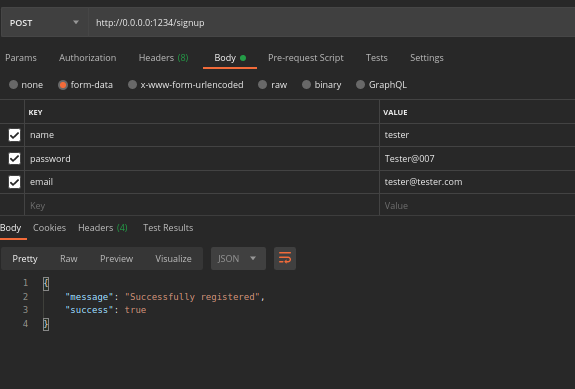
Now I should add the authentication and authorization. the first step for it is to create a signup API.
We request name, emailid and password as form data in the API. We also add few functions for validation of email format and password. Now by using uuid and werkzeug we added a unique userid and generated a hash for this password provided by user. All this is saved to mongodb using pymongo.
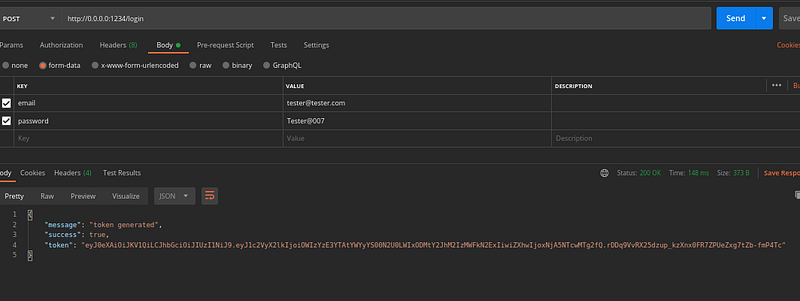
Now create a login API to generate the jwt token.
Here we have created a route /login. Taking the emailid, passwords as inputs. First the email id is valuated and checked whether a user available with the same email id. After that the users password and input passwords is hashed and checked using check_password_hash function. If everything goes correct jwt.encode method generates a token which is valid for ‘exp’ time which we mention as parameter and in order to create token userid and a secretkey has to be given as parameter. This secret key can be any number.
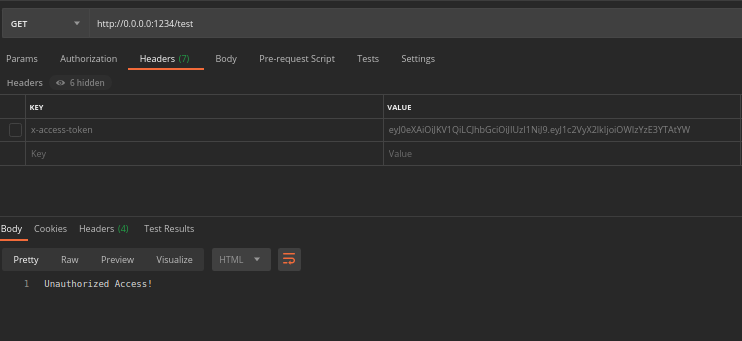
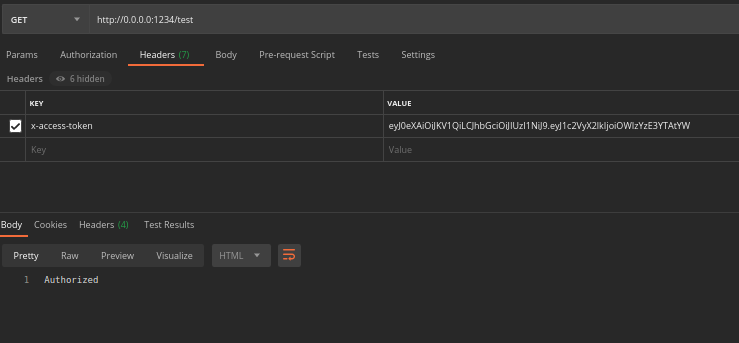
Now this token can be used for authorization. Previously we created two API routes. One require authentication and other one not. But how do we add authorization to an API route.
Note that the one API we need authentication we added a @token_required decorator function. This function is also written above. Which actually check for ‘x-access-token’ in the request.headers section. This check the authorization of the API. Now run it and see it.
Please go through the gihub repo for completed code base.
Hope this story was useful for all of you. Thanks for your time.
Gain Access to Expert View — Subscribe to DDI Intel


