
Photography, Photography Tips, Travel
Astrophotography in Maui
The dream series
I’ve been playing around a lot with astrophotography of late. I’ve always admired those dreamy photos of the milky way drifting over nighttime landscapes, but I had no idea how to capture the images until I took an astrophotography workshop in Bend, Oregon with Ross Schram Van Haught this past summer.
It turns out that the technique is surprisingly simple as long as you have a fairly fast wide angle lens (my 14–24mm ƒ2.8 seems to be pretty ideal, but I’ve used my ƒ4 24–200 as well), a tripod and a remote trigger (to avoid shaking the camera during long exposures).
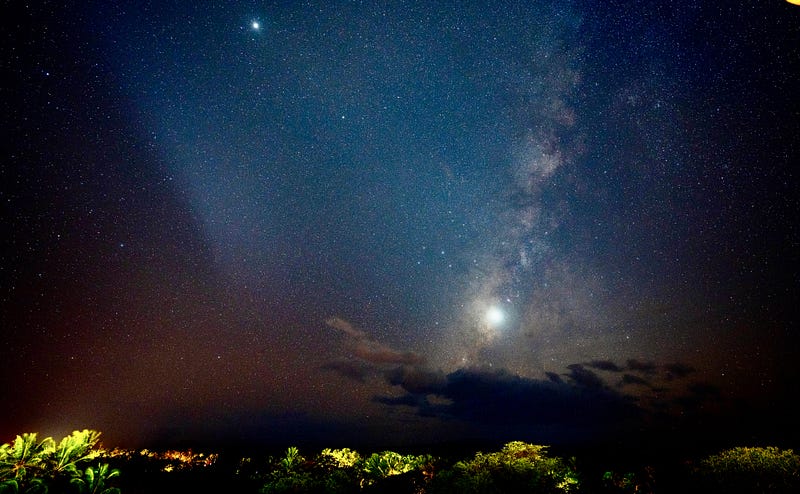
These images are from my trip to Maui last week. When we arrived, the moon was barely waxing and hung like a thin cuticle crescent in the night sky. It also set fairly early, leaving only the stars to illuminate the sky by about 8:30 p.m..
The first shot and the photo below were from our hotel balcony shortly after sunset. If you look closely at the left hand side of this starscape, you can actually see a shooting star streaking across the heavens.
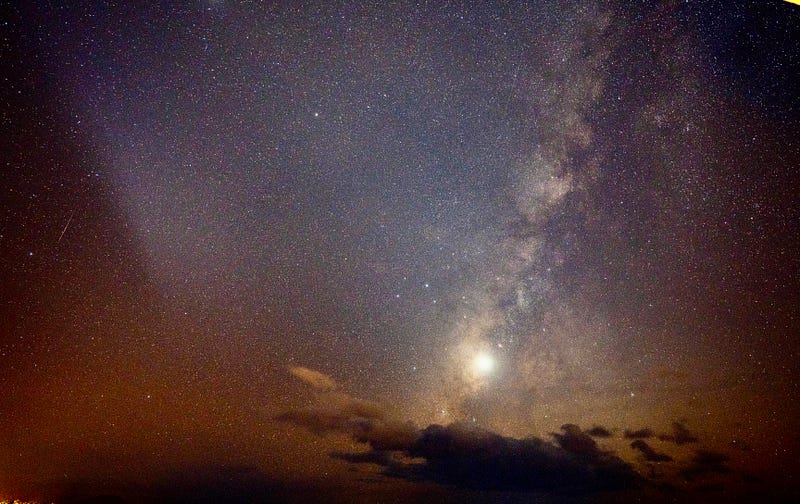
I woke in the middle of the night and captured a few more images. The milky way had already drifted too far off to the the right for me to be able to see it, but I really like the dreamy look of these next photos. The clouds look like they are floating amongst the stars. You can also see another shooting star on the righthand side of this image.
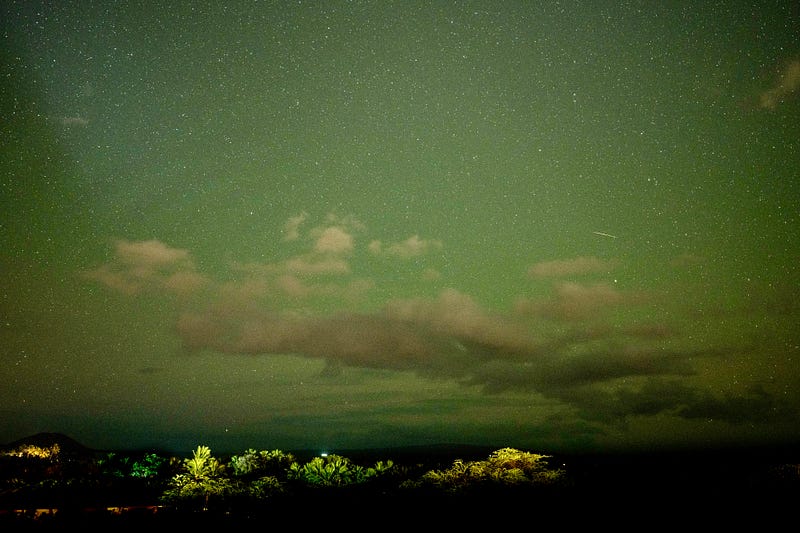
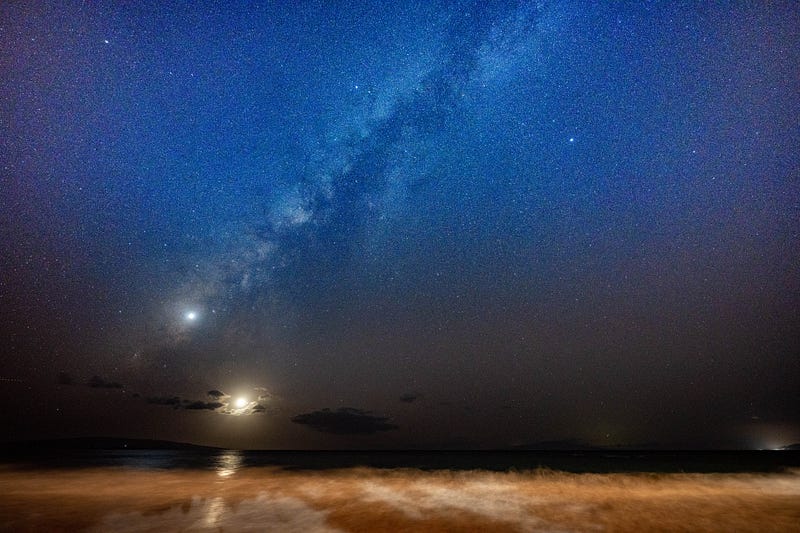
The next night, we ventured down to the beach to try to capture the milky way rising over Molaka’i, but the moon, even as new as it was, created too much light to really let the Milky Way “pop.” But I thought it was pretty, nonetheless.
I used an 8 second exposure for this one. Fifteen seconds seems, for my Nikon z7II and Nikon 14–24 (ƒ2.8) to be the optimal length of exposure to get enough starlight. More than that, and you begin to get “star trails,” a streaking effect of the stars caused by the movement of the earth. But when you have a lot of background light, or too much moonlight, that length of exposure just washed everything out.
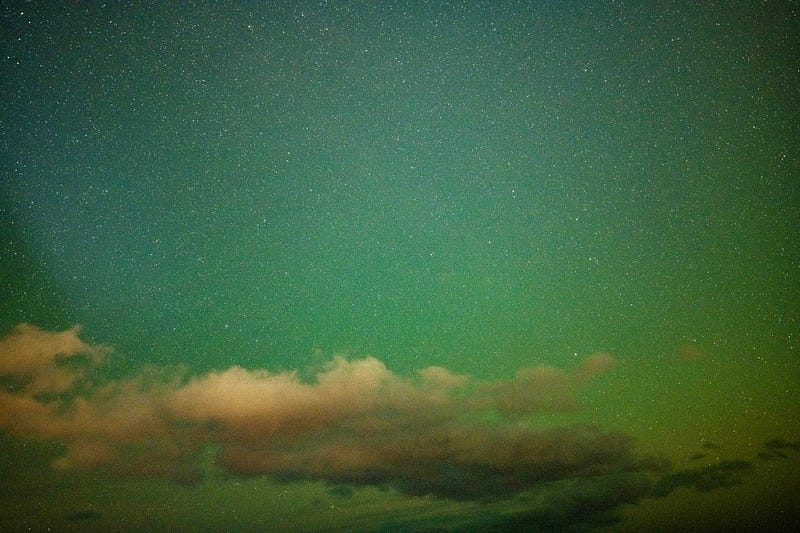
I had to leave for a dinner function before the moon set, so I didn’t get a chance to try this in a darker environment. And, each of the next couple of nights that we were there, the moon set later and later, so I didn’t get another opportunity. But I’m happy with these experiments and am looking forward to playing with this again on my next trip to Maui.
The basic technique for astrophotography is to open your lens up to ƒ2.8 (or the lowest f-stop you have) to let in the maximum amount of light. Focus on either a planet, star or light on the horizon (or to infinity), then lock your focal point by setting your lens to manual focus. Depending on the light situation, the ideal length of exposure is normally fifteen seconds or more. You’ll have to play around a bit with the ISO, maybe even setting it as high as 6400. Then, using your remote trigger (to avoid camera shake), take a shot or two and see what you’ve got.
It also really helps to do a little editing in Lightroom, or some other photo editing program. I adjust the highlights and the contrast, do a bit of dehazing, and slightly increase the saturation.
If you give this a try, I’d love to see your results. You can post a photo in the comments.
Erika Burkhalter is a yogi, neurophilosopher, cat-mom, photographer, and lover of travel and nature, spreading her love and amazement for Mother Earth’s glories, one photo, poem or story at a time. (MS Neuropsychology, MA Yoga Studies).
I hope you enjoyed my photos and musings.
You might also enjoy:
Photos and story ©Erika Burkhalter. All rights reserved.


