
Arduino with Infrared Sensor
Beginners guide to Arduino Project with IR Sensor
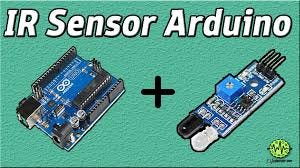
Arduino UNO is a microcontroller board- it is the brain of any electronics project. IR sensor, on the other hand, is an infrared rays transmitter and receiver. In the following project, we will learn the working principle of IR sensor followed by its application as a discriminator between black and white surfaces and as an obstacle detector with Arduino UNO.
IR Sensor
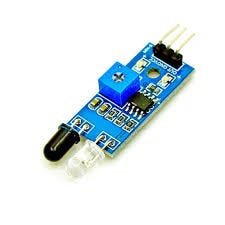
FC-51 IR Sensor emits and detected infrared radiations. IR radiations are part of the electromagnetic spectrum, with wavelength higher than that of visible light, and are generally invisible to the human eye.
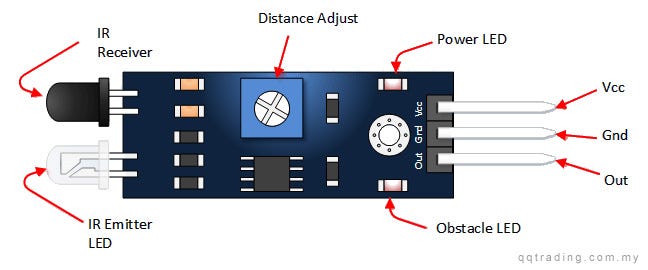
The IR sensor consists of:
- IR Emitter LED: Emits infrared light
- IR Receiver: A photodiode with resistance depending on the amount of IR light falling on it
- Distance Adjuster: Changes detection distance
- Vcc Pin: Provides 3–5 V input voltage
- Gnd Pin: Ground input
- Out Pin: Transmits output signal from the sensor to Arduino
- Obstacle LED: Turns on when light falls on IR Receiver
- Power LED: Turns on when the sensor is connected to a voltage source
Working of IR Sensor:
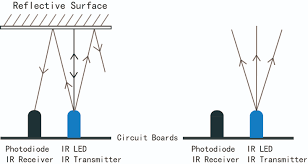
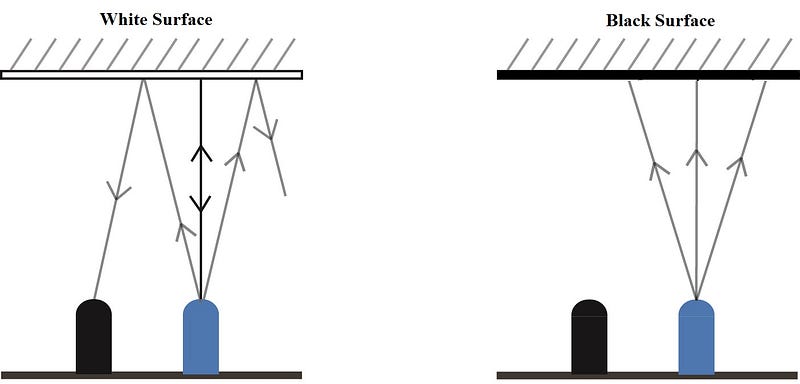
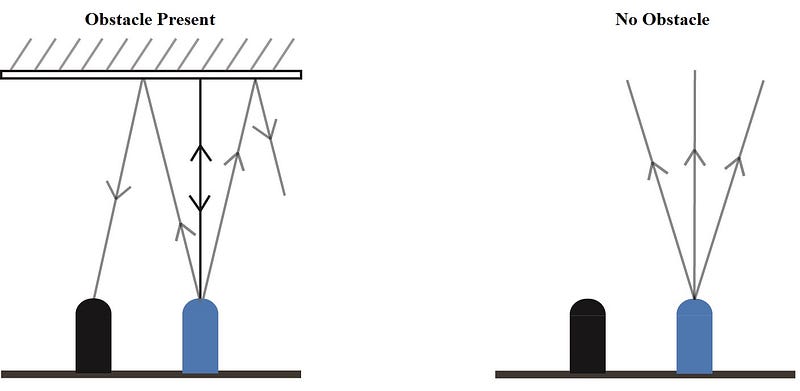
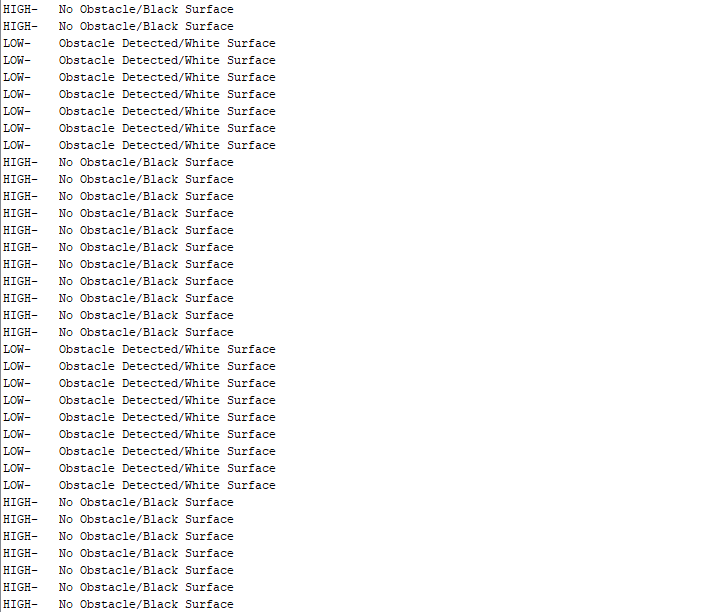
As per the property of light — light falling on a smooth shiny surface bounces off in a particular direction i.e. reflection — the ray send by IR Transmitter gets reflected from a surface and falls on IR Reciever. Subsequently, the receiver’s resistance drops, and a LOW/0 signal is sent by the OUT pin to the microcontroller.

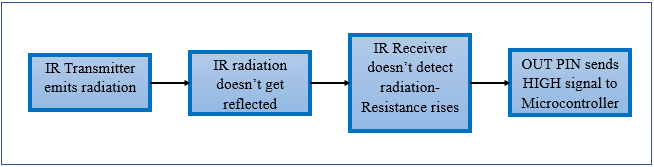
Similarly, when the light sent isn’t reflected either because there is no surface ahead or the surface ahead absorbs light, the resistance of the receiver rises and a HIGH/1 signal is sent by OUT pin to the microcontroller.
IR Sensor differentiating between black (rough) and white (smooth and reflective) surface
IR Sensor detecting an obstacle
Using IR Sensor with Arduino
Hardware requirements:
- Arduino UNO
- IR Sensor
- Jumper Wires
Software Requirements:
- Arduino IDE
- Copy-paste the code from here:
https://gist.github.com/Mariam-73/2e502980e632867167e8f25e5b16527d
Connections:
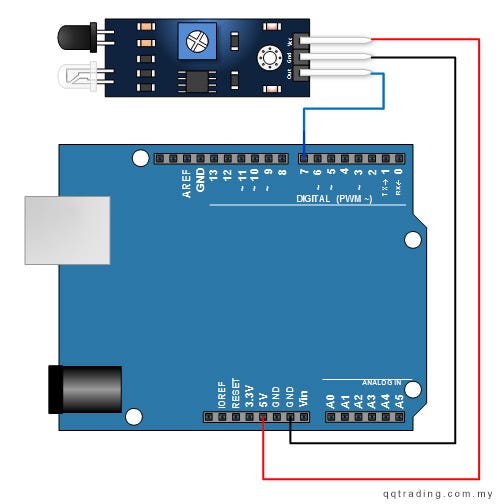
Connect the IR sensor to Arduino using Jumper wise as following:
- Vcc pin on the sensor to 5V pin on Arduino
- Gnd pin on the sensor to GND pin on Arduino
- Out pin on the sensor to any digital pin on Arduino UNO (7 in this example)
Connect Arduino to Laptop using USB cable, and upload the code. Open serial monitor to view results.
Sample Arduino Serial Monitor Output
Conclusion
In the above mini-project, it was shown how the IR sensor can be used along Arduino to detect obstacles or differentiate between reflecting and non-reflecting surfaces. IR sensor, along with Arduino can be used in many sensor-based electronic projects like line following car, obstacle avoiding car, and gesture control robot. A roboticist can learn and innovate in electronics by learning the basics of different sensor and Arduino, and developing such projects.


