Architecture For Single Page Apps Made Easy
A high-level overview of building single page applications in React
Disclaimer: this article will assume basic knowledge of React and JavaScript with an emphasis on the basic architecture for seamlessly creating single page applications.
If you are just getting started in React, you may find yourself wondering how to structure your project most efficiently. It’s one thing to understand the difference between state and props, but another entirely to know how an entire React app goes together. While there are many ways to tackle this, I will show you a simple way that works for me. The great thing about this method is that it is extremely scalable and makes adding features later on much easier.
Client-side Routing
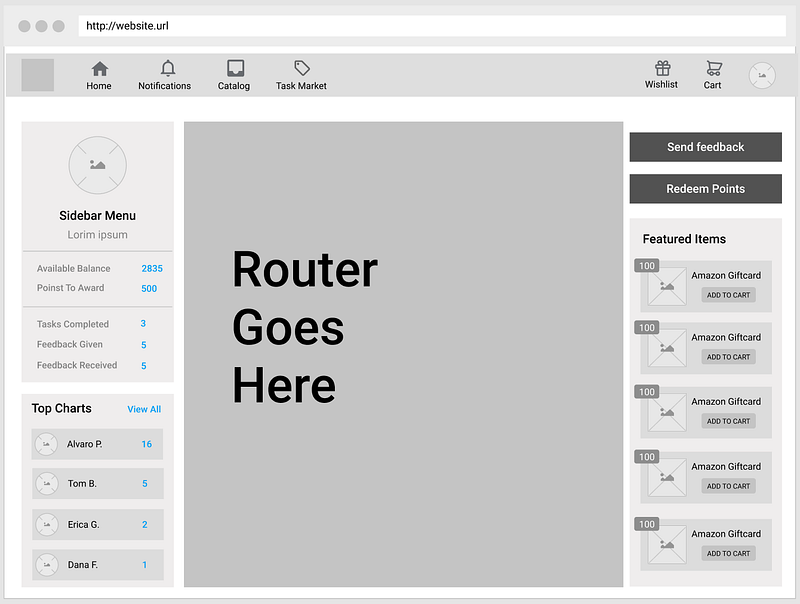
Your key to building a single page web app (one that does not reload when you navigate to a different part of the site) is going to be client-side routing. This way, when you navigate from myurl.com/home to myurl.com/profile, only certain views on the page will change. This is helpful if, for example, we have a top navigation bar or side bar menu that we want to keep in more than one route. Think of Facebook for a second. That little blue strip across the top with a Home and Profile button never goes away, no matter whose page you visit, which group you’re looking at, etc.
Enter React Router
React Router (react-router-dom) can make React development easier, and makes your application more scalable.
Similar to how a JavaScript switch statement works, React Router displays different components based on which URI you are currently visiting. This is a very helpful way of controlling the views the user sees. For example, if you are on the /profile route, you will only see the <Profile /> component. If you visit the /feed route, you will only see the <NewsFeed /> component. You get the idea.
Project Architecture
It all starts in your App.js file. This file is automatically created when you run npx create-react-app app-name.
Make sure you import ‘react-router-dom’ at the top of your file. Click here to read the docs.
I often create a new component to house my router, which keeps my App.js file from becoming a tangled knot of unbuttered pasta. I like to call this component <SwitchBox /> though you are free to name it however you see fit. In that component, I import my react-router-dom components as needed. You will need to run npm install react-router-dom first. My SwitchBox.js might look something like this:
import React from 'react';
import { Route, Switch } from 'react-router-dom'
import { ... } from './my-components'
class SwitchBox extends React.Component { render() { return (<Switch>
<Route exact path="/" component={Home} />
<Route exact path="/users/:id" component={Profile} /> <Route exact path="/users/:id/photos" component={Gallery} /> <Route exact path="/feed" component={NewsFeed} /> <Route exact path="/edit-profile" component={EditProfile} /></Switch>)}
}
Please note: the above code snippet is for demo purposes and will not work by simply copying and pasting. You will need to import the components you plan to render in any given route into your SwitchBox.js file. You may also intend to name your routes/components differently.
Now, <SwitchBox /> will render whichever component matches the route you specified! Let’s see how that would look in your project.
Putting everything together
In the App.js file, a very simple version of this architecture might look something like this:
As you can see, this is fairly clean and free of spaghetti. The <TopNavBar /> would be your component which renders the strip across the top with nav links. The <SwitchBox /> component will render whichever component matches the URI. This will allow you to easily add new features simply by adding new routes and components.
Happy building!


