IMAGE ANNOTATION
Unleashing the Power of Label Studio: Mastering Annotations for Deep Learning Projects … Like a Pro! (Part 1)
From Getting started with the simplest Image Annotation task in Label Studio to becoming a master in 3 steps.
This is a 3 part series on understanding how to work with Label Studio From , ‘how to get your hands dirty’ with simple Image annotation task to ‘performing complex ML integrations’ to the annotation pipeline using
👉 Part 1 — Getting started on Label Studio with Simple Image Annotation
👉Part 2 — Integration with ML framework
👉Part 3 — NLP and Text Annotations
What happened to labelImg ? ( or … What is Label Studio ? )
If you have ever tried using any image annotation tools around 2 years ago you must have definitely come across labelImg !! ( We are sure ! ) Now, in case you dont remember using it , here is a screen shot of how it looked like.
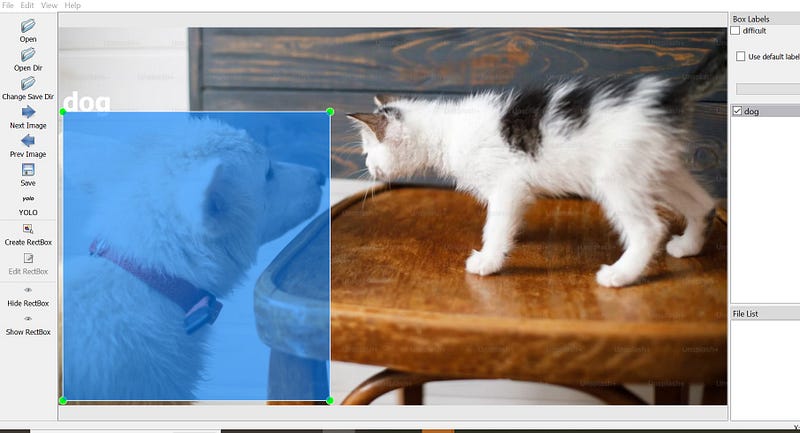
So now , labelImg ( built by Tzutalin) is part of a larger ( more commercial product suite called Label Studio. ( which, btw is also the name of their image annotation tool ) . In this article we will explore more on this tool.
What does Label Studio provide ?
Label Studio is a production grade Image annotation tool. It can /has —
- provide various interfaces based on the annotation task you are doing
- has templates support a wide range of annotation data types— be it text ( for NLP) , Image, Audio , Video or TimeSeries data
- integrate any related Machine Learning framework directly into its UI (Auto annotating, training models on the fly and active learning) ( Why is this kickass ? We will see this later — don’t worry of this doesnt make sense )
What will be covered ?
We will cover the following ( with lots of screen shots .. yaay 👌 )
- Installation
- Launching and getting started
- Creating a project space
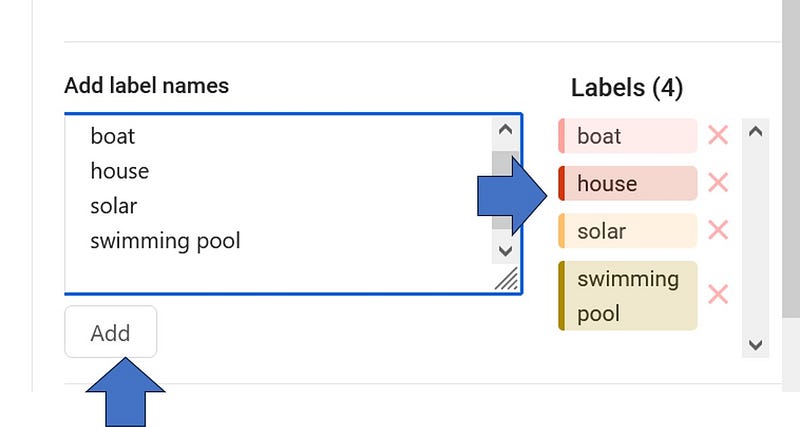
- Loading Data / Creating classes
- Creating the Configurations
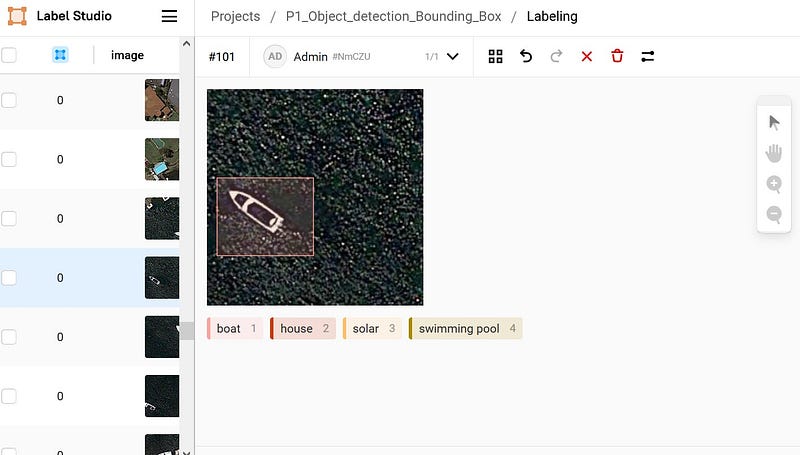
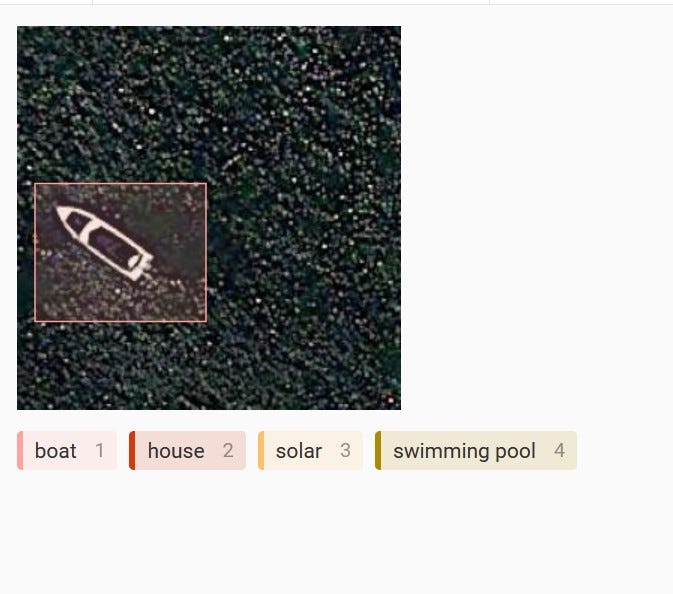
- Annotations & Labelling
- Exporting / Importing back
1. Installation
There are many ways to install including —
- pulling from
PyPi - building from source
- Using Anaconda environment ( they have one with the Label Studio included )
- Docker
But we will do the most simplest of installation — using
pip.
pip install label-studio
or if you are want to force install a particular version
pip install -U label-studio==1.4
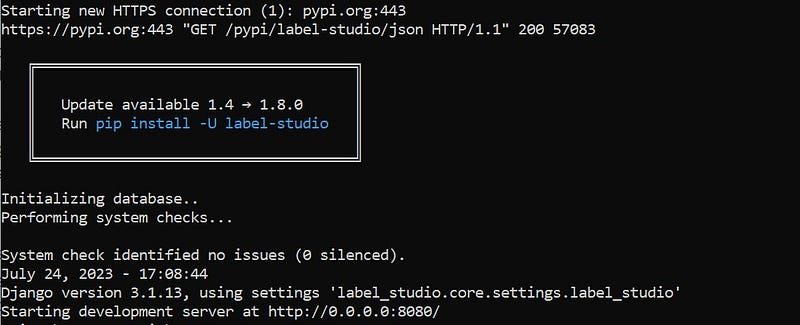
2. Starting up
Start up the server ( which runs locally on http://localhost:8080/ )by using the following command on the command prompt
label-studio start
or simply
label-studio
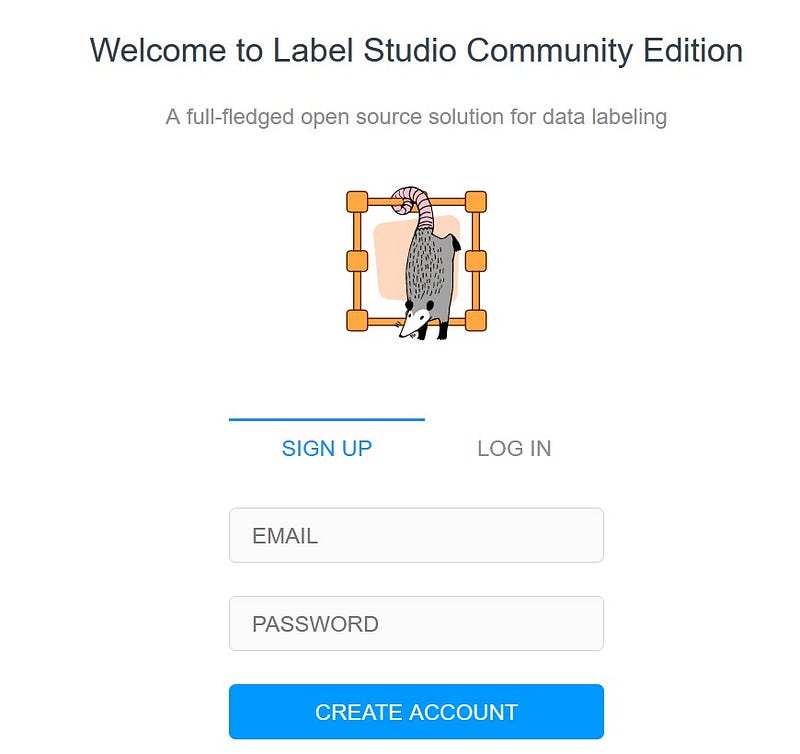
3. Launching

3. Uploading data
Point to the location where you have stored your images that need to be annotated.

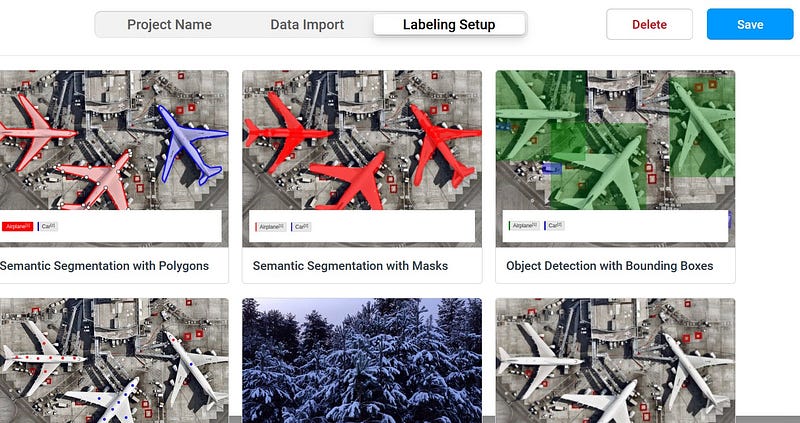
3. Setting up labelling configuration
You can select one of the templates — based on what kind of task you want to perform —
- Image Classification
- Image Detection & Localisation
- Segmentation ( Semantic / Instance Segmentation )
For this sample , we will chose an Object detection task / model ( with Bounding Box)
Once you save it , you are ready to go.
4. Export the annotations
You can click on ‘Export’ option and chose which format you wanted to be exported based on the kind of model architechture you are using for prediction.
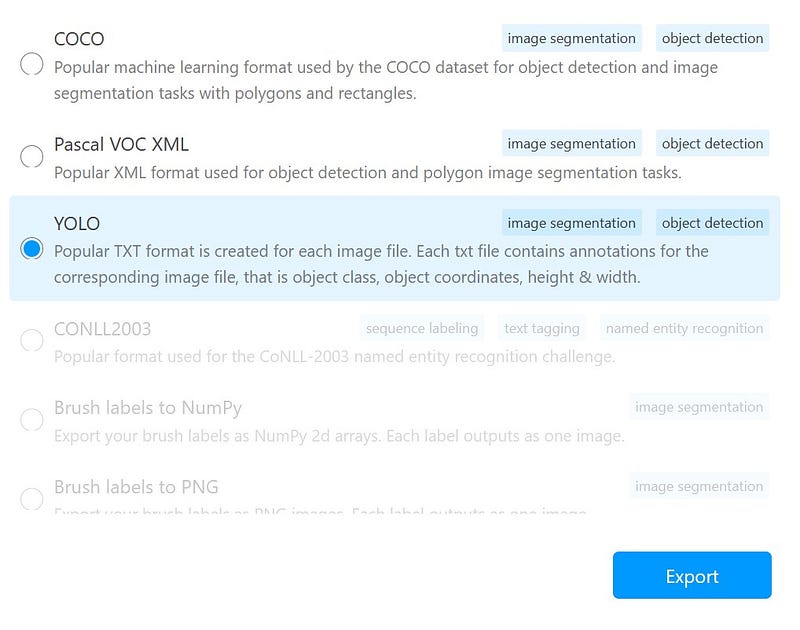
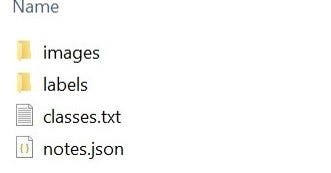
Here, we are choosing YOLO . Label Studio creates a neat folder structure in your exported location — ready to be used by YOLO.
Well, thats about it. For a simple annotation task . We kept it simple for now. But in the following part , we will see more advanced features of Label Studio, namely , “ How to integrate an ML framework to Label Studio” to enhance its capabilities.
Note :
👉Exporting : Label Studio (free version) exports tasks with annotations only by default
5.Importing Images & Annotations into a project
Sometimes you might want to move the whole annotation project to another machines or temporarily shelve it and save some space ( These are images and you might want to move them to some hard disc for now )
Follow the ‘Export — Save locally— Reimport’ cycle .
While exporting, make sure you export it into Label Studio JSON format.
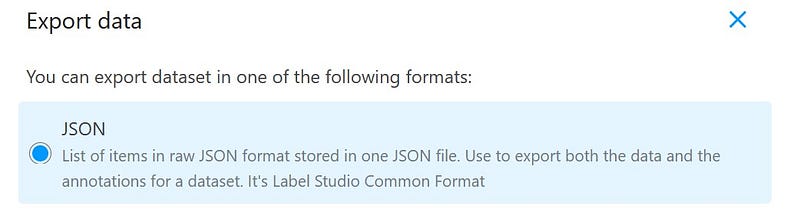
You can then import the JSON file and the images as well as the annotations come along into your project.
Some After Notes
Some questions you need to ask before planning a project.
- Where are the images stored? If you’re using a cloud infrastructure, will a large project occupy significantly large disk space?
- “Is it possible to merge multiple projects with varying annotations into a single workspace ? What potential label mismatches could arise from this process?”
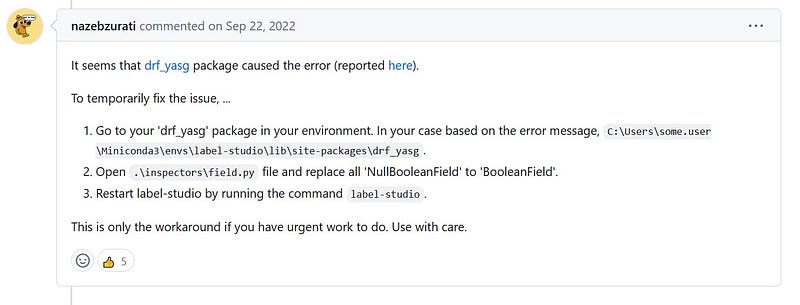
Fixing Common Errors
If you are using Label Studio on Windows — you might have some issues with some of the pre-installed packages —
AttributeError: module 'rest_framework.serializers' has no attribute 'NullBooleanField'
Sentry is attempting to send 2 pending events
Waiting up to 2 seconds
Press Ctrl-Break to quit
https://o227124.ingest.sentry.io:443 "POST /api/5820521/envelope/ HTTP/1.1" 200 41
Here is a fix for that . Thanks to user nazebzurati