
Angular | Working with JSON Data in Different Scenarios
Angular provides versatile ways to handle JSON data, whether it’s sourced locally, retrieved via HTTP, or fetched from a MySQL database.

In this blog post, we’ll explore three scenarios:
1. Read JSON Data from a Local File
Reading JSON data from a local file is a common practice, and Angular makes it straightforward. Let’s set up a simple example:
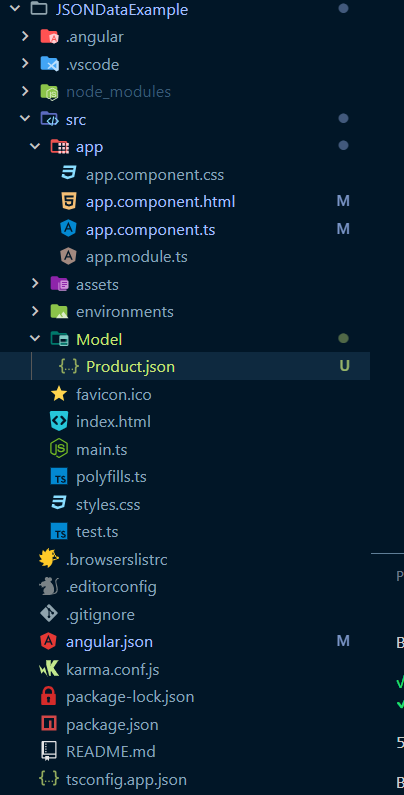
Configuring Angular for JSON Module Resolution
Add the following line to the tsconfig.json file to enable JSON module resolution:
"resolveJsonModule": trueData — Products.json
[{
    "id": 1,
    "name": "Licensed Frozen Hat",
    "description": "Incidunt et magni est ut.",
    "price": "170.00",
    "imageUrl": "https://th.bing.com/th/id/OIP.ef9bPyK4W3B_F96dYTut9wHaE7?rs=1&pid=ImgDetMain",
    "quantity": 56840
},
{
    "id": 2,
    "name": "Rustic Concrete Chicken",
    "description": "Sint libero mollitia.",
    "price": "302.00",
    "imageUrl": "https://th.bing.com/th/id/OIP.4TxtDoNMRT5wzlirqgmLzAHaDr?rs=1&pid=ImgDetMain",
    "quantity": 9358
},
{
    "id": 3,
    "name": "Fantastic Metal Computer",
    "description": "In consequuntur cupiditate et unde minus.",
    "price": "279.00",
    "imageUrl": "https://th.bing.com/th/id/OIP.ZD4d4udp7w1dxrqhwkyInAHaE8?w=228&h=180&c=7&r=0&o=5&dpr=1.3&pid=1.7",
    "quantity": 90316
}
]
Angular Component — app.component.html
<!DOCTYPE html>
<html lang="en">
<head>
<meta charset="UTF-8">
<meta name="viewport" content="width=device-width, initial-scale=1.0">
<title>Document</title>
</head>
<body>
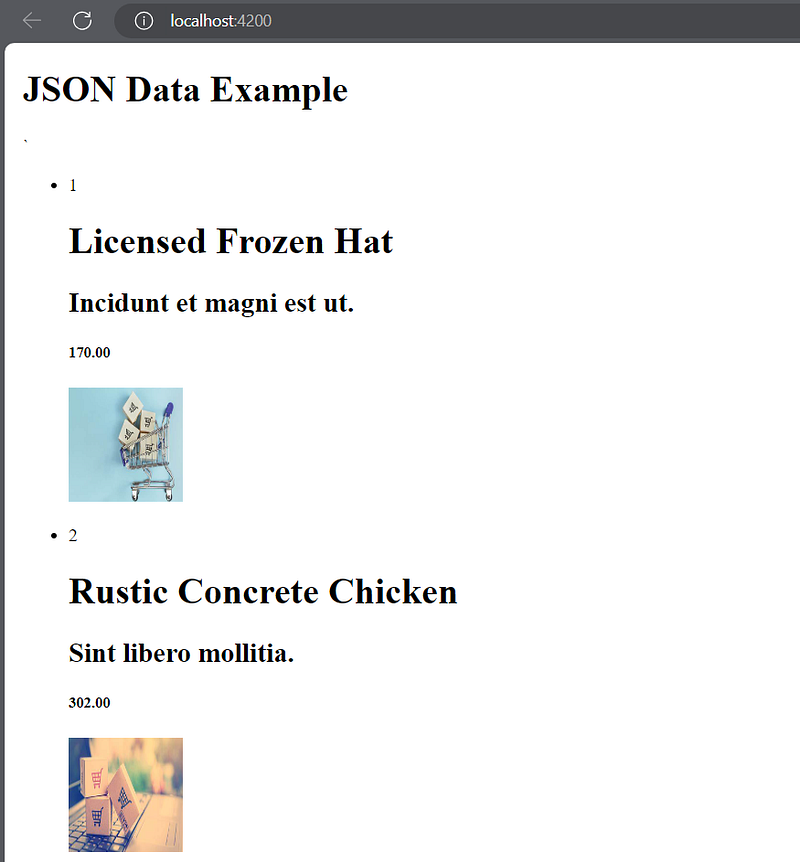
<h1>JSON Data Example </h1>
`
<ul>
<li *ngFor="let product of products">
<p>{{product.id}}</p>
<h1>{{product.name}}</h1>
<h2>{{product.description}}</h2>
<h5>{{product.price}}</h5>
<img src="{{product.imageUrl}}" height="100px" width="100px" />
</li>
</ul>
</body>
</html>Angular Component — app.component.ts
import { Component } from '@angular/core';
import * as prod from '../Model/Product.json'
@Component({
  selector: 'app-root',
  templateUrl: './app.component.html',
  styleUrls: ['./app.component.css']
})
export class AppComponent {
  title = 'JSONDataExample';
  products: any = (prod as any).default;

  constructor(){
    console.log(prod);
  }
}
OUTPUT:
2. JSON Connect with HTTP
Angular allows us to fetch JSON data from a remote server using HTTP.
ng g c rest-component
create a separate component for this scenario:
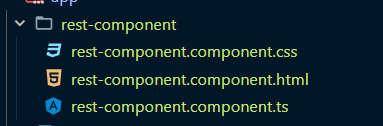
rest-component.component.html
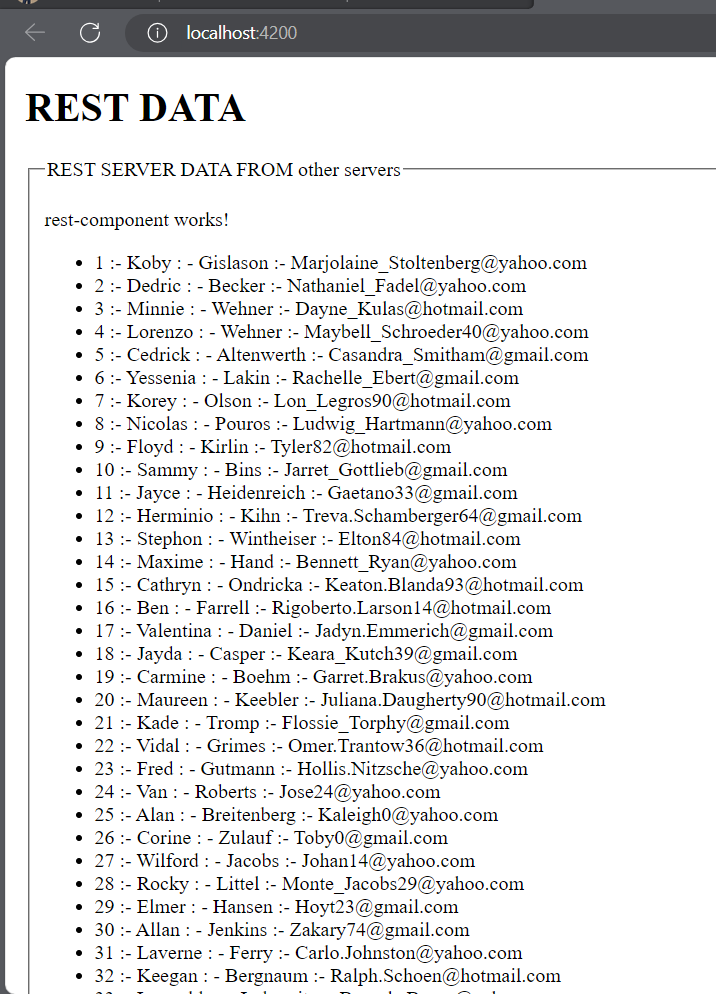
<p>rest-component works!</p>
<ul>
    <li *ngFor="let user of users">
        {{ user.id }} :- {{user.first_name}} : - {{user.last_name}} :- {{user.email}}
    </li>
</ul>
rest-component.component.ts
import { Component, OnInit } from '@angular/core';
import { HttpClient } from "@angular/common/http";
@Component({
  selector: 'app-rest-component',
  templateUrl: './rest-component.component.html',
  styleUrls: ['./rest-component.component.css']
})
export class RestComponentComponent implements OnInit {
  users: any = [];
  constructor(private httpClient: HttpClient) { }
  ngOnInit(): void {
    this.httpClient.get("http://localhost:2020/users").subscribe(data =>{
      console.log(data);
      this.users = data;
    })
  }
}
app.component.html
<!DOCTYPE html>
<html lang="en">
<head>
    <meta charset="UTF-8">
    <meta name="viewport" content="width=device-width, initial-scale=1.0">
    <title>Document</title>
</head>
<body>
    <h1>REST DATA</h1>
    <fieldset>
        <legend>REST SERVER DATA FROM other servers</legend>
        <app-rest-component></app-rest-component>
    </fieldset>
    <h1>JSON Data Example </h1>
    <fieldset>
        <legend>JSON DATA </legend>
        <ul>
            <li *ngFor="let product of products">
                <p>{{product.id}}</p>
                <p>{{product.name}}</p>
                <p>{{product.description}}</p>
                <p>{{product.price}}</p>
                <img src="{{product.imageUrl}}" height="100px" width="100px" />
            </li>
        </ul>
    </fieldset>
</body>
</html>
app.component.ts
import { Component } from '@angular/core';
import * as prod from '../Model/Product.json'
@Component({
  selector: 'app-root',
  templateUrl: './app.component.html',
  styleUrls: ['./app.component.css']
})
export class AppComponent {
  title = 'JSONDataExample';
  products: any = (prod as any).default;
  constructor(){
    console.log(prod);
  }
}
app.module.ts
import { NgModule } from '@angular/core';
import { BrowserModule } from '@angular/platform-browser';
import { AppComponent } from './app.component';
import { RestComponentComponent } from './rest-component/rest-component.component';
import { HttpClientModule } from '@angular/common/http';
@NgModule({
  declarations: [
    AppComponent,
    RestComponentComponent
  ],
  imports: [
    BrowserModule,
    HttpClientModule
  ],
  providers: [],
  bootstrap: [AppComponent]
})
export class AppModule { }
Initialize a Node.js Project
Create New Folder on Desktop or anywhere name as “REST_SERVER”. Open this Folder.
Open your terminal and run the following commands to create a new Node.js project:
npm init -y
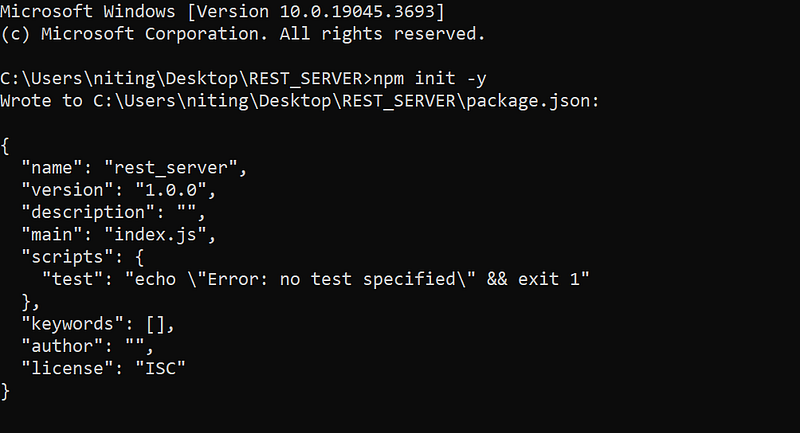
package.json file with default settingsAdd following dependencies in package.json
"dependencies": {
    "axios": "^0.24.0",
    "express": "^4.17.1",
    "mysql": "^2.18.1"
  },
Install Dependencies
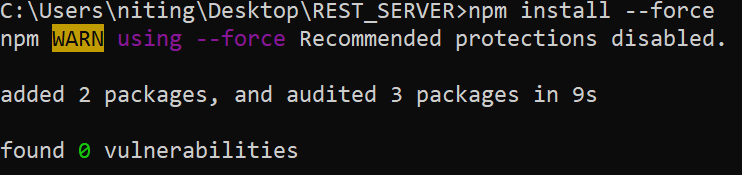
Install the necessary dependencies, including JSON Server and Faker.js:
npm install --force
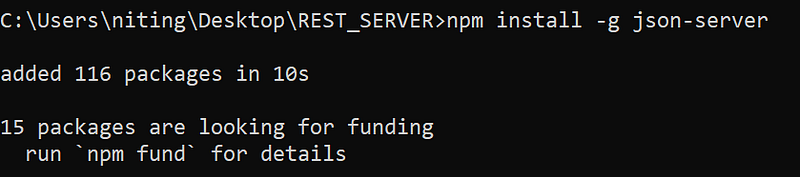
npm install -g json-server
Create the JSON Server Script
Create a file named server.js in your project directory and add the following code:
const faker=require('faker')
const fs=require('fs')

function generateUsers(){
 let users=[];
 for(let id=1;id<=100;id++){
  let firstName=faker.name.firstName()
  let lastName=faker.name.lastName()
  let email=faker.internet.email()

  users.push({
   "id":id,
   "first_name":firstName,
   "last_name":lastName,
   "email":email
  })
 }
 return {"users":users}
}

let dataObj=generateUsers();
fs.writeFileSync('data.json',JSON.stringify(dataObj,null,'\t'))
In this script, we use Faker.js to generate fake user data and write it to a data.json file. You can customize the data generation logic based on your requirements.
Run the Script
Now, run the script to generate the JSON file:
npm install -g json-server
node genrate_user.js

Json-server data.json -p 2020

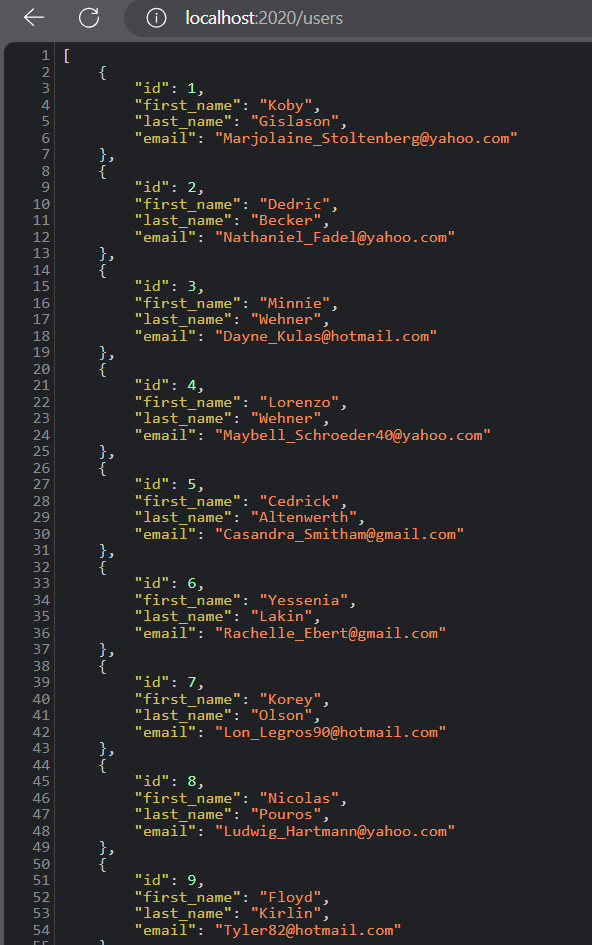
OUTPUT:
3. JSON Connect with MySQL Database
Set Up MySQL Database
First, let’s create a MySQL database and insert some sample data. Open your MySQL command-line interface and execute the following commands:
CREATE DATABASE techm;
USE techm;

CREATE TABLE fruits (
    id INT PRIMARY KEY,
    name VARCHAR(255) NOT NULL,
    color VARCHAR(50) NOT NULL
);

-- Insert sample data into the 'fruits' table
INSERT INTO fruits (id, name, color) VALUES
    (1, 'Apple', 'Red'),
    (2, 'Banana', 'Yellow'),
    (3, 'Orange', 'Orange');

-- Check the inserted data
SELECT * FROM fruits;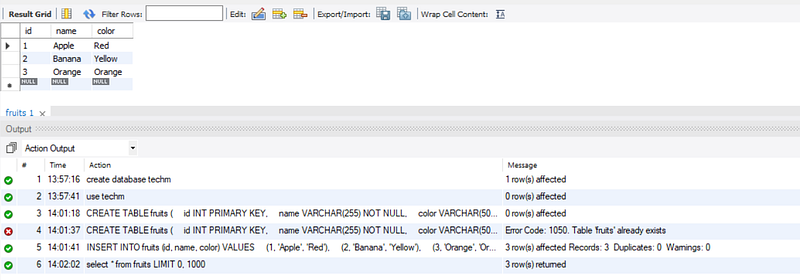
techm database with a fruits table containing some initial dataCreate Node.js Server
Now, let’s create a Node.js server to handle database operations. Create a new folder on your desktop, name it NODE_EXAMPLE, and navigate to it in your terminal. Inside this folder, create a file named server.js with the following content:
const express = require('express');
const bodyParser = require('body-parser');
const mysql = require('mysql');
const connection=mysql.createConnection({
host: 'localhost',
user: 'root',
password: 'nitin',
database: 'techm',
insecureAuth: true
})
const app=express()
app.get('/records',function(req,res){
// connection.connect()
connection.query("select * from inventory",function(err,result,filed){
if(err)throw err
console.log(result)
res.send(result)
})
// connection.destroy();
})
app.get('/', function (req, res) {
res.send("Hello")
})
app.get('/hello',function(res,res){
res.end("Hello request ")
})
app.get('/err',function (req, res) {
throw new Error("this is ERROR MESSAGE to know kibana");
})
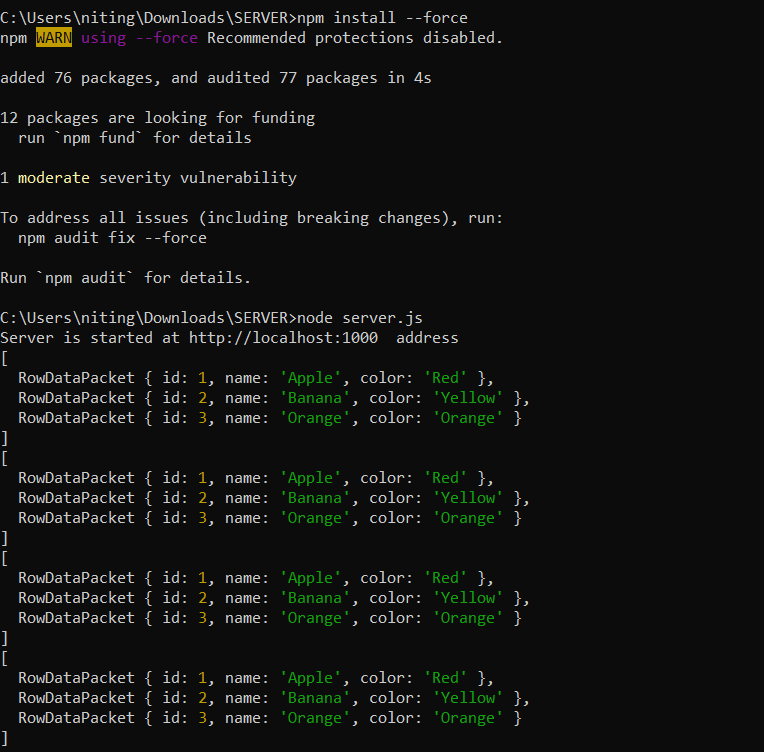
app.listen(1000,()=>{
console.log("Server is started at http://localhost:1000 address")
})This script creates a basic Express server with an endpoint /records to fetch data from the fruits table.
Run the Node.js Server
The NODE_EXAMPLE folder in your terminal and run the following commands:
npm init -y
This will initialize a new Node.js project, install necessary dependencies, and start the server at http://localhost:1000.
Create Angular Component
Now, let’s create an Angular component to display the data fetched from the MySQL database. Run the following commands in your terminal:
ng g c nodeserver
This will generate the necessary files for your Angular component.
nodeserver.component.html
Edit the nodeserver.component.html file with the following content:
<!-- nodeserver.component.html -->
<p>Node Server Works!</p>
<ul>
    <li *ngFor="let f of fruit">
        {{ f.id }}: {{f.name}}: {{f.color}}
    </li>
</ul>
We are using {{ f.id }}: {{ f.name }}: {{ f.color }} with an ngFor loop to fetch data connected with the database.
nodeserver.component.ts
Edit the nodeserver.component.ts file with the following content:
import { Component, OnInit } from '@angular/core';
import { HttpClient } from '@angular/common/http';
@Component({
  selector: 'app-nodeserver',
  templateUrl: './nodeserver.component.html',
  styleUrls: ['./nodeserver.component.css']
})
export class NodeserverComponent implements OnInit {
  fruit:any=[];
  constructor(private httpClient: HttpClient) { }
  ngOnInit(): void {
    this.httpClient.get("http://localhost:1000/records").subscribe(data =>{
      console.log(data);
      this.fruit = data;
    })
  }
}
rest-component.html
Edit the app.component.html file to integrate the new component:
<fieldset>
<app-nodeserver></app-nodeserver>
</fieldset>
app.module.ts
import { NgModule } from '@angular/core';
import { BrowserModule } from '@angular/platform-browser';
import { AppComponent } from './app.component';
import { RestComponentComponent } from './rest-component/rest-component.component';
import { HttpClientModule } from '@angular/common/http';
import { NodeserverComponent } from './nodeserver/nodeserver.component';
@NgModule({
  declarations: [
    AppComponent,
    RestComponentComponent,
    NodeserverComponent
  ],
  imports: [
    BrowserModule,
    HttpClientModule
  ],
  providers: [],
  bootstrap: [AppComponent]
})
export class AppModule { }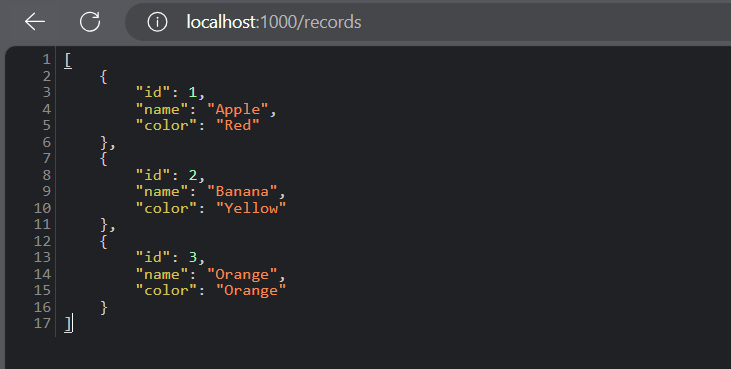
Open SERVER FOLDER and Use Following commands to run server:
npm install --force
node server.js
Thank you for reading!
If you enjoyed this article, please don’t forget to give it a like.


