
An Introduction to Signals in Django
The First Step to Creating Decoupled Applications

Most applications require some processes to occur concurrently. For example, when a bank account is debited or credited, a user usually receives a notification alerting them of the event.
The best approach to implement this is by use of Django signals. Signals in Django are used by decoupled applications to send notifications when an event occurs in the framework.
Signals rely on senders and receivers. The sender is the model, while the receiver is the component that executes every time the model save method is triggered. In simple terms, the sender will notify the receiver that an event has occurred.
Django provides some inbuilt signals namely:
- .
pre_save— a signal sent before a model’s save() method is called. - .
post_save— a signal sent after a model’s save() method is called. - .
pre-delete— a signal sent before a model’s delete() method or queryset’s delete() method is called. - .
post_delete— a signal sent after a model’s delete() method or queryset’s delete() - .
m2changed— a signal sent when changes are made to a ManyToManyField on a model. - .
request_started— a signal sent when Django starts an HTTP request. - .
request_failed-a signal sent when Django finishes an HTTP request.
Examples of applications where signals are used
- User management- When a user creates an account, a user profile is also created for that particular user.
- ECommerce — when an order is received, a signal is sent to reduce the stock of that specific product.
In this tutorial, we will create a simple blog application that sends emails whenever a blog post instance is created.
Setup Django Project
Let's set up a new Django project.
mkdri django_signals
cd django_signal
First, let’s create a virtual environment to keep the project dependencies separate.
python3.8 -m venv env
Activate the virtual environment and install Django.
source env/bin/activate
python 3.8 -m pip install Django
This will install the latest version of Django, i.e., Django-4.0.1.
Create a new Django project called blog_signal.
django-admin startproject blog_signal .
The dot(.) ensures that the command doesn’t create another directory but just the files. Create an app called signals.
python3.8 manage.py startapp signalsAdd the app signals to the list of INSTALLED_APPS.
INSTALLED_APPS = ['django.contrib.admin','django.contrib.auth','django.contrib.contenttypes','django.contrib.sessions','django.contrib.messages','django.contrib.staticfiles','signals', #ADD SIGNALS APP HERE]
Adding the app above makes Django aware of it. In the file signals/models.py, add the following code.
In the code above, we create a model Blog which has title and description fields.
The next step is to run migrations.
python3.8 manage.py makemigrations
python3.8 manage.py migrate
Let’s create a superuser to have the ability to use the Django admin interface.
python3.8 manage.py createsuperuserRegister the Blog model in Django admin, open admin.py, and add the following code.
from signals.models import Blogfrom django.contrib import adminfrom .models import Blog# Register your models here.
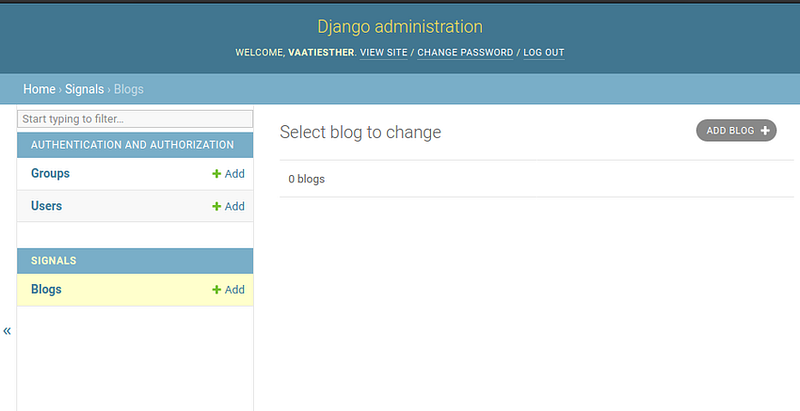
admin.site.register(Blog)Run the server with the python3.8 manage.py runserver command. You should get the following response.
Now a development server for your project is running at http://127.0.0.1:8000/.
Implement a Post-Save
In our application, we want to send an email every time a blog post has been added. Let’s add a sender instance after a blog entry has been created. Create a file signals/signals.py and add the following code.
Here we create a send_blog_email signal that waits for a save event in the blog model and sends an email immediately.
receiver-a function that receives the signal.sender-sends the signal, and in this case its the Blog modelcreated- checks whether the Blog model is created or notinstance-Blog model instance**kwargs- keyword arguments
Let’s create the logic for sending emails. We will use Send Grid to send emails.
SendGrid is a cloud-based SMTP provider that allows you to send email without having to maintain email servers. SendGrid manages all of the technical details, from scaling the infrastructure to ISP outreach and reputation monitoring to whitelist services and real time analytics.
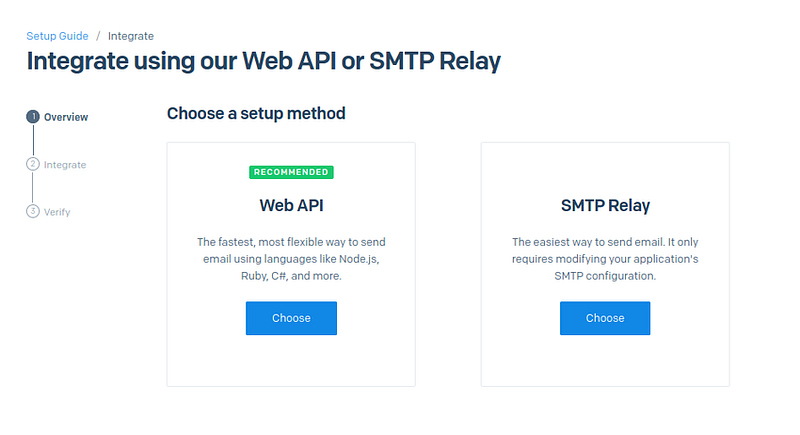
First, head over to https://sendgrid.com/and create a free account. SendGrid allows you to send 100 emails per day for free forever. Next, go to Email API and choose the Web API as the setup method.
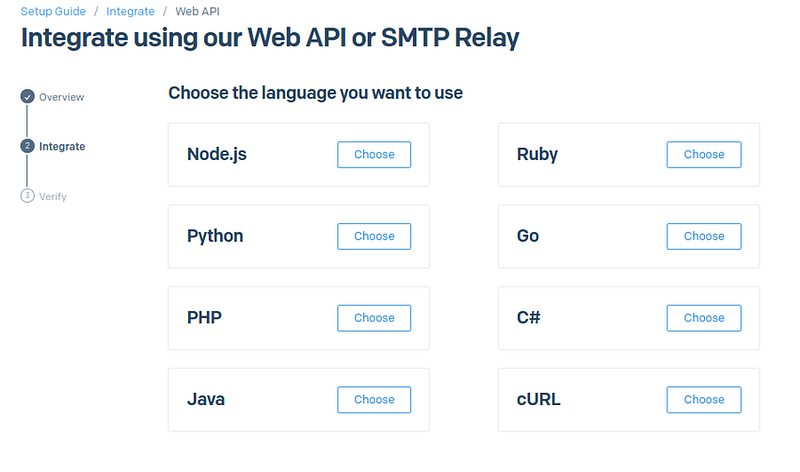
On the next page, choose Python as the language to integrate with.
Next, create an API KEY.
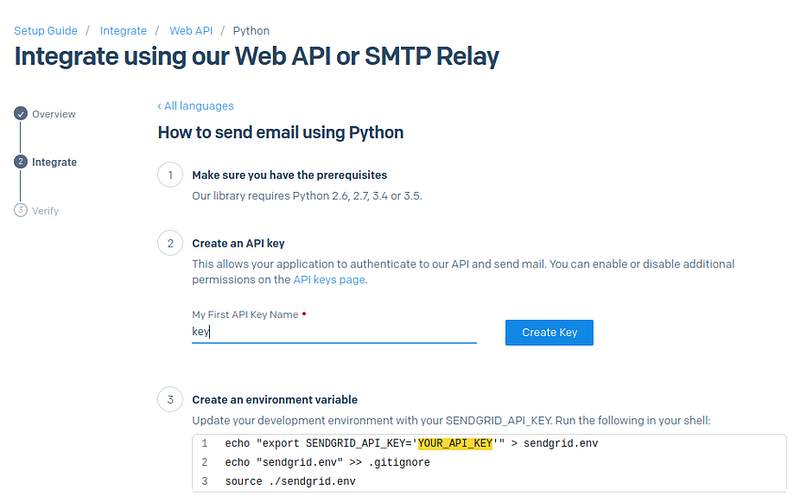
Create environment variables
echo "export SENDGRID_API_KEY='YOUR_API-KEY" > sendgrid.env
This command creates a file sendgrid.env that contains the API key. Next, run the following commands.
echo "sendgrid.env" >> .gitignore
If you are using git, the file will be added to the .gitignore file; hence your API credentials will not be tracked if you commit the file. This is a security measure, so you don't accidentally publish your SendGrid API keys to GitHub.
source ./sendgrid.envLastly, install sendgrid-python and its dependencies using pip.
pip install sendgridYour application is now ready to send emails. Open signals.py and update the receiver to send an email every time a blog instance is created. The file signals.py should now look like this.
Lastly, we need to connect the signals.py with the apps.py file using the ready function for signals to work. Update apps.py file as follows.
Now every time a blog entry is created, an email will be sent immediately.
Conclusion
This tutorial has covered everything you need to know to get started with signals in Django and how to send emails in Python. With this guide, you can build decoupled applications. For more information on signals, visit the official Django docs.
Thank you for reading.
More content at plainenglish.io. Sign up for our free weekly newsletter. Get exclusive access to writing opportunities and advice in our community Discord.