
AI Image upscale made easy, no GPU needed
In this post I am going to show how easy and quick is to create a Python script that allows you to upscale an image using AI.

This article is a follow-up to my previous article about generating your own AI images locally on your computer:
With this article’s script, you can upscale the AI-generated images to resolutions of up to 4096x4096 (using a scale factor of 8x).
This article assumes that you already have Python and PyCharm installed on your computer.
Creating a new PyCharm project
Let’s start by creating a new PyCharm project that we can call ‘AIUpscale’, as seen in the example below:
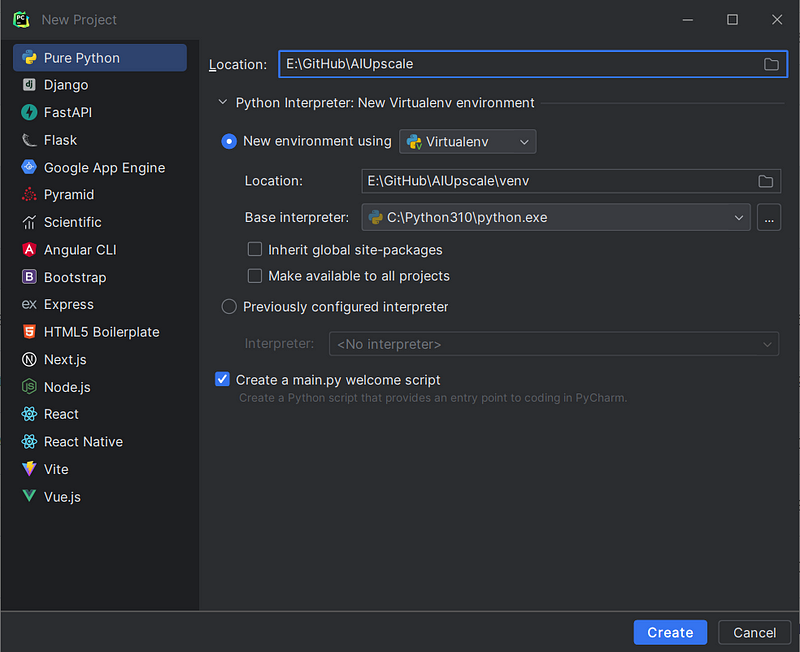
We can leave the ‘Create a main.py welcome script’ option on, as this will also create a proper Run configuration automatically for us on PyCharm.
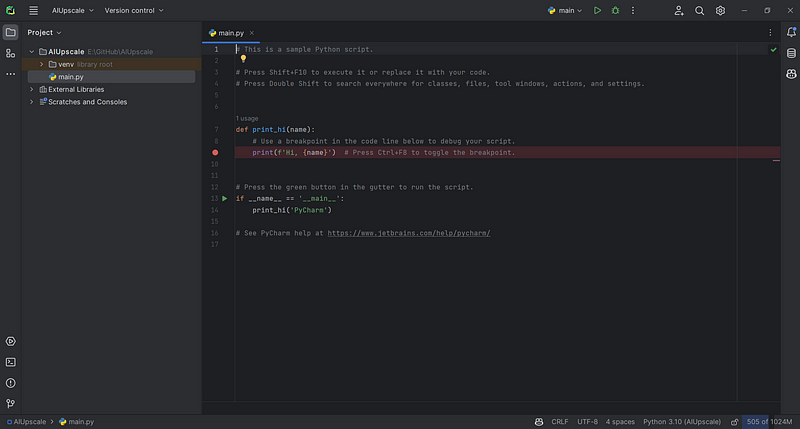
The created project should look like this:
Installing External Libraries
We will use an external library to make our AI upscale work using an ESRGAN AI model. The following GitHub project projects that resource for us:
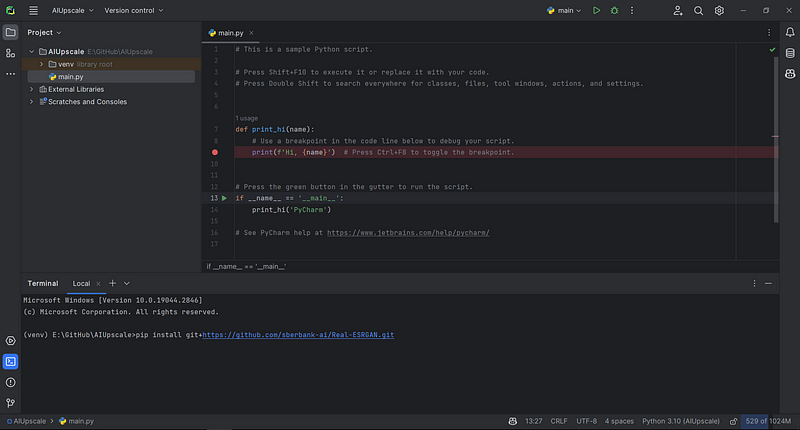
Let’s install it using PIP:
pip install git+https://github.com/sberbank-ai/Real-ESRGAN.git
We can do this using the terminal tab in PyCharm:
Creating the script
We can now create the script that will receive as an input a low-resolution image (or any image), perform an upscale with the AI model, and save the resulting image to disk.
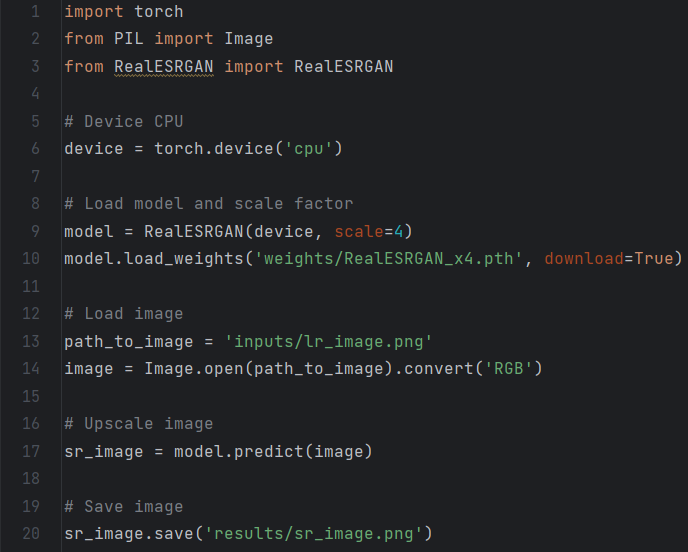
Let’s examine the code:
import torch
from PIL import Image
from RealESRGAN import RealESRGAN

# Device CPU
device = torch.device('cpu')

# Load model and scale factor
model = RealESRGAN(device, scale=4)
model.load_weights('weights/RealESRGAN_x4.pth', download=True)

# Load image
path_to_image = 'inputs/lr_image.png'
image = Image.open(path_to_image).convert('RGB')

# Upscale image
sr_image = model.predict(image)

# Save image
sr_image.save('results/sr_image.png')- We select as a device the CPU, as we intend to see how easy it is to upscale images with AI with only the CPU;
- The next step is to load the model weights, which we set to automatically download on the first run. Here we are using a scale of 4, meaning the original image is going to upscale with a factor of 4x. Other possible values are 2 and 8;
- Load the input image and convert it to RGB, this is required for the AI model to properly upscale the image;
- Run the image upscale with the ‘predict’ method from our model, passing the image
- Save the resulting image into the disk
Let’s see how this simple script looks on our PyCharm project:
Running the script
We can now run the script by pressing the big play button on the PyCharm interface.
The script will start by downloading the weights:

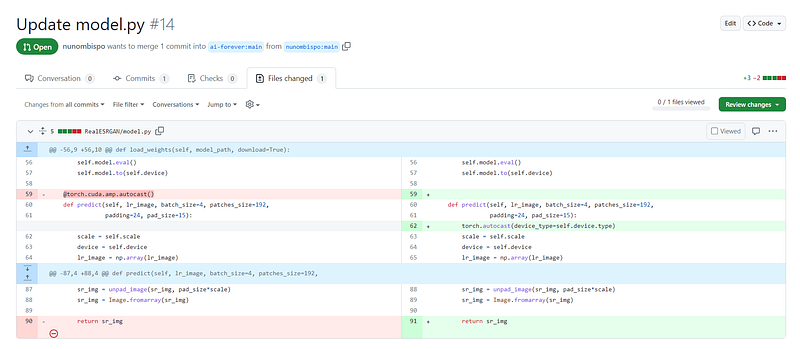
After that, the script will run and upscale the image. While the script is running there will be no output, but you might also get this warning message:

The reason for this warning message, which shows despite we explicitly defined our script to run on CPU only is due to a bug on the external library.
I have already submitted a pull request with a fix for this issue:
Despite the warning message, the script will run fine and after 1 to 2 minutes (depending on your CPU), the output image will be generated and saved.
Checking the results
As an input, the following image was used in my example:
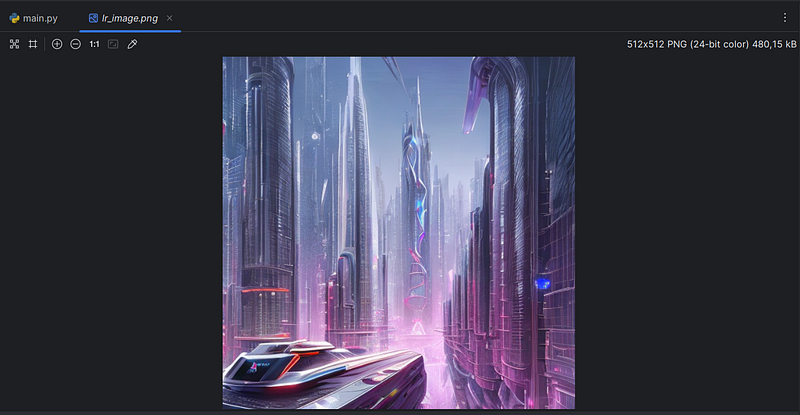
The resulting image, with an upscale factor of 4x, is:
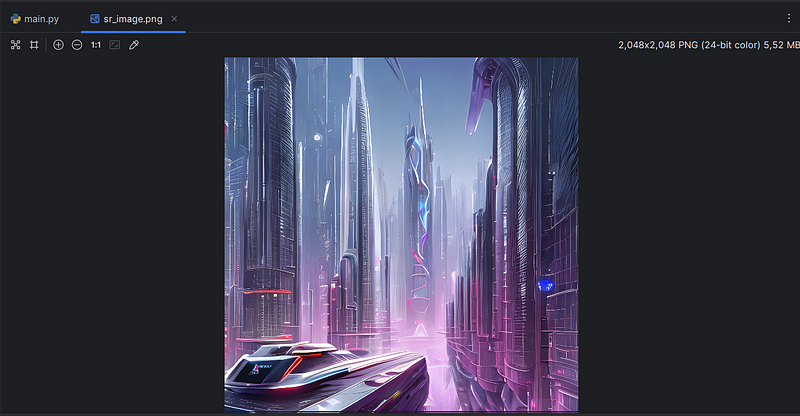
As you can see, the AI model not only upscale the image resolution but also made the image much sharper.
Conclusion
In this article, we saw how easy it is to create a script to upscale images using AI.
The external library/model that we used not only upscales the image but also makes it sharper and more visually appealing.
The source code of this script, as well as the images, can be found at:
Thank you for reading and I will see you on the Internet.
Follow me on Twitter: https://twitter.com/DevAsService
Check out my website at: https://developer-service.io/
Check out other articles that might interest you:
If you enjoyed reading this article and found it useful, you can support me by signing up for a Medium membership (if you are not a member). It will only cost you $5 a month, giving you access to all stories on Medium! (and I will receive a small commission)
Besides that, if you want to stay updated when I post a new article, you can signup for my free newsletter!


