
Advanced Guide To Writing How-To Content
A solution to a problem, something the audience wants to read
One of the best-selling and most-read nonfiction topics is the How-To- instructional niche.
Why is this so successful?
Simply put this topic provides a solution to a problem, meaning it is something the audience wants to read. This in my opinion is the basic principle of all writing.
Instructional writing can share valuable knowledge with your reader. This is desirable for both you as a writer and your audience as a reader, Or should I say, learner? With How-To writing, you are teaching something. This can take the form of eBooks, short guides, or blog posts. If you search on Google, there is pretty much a How-To guide to everything! That doesn’t mean that your guide will be any less valuable!
Below is how I write How-To posts and guides.

Selecting the Topic
Let’s start with the crucial first step. Deciding on a topic. For me, it’s about finding an area where I have some expertise. But also one important point and that goes back to:
A solution to a problem, something the audience wants to read
This is the goal!
Consider my love for writing. Being a writer with a strong sense of storytelling. I might see an opportunity to share my expertise through a how-to blog post on creating interesting and realistic characters. This is a chance to connect with other writers, and therefore readers who are looking to improve this area of their writing.
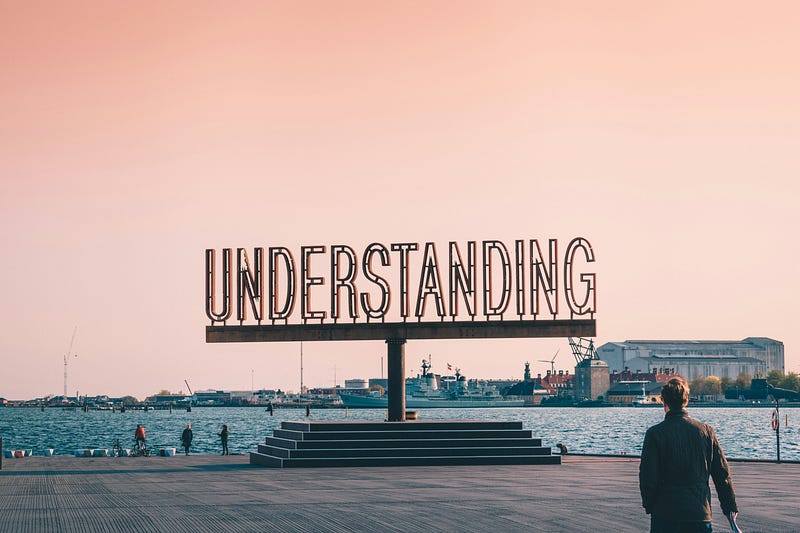
Understanding the Reader
Before I even start the writing process, I stop and think about my audience’s needs, preferences, and proficiency levels. Are they new authors looking for a foundation in writing characters? Or seasoned professionals searching for more advanced techniques? A bit of both? Some tips that the professional will know but also a few new ideas that could benefit both parties. This is where I have to tailor my post to who I am aiming at.
If I decide the audience will be mainly novice writers, I’ll focus on laying the groundwork for the basic characters, how they will fit in the plot, and developing each of their individual voices in the story.

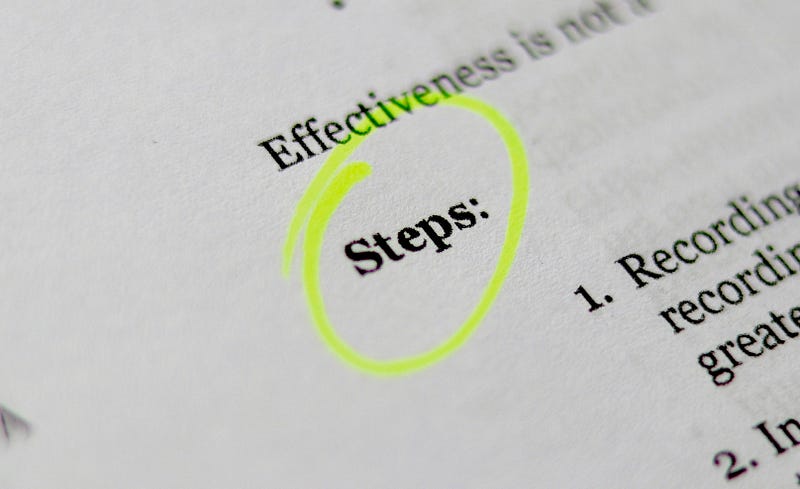
Research and Development
Once I have a clear idea of my topic and audience, I embark on an expedition of research. I love diving into resources and searching for other ideas that I can incorporate into my own experience and techniques. I use search engines, books, and blogs, and also more recently AI such as ChatGPT or Gemini (Bard). I want it noted I use AI as a tool, not to write with. AI writing is wooden and not very good.
Subheadings are your Guide
Once I know what I want to write through my own experience and research. I will then start to write working subheadings or chapter headings if I am writing a full guide. I say working because the headings might change as I write them. Sometimes the headings don’t fit the completed work.
Using these subheadings, I write each section or chapter of the guide. I think of headings as my writing prompts. So this post was.
Heading: Basic Art of How-To Content
Selecting the Topic
Understanding the Reader
Research and Development
Subheadings are Your Guide
Clarity and Precision
Jargon and Acronyms
Personalize Your Voice
Images and Diagrams
Formatting and Look
Grammar, Spelling, and Punctuation
Clarity and Precision
Clarity and precision in a How-To guide of any sort are very important.
I like to keep this sentence in mind.
“Just because you know something doesn’t mean the reader will know it!”
As an ex-teacher, this was the dreaded point in any presentation when a student would say:
“As we all know …”
NO, WE DON’T ALL KNOW THAT! YOU KNOW THAT!
This one sentence of “As we all know” Defeats the whole purpose of the How-To!!
If the reader knows, then they don’t need the guide!

Jargon and Acronyms
I try to avoid as much jargon as I can when I am writing. This might be a personal preference, but I also find it very useful when writing How-To-Do-Something.
If I am reading about something I want to learn about or am not familiar with, I don’t want to spend my time searching for the meanings of words or trying to work out the acronyms that the writer is using. Again, this comes under just because I know doesn’t mean other people do.
Instead of inundating readers with literary jargon, I simplify my language to give the information and then share the proper term for it.
Or, I will explain the use of the word.
Example: The audience must understand what you are talking about! The audience, in this case, is your reader.

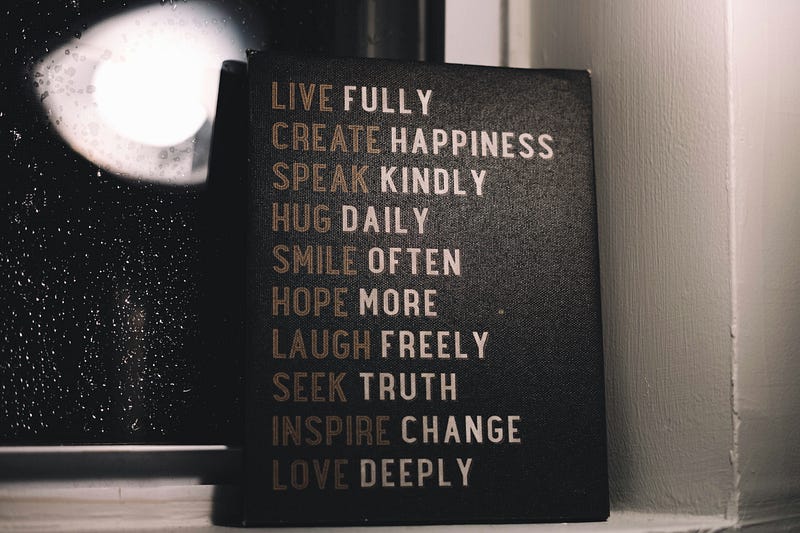
Personalize your Voice
I love adding my own voice and personality to my writing, even in a how-to format. This makes the guide more relatable and engaging to the reader, it also makes it a lot more enjoyable to write!

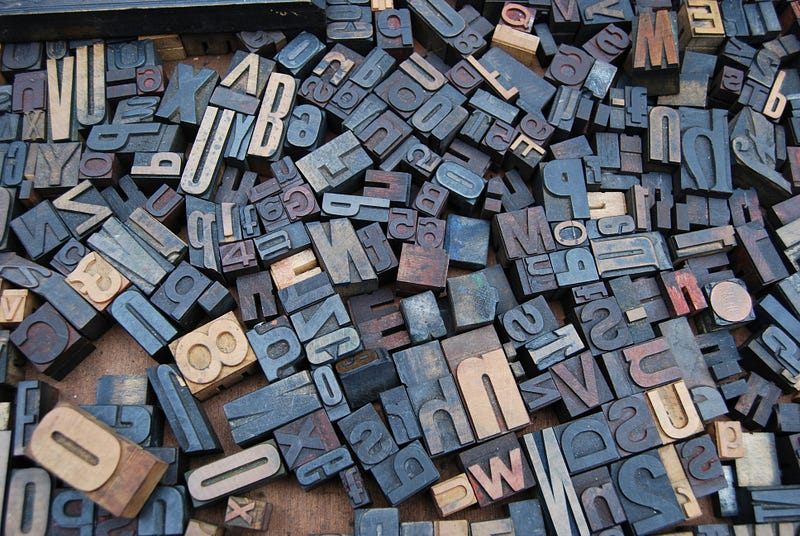
Images and Diagrams
Of course, it depends on what you are writing about. If you are writing a How-To-Cook-Italian-Food guide, then you will need at least some pictures of the finished dishes. If you are writing about how to draw Manga, you’ll want to add some step-by-step drawings to illustrate your process.
There’s nothing worse than a plain How-To guide even when the content is engaging. If the visual aspect of the piece isn’t appealing, you might put some readers off, and therefore lose them.
I use images like the one below to first break up text and second to give a visual representation of the title.
Formatting and Look
And speaking about the visuals and the appearance of your work. Avoid massive blocks of text! Huge blocks of writing make it very difficult to read and a little intimidating. Again, this might lose your readers who otherwise would have been interested in what you have to say.
Also, make sure everything is consistent throughout the piece. For example, if you use numbered lists, don’t then switch to bullet-point lists later. Keep to the same format or it makes it all look a bit messy.
Grammar, Spelling, and Punctuation
Nobody wants to read anything littered with bad grammar, terrible spelling, and worse punctuation. All that effort of research, writing, adding images, and formatting only for it to be let down by making it difficult and often jarring to read.
It’s shocking how many writers skip this! If your work is full of mistakes, it looks unprofessional! Nobody wants to pay money for something that looks amateurish.
This is a very simple fix! Grammarly and ProWritingAid are FREE! Run your writing through them. I find ProWritingAid to be better at finding punctuation mistakes, but Grammarly is a lot faster. So I run all of my work through first Grammarly to catch the obvious mistakes such as bad spelling and grammar and then ProWritingAid to polish.
Thanks for reading!
Clap, Follow, and Comment if you want to.
Paul