
Build a Simple Contact Form With React Hooks, Firebase, Nodemailer, and Axios
A step-by-step tutorial

You could imagine my surprise when I went on the web to look for a straightforward contact form implementation using React and Firebase and couldn’t find one. I wanted it to send an email to my inbox when someone tried to contact me on my website. Oh, and did I mention I wanted it to store the email data in my Firebase database? Can I also get something with hooks? Maybe a cherry on top. Please and thank you.
Why didn’t this exist?
Oh well. When in Rome, do as the Romans do — make documentation. That’s the saying, right?
A lot of the time, you want the quick and easy answer to focus on the good stuff. Here, to save you from ripping your hair out strand by strand, I’ll give you a super-straightforward tutorial.
What Do I Get With This?
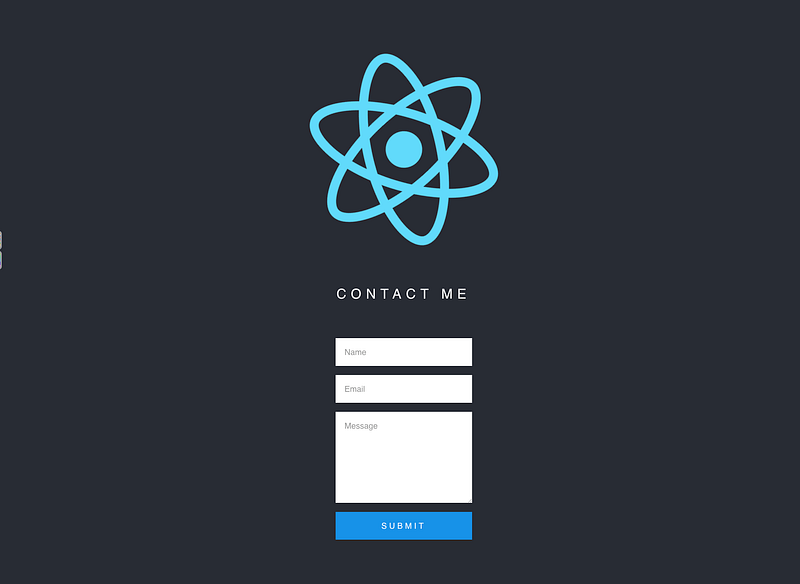
A contact form for your site that sends you an email notification when someone hits that “Submit” button. You get an email in your inbox saying something like, “Hey hey, so-and-so just sent you a message saying this and that. Hurry up and reply.” You’ll get to see their name, email, and message in your inbox.
Do you want a tutorial with less technical jargon and more vanilla English? Done and done.
Technologies and Packages Used
- React
- React Hooks
- Firebase
- Nodemailer
- Axios
- Cors
- Gmail
Step 1: Open Your React App Terminal and Install the Dependencies You Will Use for This Project
$ npm install firebase axios node-sass
$ npm install -g firebase-tools
You should now have Firebase listed in your package.json file.
Step 2: Add Your Project in Firebase
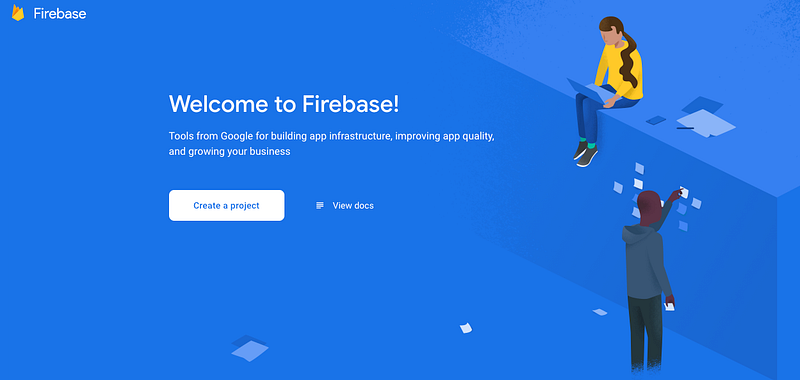
1. Go to the Firebase website. Click “Create a project” and complete the required steps.
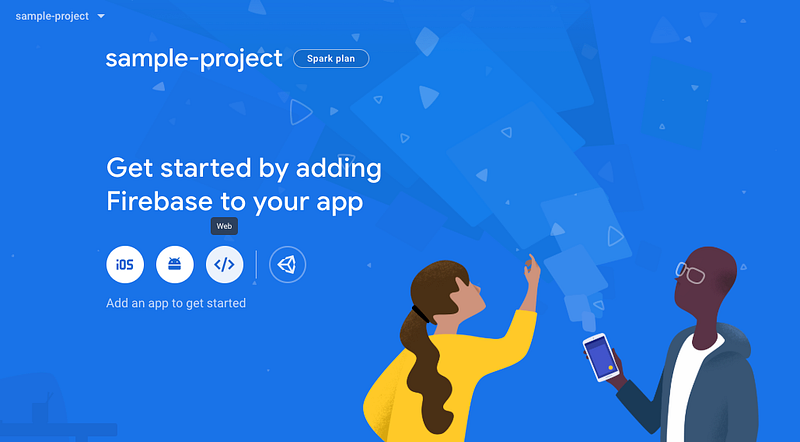
2. Click the web icon.
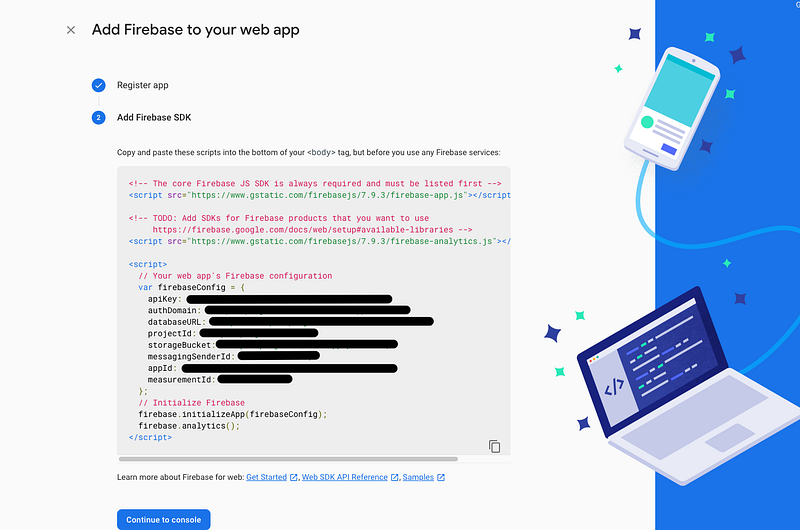
3. Click the “Add Firebase to your web app” option to get your config variables and copy your config code. Click “Continue to console.” You will need these values in your .env file later in this tutorial.
Step 3: Set Up Your Database With Cloud Firestore
Note: You can skip this step if you don’t want your email data added in the DB. The benefit of using this is being able to see a record of contact submissions.
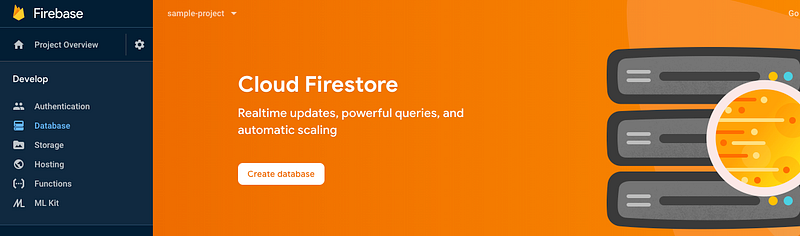
1. Click “Create database.”
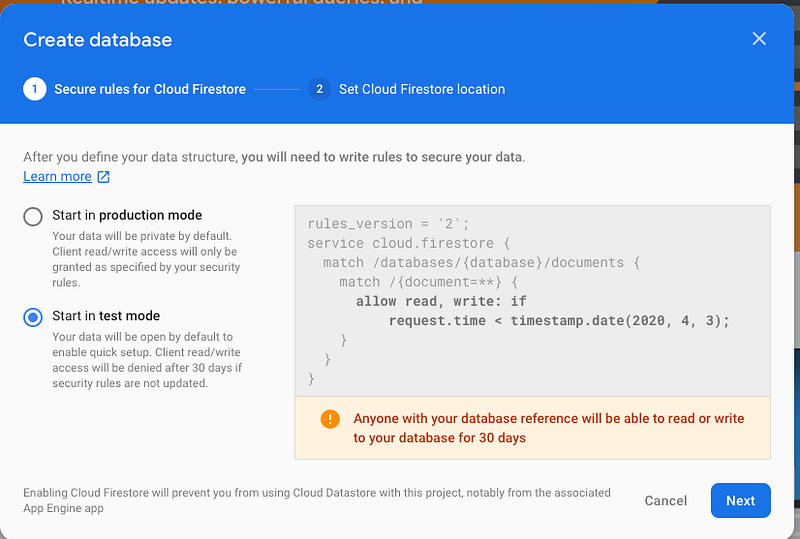
2. Start in test mode for the time being and change later if you’d like to.
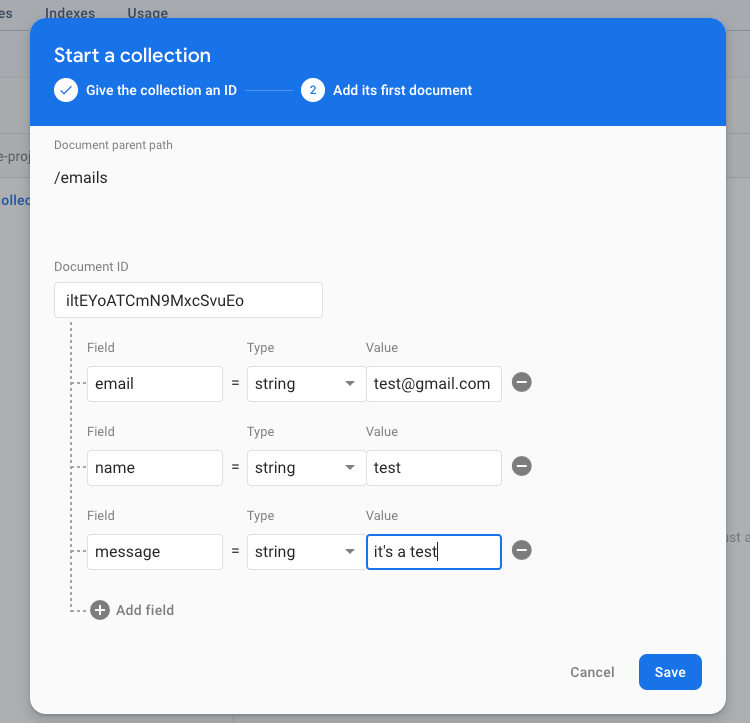
3. Click “Start collection.” You can call the collection “emails.”

4. Insert your first entry manually (not sure why this is needed, but you can delete your entry later if you like).
Step 4: Initialize Firebase
1. Initialize Firebase using the following command:
$firebase initYou will be prompted for the following:
- Which Firebase CLI features do you want to set up for this folder? Press Space to select features, then Enter to confirm your choices. → Functions: Configure and deploy Cloud Functions.
- What language would you like to use to write Cloud Functions? → JavaScript
- Do you want to use ESLint to catch probable bugs and enforce style? → n
- Do you want to install dependencies with npm now? → y
Step 5: Add Your .env Variables
1. Create an .env file in the root of your project (don’t forget to add this your .gitignore file if it’s not in this already). This is where you will store all of your config values.
REACT_APP_FIREBASE_API_KEY=<yourapikey>
REACT_APP_FIREBASE_AUTH_DOMAIN=<authdomain>
REACT_APP_FIREBASE_DATABASE_URL=<databbase>
REACT_APP_FIREBASE_PROJECT_ID=<projectid>
REACT_APP_FIREBASE_STORAGE_BUCKET=<storage bucket>
REACT_APP_FIREBASE_MESSAGING_SENDER_ID=<messagingsender>
Step 6: Add Your Firebase Configurations Into Your Project
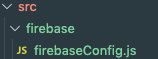
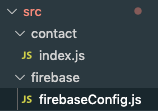
1. In your /src folder, add a sub-folder called /firebase and a file called /firebaseConfig.js.
2. In firebaseConfig.js, add the following code:
Step 7: Add Your Firebase Function in Your Project
- In your
/functions/index.js, add the code below. To create a Firebase function, you need to choose a trigger. Here, we will be using an HTTP trigger. Firebase creates a unique URL that you will be able to see on your functions page on the Firebase console:
Step 8: Configure Your Gmail Email and Password
1. Go into your functions directory:
$cd functions/2. Install Cors and Nodemailer dependencies:
$npm install cors nodemailer3. Set your Gmail email and password:
$firebase functions:config:set gmail.email=”<[email protected]>” gmail.password=”<yourgmailpassword>”4. This will create an object. You can check that it was configured correctly by running the command below:
{
 “gmail”: {
   “email”: “[email protected]”,
   “password”: “yourpassword”
   }
}
$firebase functions:config:get //make sure to run this in your functions directory5. Deploy Firebase:
$firebase deployor$firebase deploy --only functions6. You should now be able to see your function on your Firebase console:

Step 9: Enable Less Secure App Access on Gmail
- Turn on “Less secure app access” in order to be able to get the notification in your Gmail account. Gmail expects the user to be an actual user and not a robot, so it runs a lot of heuristics for every login attempt and blocks anything that looks suspicious.
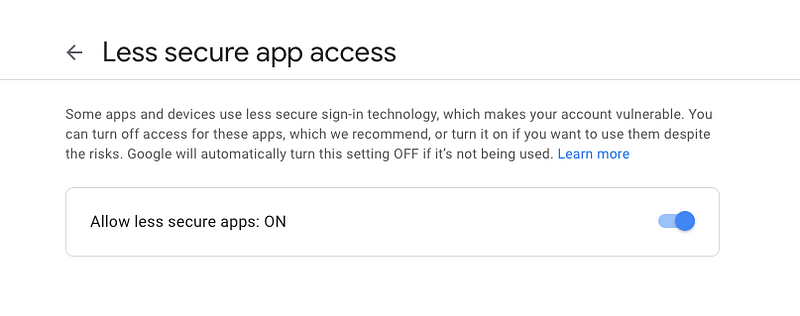
2. Allow access to your Google account.
Step 10: Create Your Contact Component in Your React App
1. Execute your build by running:
$npm run start2. In your /src directory, add a contact folder with anindex.js file:
3. Add the following code. This is where we will house our contact component. Change the URL in the Axios method to the one that is pictured above (the blacked-out part from the image in Step 8):
4. Add some SASS so it’s nice to look at:
$npm install node-sass5. In /contact/styled.scss, add:
6. In App.js, add the <ContactForm/> component:
Here’s what the first file is doing (skip this if you just want the meat and potatoes):
updateInput()is updating the state of the input withonChange, which fires the moment the value of the element has lost focus aka changed. You can do a littleconsole.log(formData)to see this in action. The spread operator (...) is merging the previous state with the current one. In hooks, the current state isn’t merged with the old value, which is why it’s needed.handleSubmit()will first prevent the page from refreshing upon submission of the form. It will then callsendEmail()and reset the form data.sendEmail()will fire your Firebase function using anAxios.post(this handles the email notification)..thenwill add your email data into the database (you can exclude this if you don’t want a reference to that data in the DB).- Finally, your form is rendered using JSX.
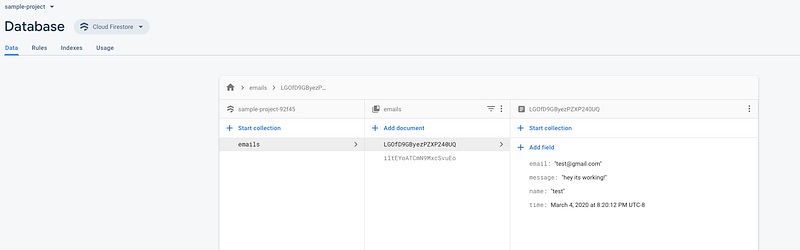
Voila! Now Submit the Form!
You should see this in your database:
The End Is Here — Finally
I’m really excited to have brought this tutorial into the world! Hopefully, you found it helpful!
Have any questions? Let me know!


