
A Non-Technical Guide To Set Up Digital Garden With Obsidian For Free
Publish your obsidian notes online for free
Digital Gardens are in rage these days. But Why? There are multiple reasons. First, unlike blogs, they don’t need to be polished. They are simply your thoughts and ideas in progress. You are not scared to show your half-finished ideas in public because they are still evolving.
They are imperfect by design. It helps writers to think clearly and find more depth in their ideas. You don’t talk to a large audience with a digital garden. Instead, you talk to yourself.
Most digital gardens don’t have many navigational links. Rather they are assisted by interlinking between different notes. So for the very few people who visit your garden, they can let their curiosity guide them instead of having algorithms or purposely crafted navigations.
But how do you actually create a digital garden? If you are a non-technical person like me, in this article I will show you how you can set up your own digital garden with obsidian. There is also an easier alternative to this method called Obsidian Publish but it costs $20/month. This method will not cost you any money and is extremely easy.
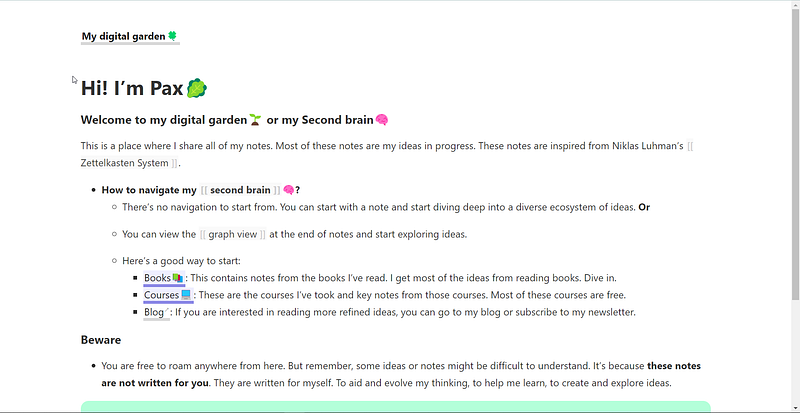
To find out how your digital garden will look at the end, you can check out my digital garden here: notes.prakashjoshipax.com
By the end of this article, you will have created a personal space on the internet for your thinking.
Here are the things that we will need to set up your digital garden
- Github account
- Digital garden Jekyll template
- Netlify account
- Github desktop app
- SyncToy
Step 1: Setting Up Github Account With Template
The first step is to have a GitHub account. If you don’t have one, you can create one from here.
After you have a Github account, you will need to add the Jekyll template to your GitHub account. This Jekyll template was created by Maxime Vaillancourt, all credits to him. Follow these steps:
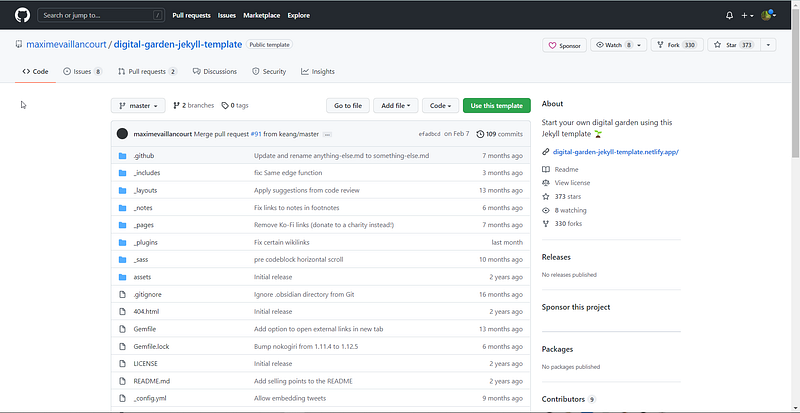
- Go to the webpage of the digital garden Jekyll template.
- Click on use this template.
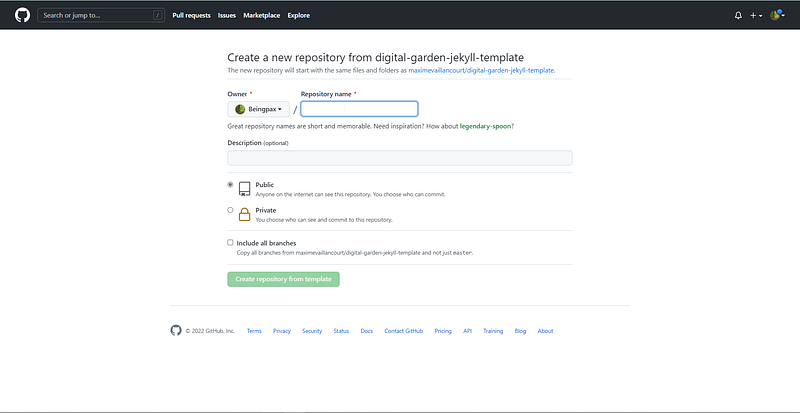
- Now add a repository name and click on ‘create a repository from template’
Till now, you will have added this template to your GitHub account.
Step 2: Setting Up a Static Site With Netlify
Now we will launch a static site with this template using Netlify. Follow the steps:
- Create a Netlify account if you don’t have one already. Follow all the steps until you have got a webpage that looks something like the following:
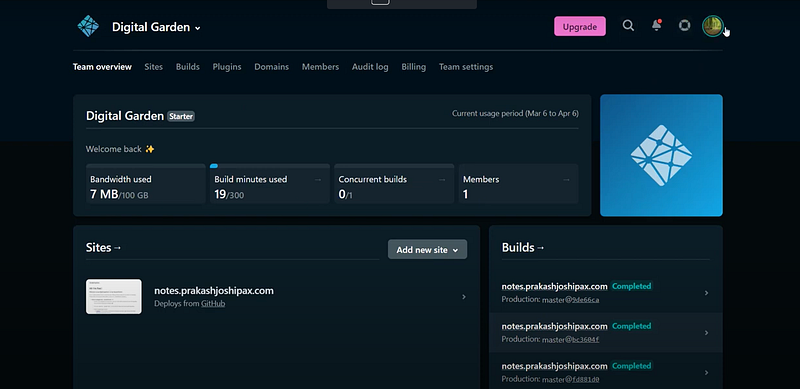
I already have a digital garden that’s running. So it will show like this. Follow along.
- Click on ‘Add new site’> ‘Import existing project’, and then connect with your GitHub account
- Click the name of the repository that you previously created on GitHub
- On the next page, don’t change anything, just choose ‘Deploy Site’
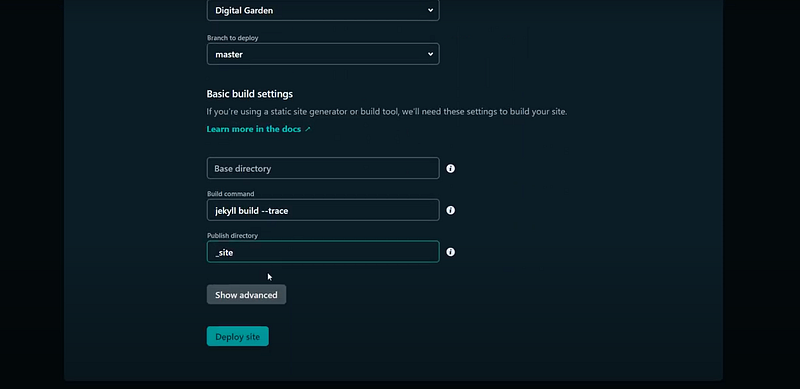
It will take anywhere between 3–5 minutes to deploy your site. Now it's time to connect your obsidian vault with your online digital garden.
Step 3: Publishing Your Obsidian Notes With Digital Garden
Now we want to add the notes we have in our obsidian vault and choose to publish them online on our digital garden. We will use the GitHub desktop app to do this. Here’s how we do it:
- Download and install the GitHub desktop app
- If you are using the Github desktop app for the first time, it will prompt you to ‘clone the online repository’ in the beginning. If not, go to file>clone repository. Or you can simply click CTRL+SHIFT+O
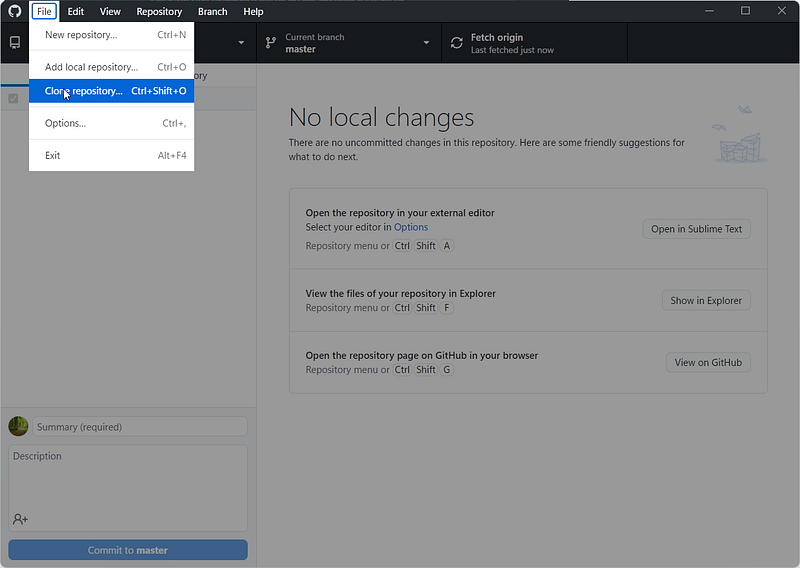
- On the next page, select the online repository that we have connected to our netlify site.
Now we have cloned the online repository to our local machine.
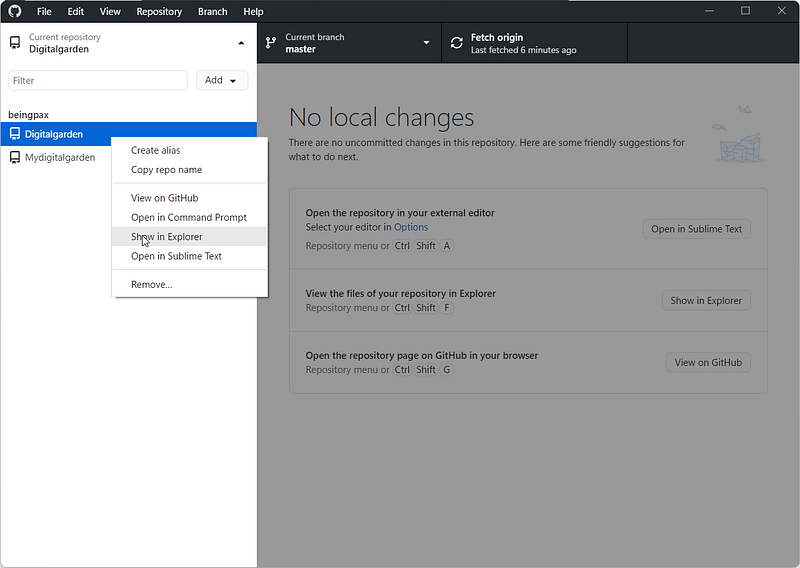
- Go to the current repository on the GitHub desktop app and right-click on the repositories name. Click on show in explorer. This will take you to the location of this repository on your local machine.
Here’s what it will look like:
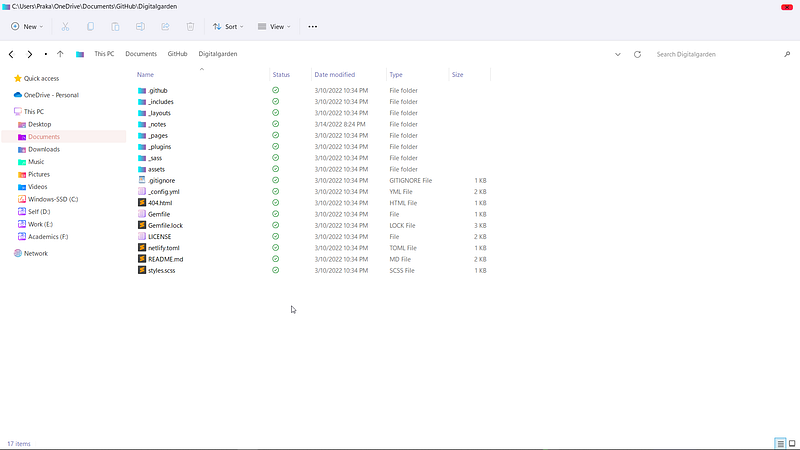
Notice the different folders here. Remember: only the markdown files under the folder _notes will be published on your digital garden.
- Now we’ll need to copy our obsidian notes under the folder _notes.
- After you copied your notes, open the GitHub desktop app. It will show something like this:
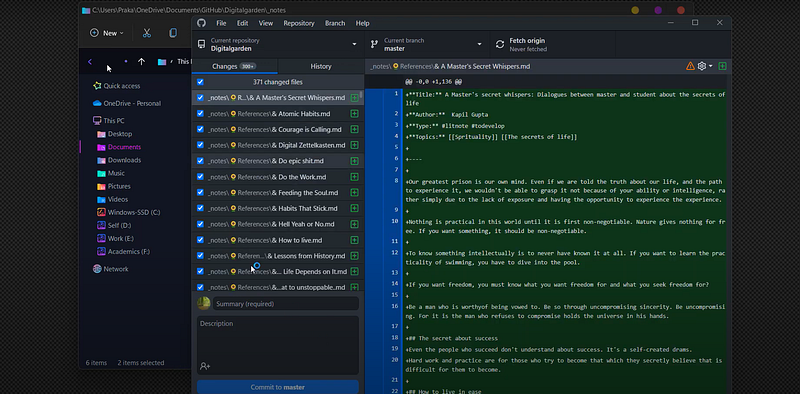
This means the GitHub desktop app has noticed changes in the local machine repository. So, it will add all these files to the online repository,
- Write anything on summary and click on ‘commit to master’.
- On the next page, you will see an option to ‘Push Origin’, Click it.
Note: You will have to do this every time, you want to update changes on your digital garden.
Now since your GitHub directory is connected to the netlify account, whenever there are changes on the GitHub repository, Netlify will restart the site-building process to update changes. Again it will take somewhere between, 3–5 minutes to see changes.
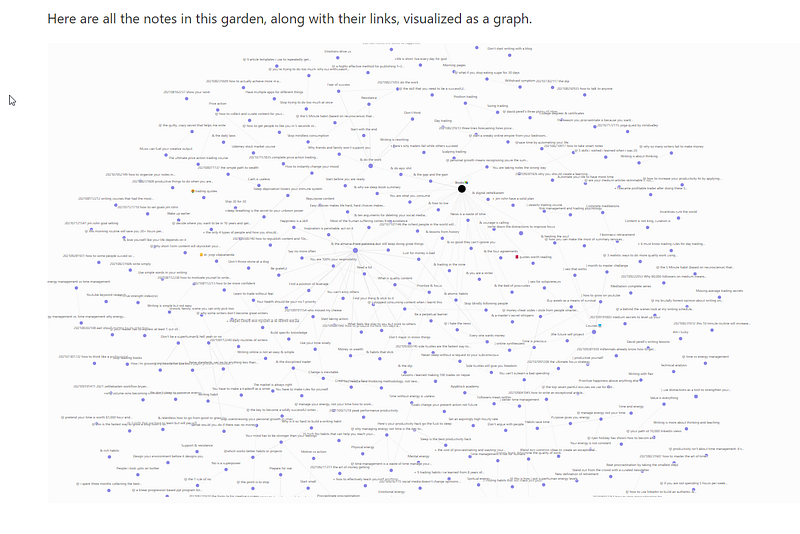
Go back to your site from the Netlify Dashboard. You will not see any changes on the homepage. We still have to change it. But if you go to ‘the first note’ and scroll down to its bottom, you will find a graph view that will show all of your notes.
Step 4: Configuring Your Digital Garden
The digital garden doesn’t have any navigational links. So you will have to give a starting point to your visitors so that they can go somewhere. You can create a few pages and connect them to the homepage and then one another and make inter-linking easier.
- The homepage of your digital garden is the index.MD under _pages folder on your repository.
- The about page is also located inside the ‘_pages’ folder.
- The footer section can be changed by editing the footer.MD inside ‘_includes’ folder.
You can use different text tools like sublime text, notepad, etc. You can even use obsidian itself to edit these notes(It works best).
Step 5: Automatically Syncing Your Obsidian Notes With Github Repository
We manually added our existing notes into our Github repository. We don’t want to do that every time a new note is created in our vault. So we will be using SyncToy to sync files in between different folders on our PC. Here’s a tutorial video on how you can do that. Then again, schedule SyncToy to run automatically using task schedular.
TAA DAA… Finally, you have set up your own digital garden with obsidian. Completely free. And sees how easy it is.


