
A Comprehensive Guide to Change Your Name on Facebook
Changing your name on Facebook is not a tough row to hoe! Follow this guide to change your name, your business name and group name on Facebook.
Introduction
Do you want to change your name or your business name on Facebook? If yes, then you have come to the right place!
When it comes to changing a name on Facebook, users often wonder, ‘can I change my name on Facebook?’ The answer to this question is YES! You can absolutely change it, though you have to wait for 60 days since the last time you changed the name.
Facebook is the best social media platform today for a reason. It offers a number of customization features. If you do not know, Facebook lets you easily change your name as well as the name of your business and group. But not too frequently! However, you need to be aware of Facebook’s name policy to make the desired changes. Whether you want to change your name, your business name, or your group name on Facebook, we have crafted a perfect stepwise guide for you.
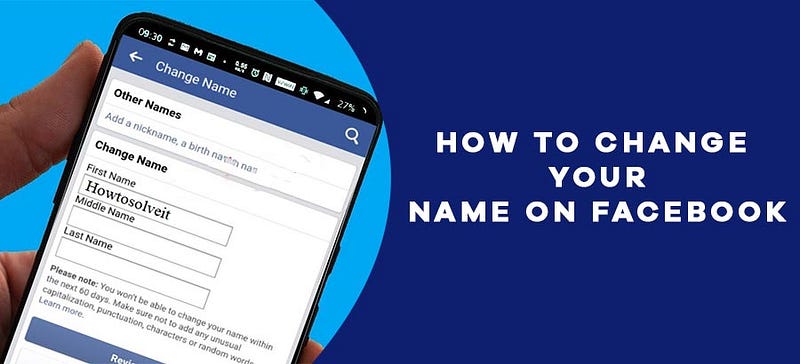
How to Change Your Name on Facebook?
We are pretty sure that there must be a good reason why you want to change your name on Facebook. We are not asking you to reveal the exact reason for changing your name but make sure it aligns with Facebook’s naming policy. Remember that Facebook prohibits the use of pseudonyms, but you can use your common nickname if you wish.
Also, if you have recently made your Facebook profile with the current name, you will have to wait for 60 days to change it. Moreover, your name should not contain any symbols, numbers, repeated characters, unusual capitalization, or phrases.
Besides, avoid using offensive words in your Facebook name. Once you know what you can include in your name and what not, you can follow the given steps to change your Facebook name on your desktop.
- First of all, login to your Facebook account
- Then, tap on the drop-down menu located in the top right corner of your screen
- Now, tap on Settings & privacy
- Choose Settings and click on Name
- You can now type your name and then select Review Change
- Once done, type your Facebook password and hit Save Changes

So, this is how you change your Facebook name on your desktop. Are you a Facebook mobile app user? If yes, you might want to know how to change your name on Facebook on iPhone or Android. You can go along with the given instructions to do so.
- Firstly, go to your Facebook app on your mobile device.
- After logging in to your account, click on the three horizontal lines that you can find at the top or bottom right corner of your screen.
- Now, scroll down to navigate to the Settings & Privacy tab.
- From this page, select Settings and then click on Personal Information.
- Then, click on your name.
- Once the next screen appears, enter the new name that you want on your Facebook account.
- After that, press on Save Changes.
Furthermore, in case you want to know how to change your last name on Facebook, you can follow the same procedure. All you have to do is just edit your name in the ‘Last’ field and save the changes.
How to Change Business Name on Facebook?
Facebook users often want to change their business name on Facebook for brand purpose or better conversion. Probably, you also want to change it to make it simple and quick for your potential customers to discover the information they are looking for. The name of your business page should reflect your services, products, branding, or marketing message. If that is not the case, then it is time to change your Facebook business name. But before that, remember that if you are not the admin of the page, then you will have first to request access to make the change. To change your business name, follow these steps.
- First of all, sign in to your Facebook account using login credentials.
- Go to your Business page.
- Next, tap on the Edit Page Info option located on the left-hand side.
- Navigate to General, and you will see the settings for your name, username, and description of your Business page.
- In the Name field, edit your business name. Make sure to take a look at the Page name guidelines to ensure you are not violating any Facebook Page policy.
- Once you have set the right business name, click on the tick mark.
- You will then receive a confirmation for a name change request on your screen.
- Click on Request Change to change the name, and you will get the notification for your Facebook page name change request.
How to Change Your Facebook Group Name?
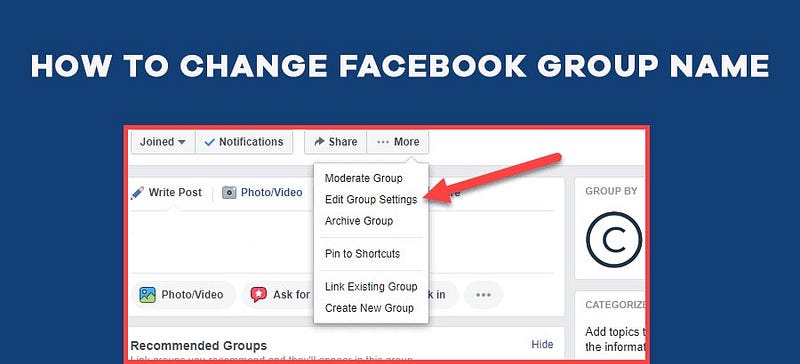
As time passes and the audience of your Facebook group grows in number, the goal or focus of your group may change. With the different goals, you may want to change or modify the name of your Facebook group. But do keep in your mind that you can change your Facebook group name only when you have the admin account. Now, without further ado, let’s proceed to learn how to change Facebook group name.
- As you already know, you have to first login to your Facebook account
- After that, tap on Groups from your News Feed
- Then, choose your group whose name you want to change
- If the name of your group is not visible to you, then tap on See more option
- Once done, select Settings in the menu
- Now, select Name and description and then enter the new name
- After entering the name, hit Save to save the changes
After you change your Facebook group name, the members of the group will receive a notification. Furthermore, remember that you will not be able to change the name of your group more than once every 28 days.
Conclusion
In this article, we discussed how to change your name, your business name, and your group name on Facebook. Hopefully, this content will be enlightening for all Facebook users. Facebook offers editing options to its users for almost all aspects of their Facebook profile. It is quite necessary to have such liberty to make the preferable changes whenever you want to be relevant and professional. Probably, that is why Facebook is the most favorite social media channel for marketers and business professionals.