
A beginners guide to Gradle

I have a love hate relationship with build tools — my first exposure to a build tool was Webpack for JavaScript. It’s extremely powerful, and I got pretty far with some default configuration. But editing the webpack.config.js used to make my stomach turn — things would break, and trying to understand why was a rabbit hole (mainly due to my lack of knowledge about it). There’s a tension between learning enough of how a build system works and getting on with writing your application. So let’s dive into enough of Gradle to get comfortable and productive.
What is Gradle?
Gradle is a build automation tool often used for JVM languages such as Java, Groovy or Scala. Gradle can be configured to run Tasks which do things like compile jars, run tests, create documentation and much more.
Starting a new project with Gradle using InteliJ
When creating a new project with intelij you can select the gradle option from the left and choose which language you’d like to use with it
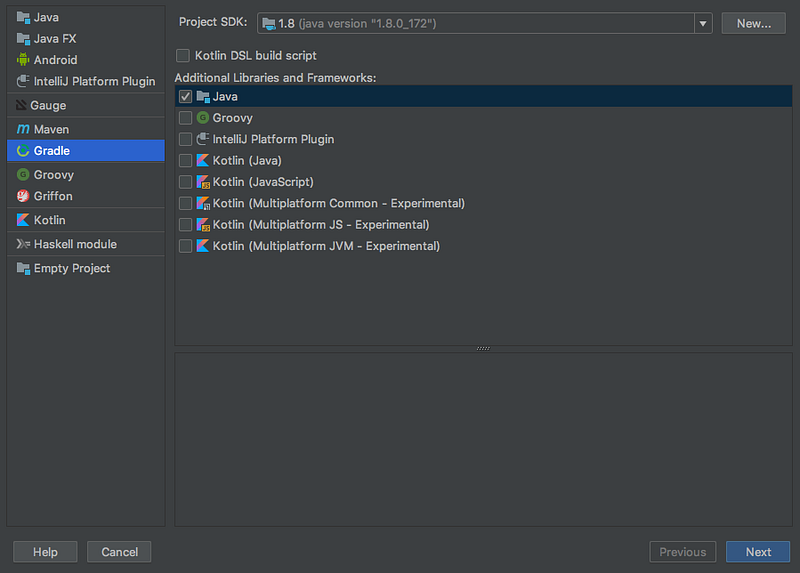
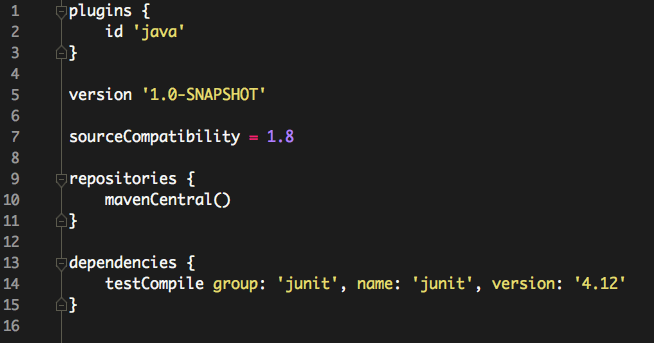
After creating your project, InteliJ will create a build.gradle file with some helpful defaults for that language, so let’s have a look at the build.gradle file. I’ll be using Java in the examples but the same concepts apply for other languages.
The build.gradle file is where all the magic happens. This is the default java one created by InteliJ:
But what does it all mean? And where does this syntax come from?
Groovy 101
Gradle build scripts are written in Groovy, a JVM language similar to Java but with a more concise syntax — let’s learn just enough to have a better understanding of what’s going on:
The Groovy console
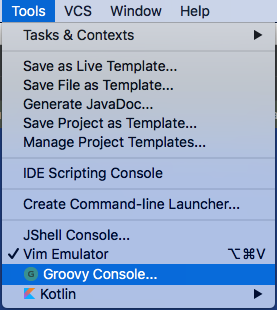
You can try out groovy scripts using the groovy console in InteliJ under tools -> groovy console
Valid Java is valid Groovy
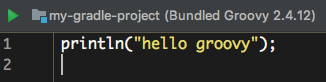
In the console area we can type in any valid Java code:
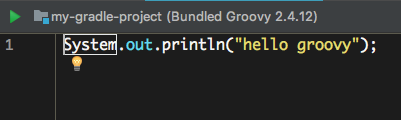
Pressing play (the green button) we’ll see the output in a window underneath

One thing to note already is that we don’t need a surrounding class and main method to execute our code 👍. But we can go further. Groovy automatically imports System.out so we can omit that:
Parens for single argument method calls and semicolons are also optional in Groovy so we can reduce System.out.println("hello groovy"); to:
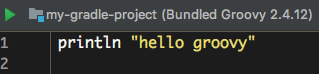
snazzy ✨
Groovy Closures
Understanding Groovy Closures will demystify a lot of what’s going on in build.gradle
If you’ve used Java 8’s lambdas, groovy closures will feel familiar — they effectively let you treat methods as regular values (so they can be used as arguments to other methods). Let’s have a look at an example:
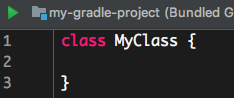
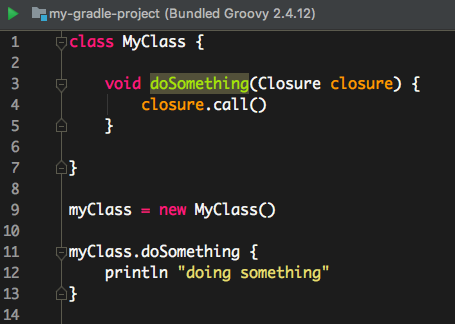
In the groovy console we can define a class like this:
Let’s add a method that takes a closure:
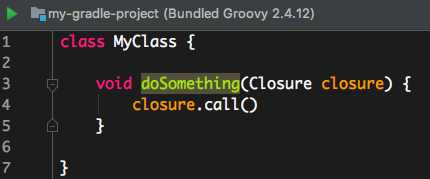
We can “run” whatever code is in the closure with closure.call(), but how would we use this? We’ll create an instance of MyClass and call doSomething like so:
Which outputs:
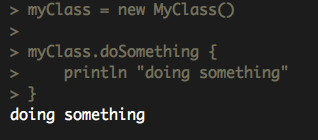
Does this look familiar now?

dependencies is a method which takes a “runnable” block of code (a closure). Inside that block we’ve called the the testCompile method with group: 'junit' etc as an argument (the group, name, version section is actually short hand for a groovy map, essentially a list of key value pairs).
The Core of Gradle: Projects and Tasks
Now we have a better understanding of how groovy syntax works let’s take a deeper look at the build.gradle file.
The build.gradle file has a one to one relationship with something called the project object: It’s an object representing information about our project. If you’ve used Maven before (another popular build tool Gradle aims to be compatible with) you’ll recognise this idea from the pom.xml file (project-object-model), this is roughly equivalent to build.gradle.
Each project is made up of a collection of Tasks: these are atomic units of work that represent the things that need to be done to build our project.
Gradle has a number of default Tasks on the project object model — we can have a look at these by running the task:
> gradle tasksIn a blank build.gradle file (i.e. if you deleted everything from the one InteliJ made) would output this:
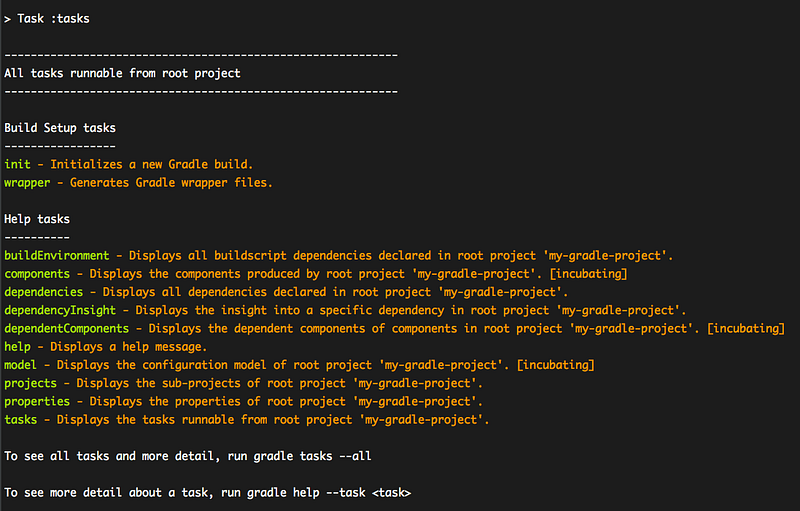
The tasks task shows all the Tasks available on a project. The real magic starts to happen at this line:
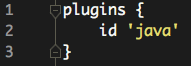
Applying the Java plugins adds a bunch of extra tasks we can use. Running gradle tasks now includes these lines:
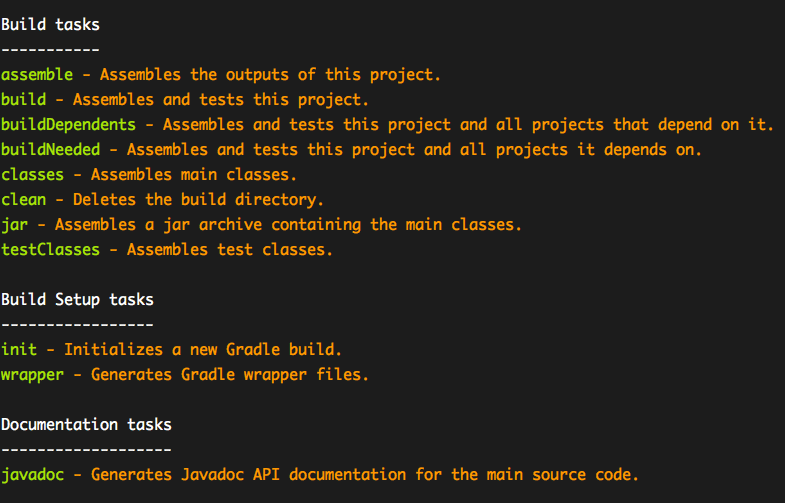
These are some helpful default tasks that many Java projects are likely to use.
The key takeaway here is that we can modify the project object model via the build.gradle script — Gradle is code as configuration.
Check out the full docs for the Java plugin here.
Properties
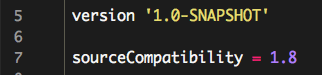
As well as Tasks, our project object also has “properties” that represent information about our project. These can be simple properties such as the version or the sourceCompatibility, you can see these being modified here:
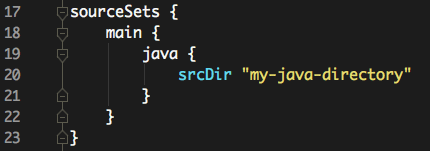
Or they can be more complex properties that are modified by methods that take Closures. A piece of magic that confused me when I started using Gradle was the sourceSets property — this gets added by the Java plugin. The sourceSets property defines where Gradle should look for your source code (plus a couple of other snazzy things you can check out here). By default Gradle follows the Maven convention of putting your Java source code in src/main/java and tests in src/test/java.
But say we want to locate our java source code in my-java-directory (I wouldn’t recommend this in a real project), or maybe we’re working on a legacy project; we can point Gradle at a different directory like this:

Just like Tasks we can see a full list of properties for our project by running the task (be warned, it can be pretty large).
> gradle propertiesCustomising Tasks
We can do the same customising magic with Tasks too. When building my Tic Tac Toe command line application I was looking for some way of running it conveniently from Gradle — the application plugin had a handy task called run.
However, it needed to be configured to point System.in as its standardInput. Adding this line let me reconfigure the run task:

Another thing this highlights is that Tasks can also have their own properties which we’re able to configure.
Making a new Task
We can also create our own custom tasks, either from scratch or more often from extending existing Tasks. The run task from above actually extends a lower level Task type called JavaExec. We could have defined the same Task as above like this:
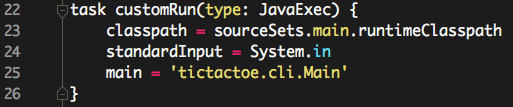
This adds a customRun task to the project object which we can use:
> gradle customRunAnd would have the same effect as the run task from before.
Conclusion
The Gradle api is HUGE and quite overwhelming at first. This post only scratches the surface but hopefully it demystifies some of the syntax and concepts in Gradle to make understanding the docs a little easier.
There are some excellent guides on the Gradle website for more specific cases. This online course from Lynda.com (Gradle for Java Developers) was particularly helpful for me for getting a better idea of what was going on.


