
9-Minutes to a Data Science Portfolio Website
How to build a simple and free web portfolio with GitHub pages
A personal website presence is a great way to showcase your work. It can also be extremely valuable for the data science job search. A portfolio gives you the ability to share a high level overview of your data science projects. It takes a deeper dive into your projects than your resume, but is less technical and overwhelming than your github repos. This is the perfect level for recruiters and data science managers.
Building a simple portfolio is easier than you would expect. All you need is a GitHub account and a little knowledge of markdown. No html or web frameworks needed!
This approach uses GitHub pages to serve the README of your project as a website. GitHub hosts these websites, so they are free to you. This portfolio is just the tip of the iceberg; GitHub pages can also be used to make simple websites for each of your projects.
In this tutorial, I will be using markdown to build a portfolio; however, you can also use html if you would like to use more traditional website creation tools. After we set up our website, we will use one of the existing themes from Jekyll to give it a more aesthetic feel.
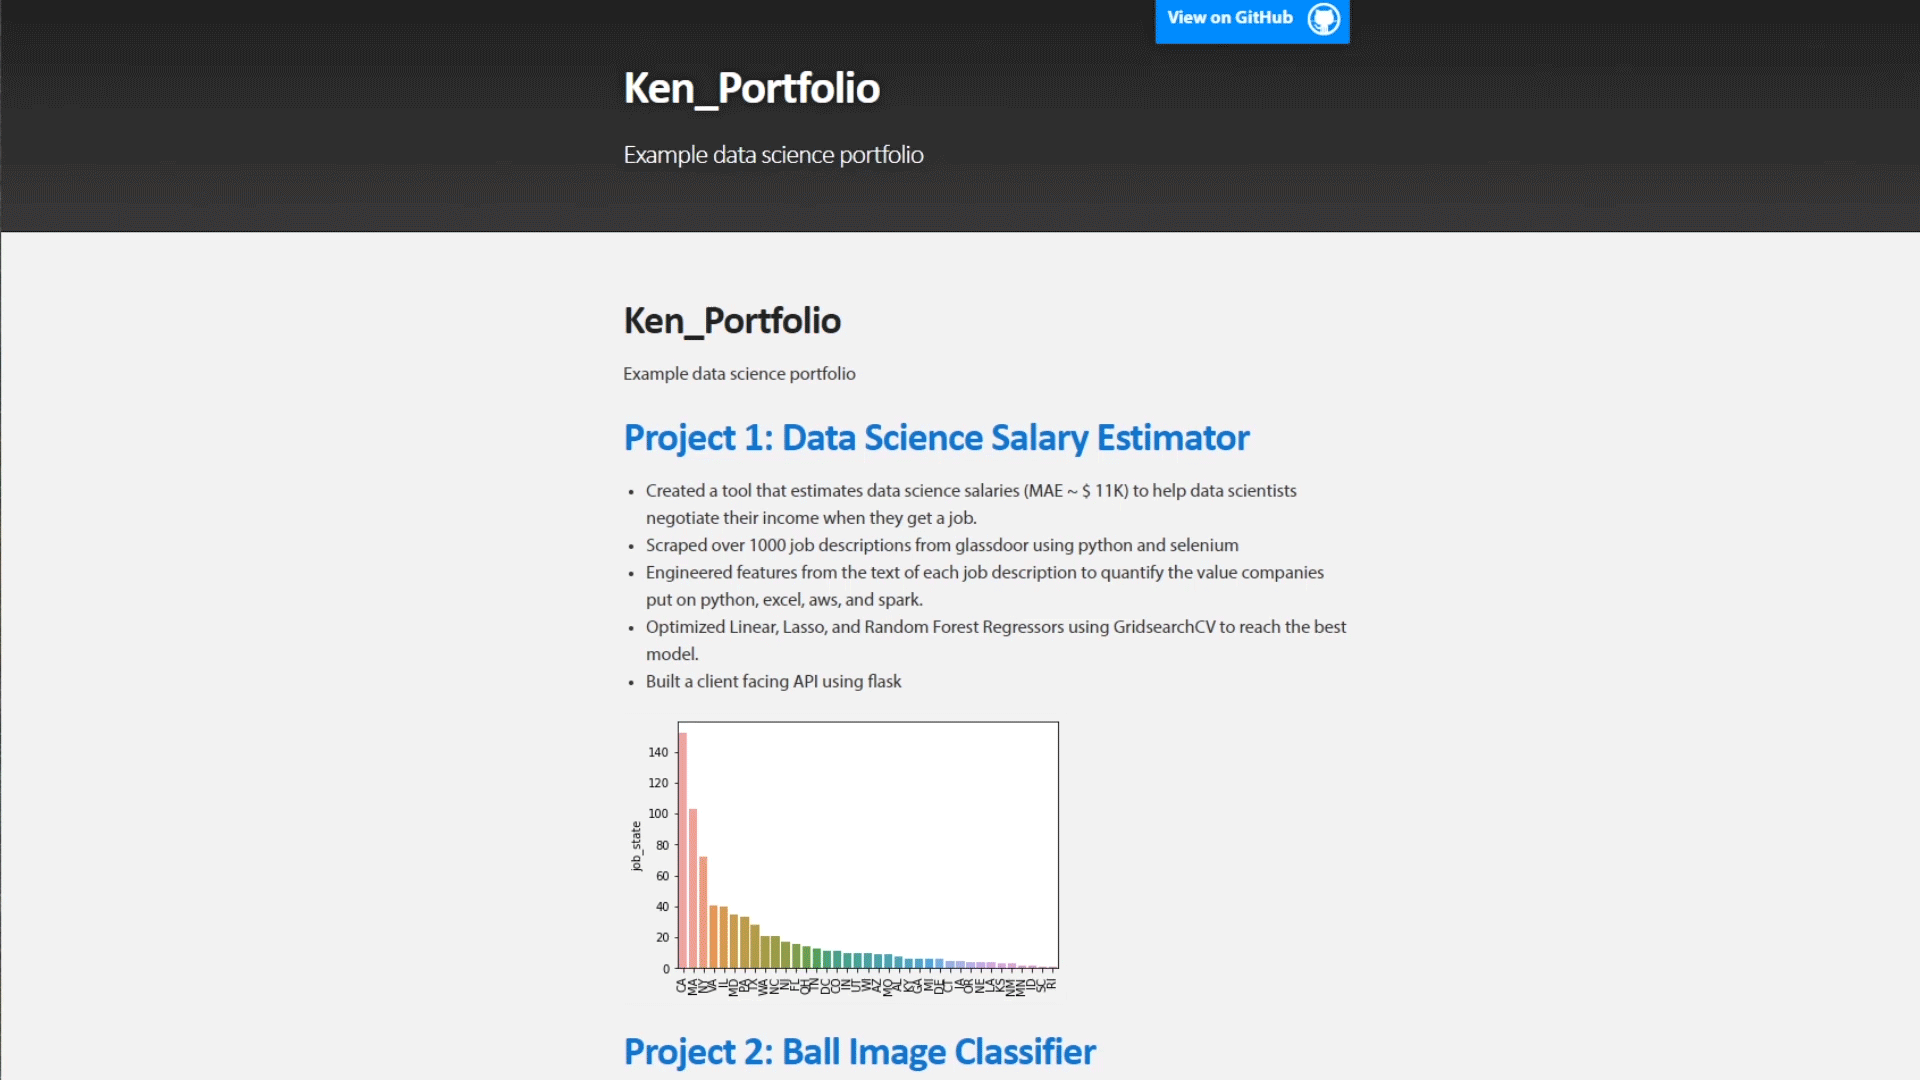
End Result: https://playingnumbers.github.io/Ken_Portfolio/
Video version of this tutorial: https://www.youtube.com/watch?v=1aXk2RViq3c
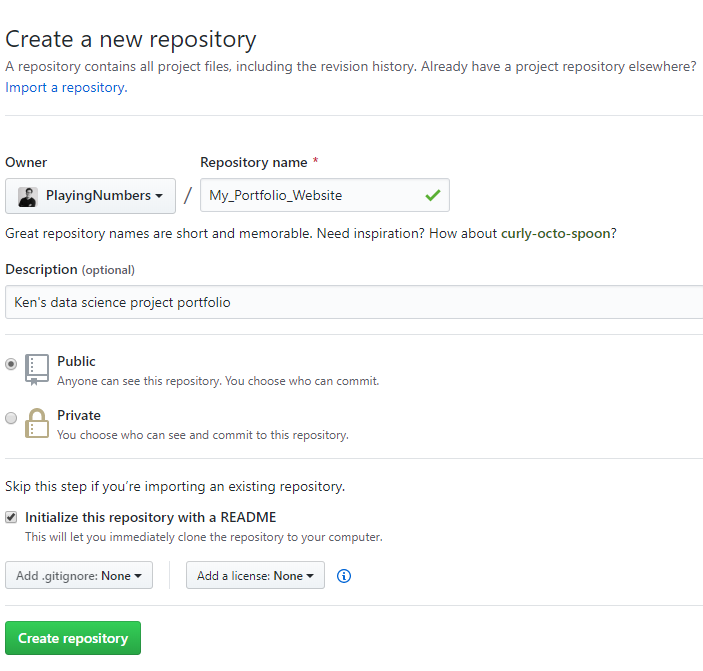
Step 1: Create a new GitHub repo
First we create a new repo and initialize the README.md file.
Step 2: Go to settings and scroll down to the GitHub Pages section
Click the repo settings tab at the far right of the list.

Scroll down to the bottom where the Github Pages box is located.
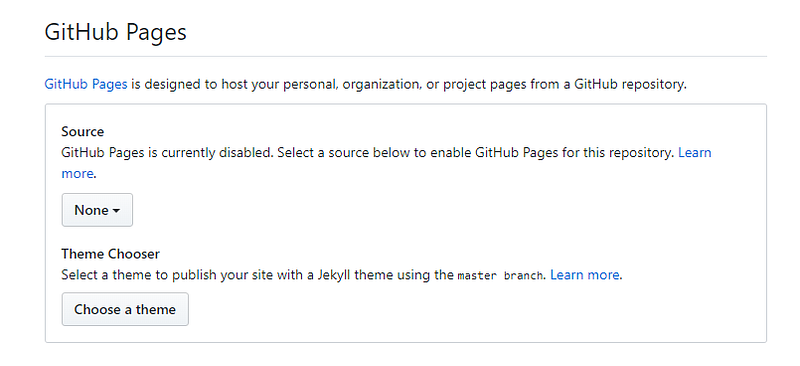
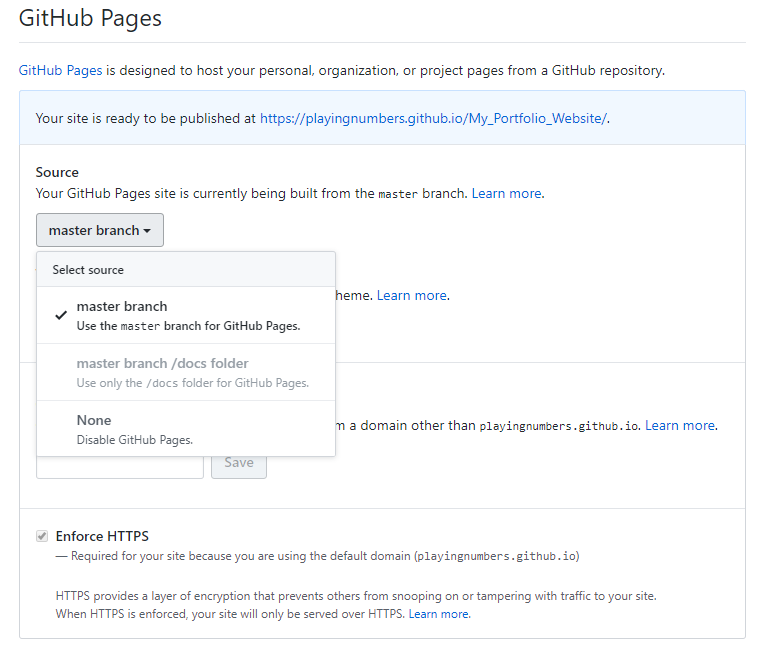
Switch the source from None to master branch.
Step 3: Check that your website is working
Click the link at the top of the GitHub pages section to go to your new website.

The web page should show the contents of the README.md of your repo.
Congrats! you already have a working website. If you are getting a 404 error, don’t worry. Sometimes it takes a little bit of time for the server set up (It can take as long as 5 minutes from my experience)
Step 4: Add website content to README.md file
Since the web page is displaying the README, all you have to do is change the it to show what you want on your website. You do this using markdown (I highly recommend this cheat sheet https://github.com/adam-p/markdown-here/wiki/Markdown-Cheatsheet).
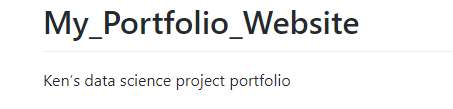
If you already have projects with detailed README files, you can just copy and paste them in.
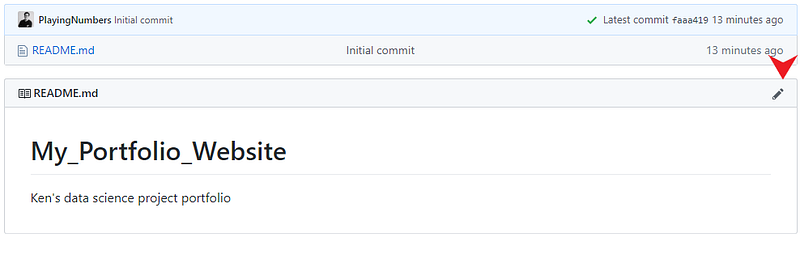
First click the edit icon in the top right of the README.
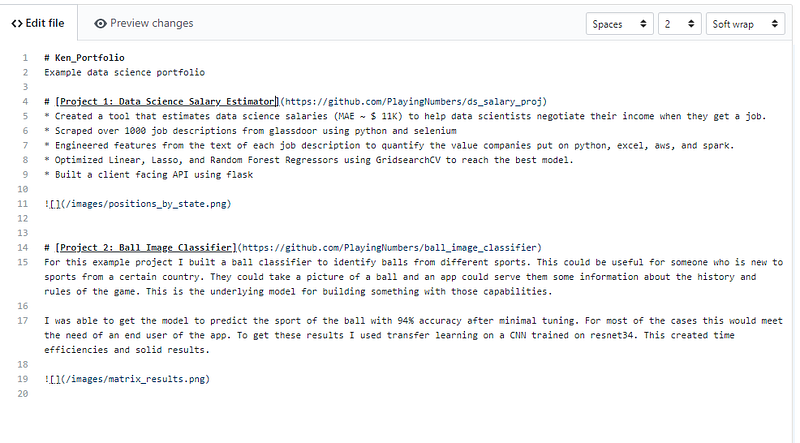
Next fill this section with the content you want on your website. For mine, I just used project overviews from some of the projects I did previously. I also linked back to the other repos and added a few simple pictures. The markdown guide (above) shows you how to do all of these things.
You can click the preview changes button to see what everything will look like on the web pages.
To add pictures to the website, you need to create a separate images folder. You use the path of the images in that folder to get them to show on the screen.
To create an images folder in github, you click the create new file button over the contents of the repo.

In the file destination, type images/README.md


Then go to the bottom and click the “commit new file” button. You don’t have to add any content here.
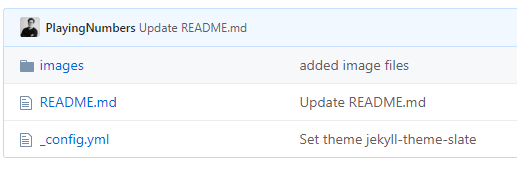
When you go back to your portfolio, you should now see an images folder.
Now, click into the images folder and upload the files that you want to show on your website.
To get the image to show on your website, you must use this path format in your markdown: 
Step 5: Choose a Theme
At this point, you should have a very basic website that looks exactly the same as your github repo README. If you want to add some basic formatting, you can use a theme from Jekyll.
To do this, you click on the repo settings button again and return to the Github Pages setting box.
This time you click the “Change theme” button.

At the top, select the theme that you want and click select theme.

If you return to your repo, you should now have a _config.yml file. This is what manages the theme. If you delete it, the theme will go away.
Now go to your website, you should have a simple portfolio that uses the theme of your choosing!


