
8 (Funny) Steps to Grilling the Perfect Burger
A properly grilled burger leads to happier times with friends and family
After years of refining the task, I am here to tell you how to grill the perfect burger. Some of these steps might seem odd, but as Aristotle once said (probably) “don’t knock it ’til you try it”. Admittedly, it has been awhile for me, as documented here. I’d forgotten how much standing in front of seared meat got me closer to my self.
Step One: Burger King
Let’s be honest: any of the following steps can go sideways in a hurry. So, if you are counting on getting grilled beef in front of an audience, it is best to proactively get a back-up plan. So far as I can tell, scraping the patty off of a Burger King burger, and onto your own bun, has the greatest chance for success in fooling your guests. Let’s hope we don’t get to that point.
Step Two: The Grill
This is important. Even if you are sure you will need Burger King to fool your guests into thinking that you grilled a burger, you actually need to have a grill on your property. A grilled burger without any evidence of a grill will immediately be seen as fraudulent.
So get a grill. While shopping for a grill, the high-end propane models with multiple heating platforms seem pretty swell. No. A side burner does nothing to help your burger grilling skill. It merely warms up baked beans, or, if it is a chilly evening, your hands.
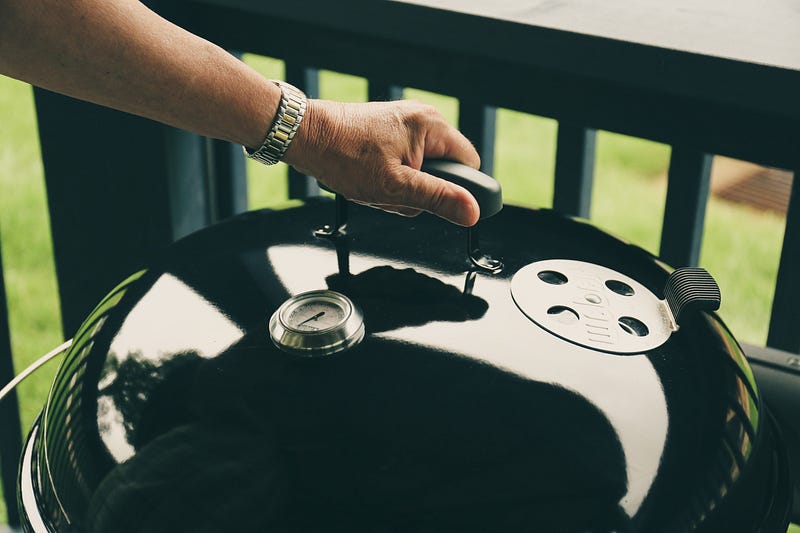
All you need is a structure that can hold charcoal, handle relatively high temperatures, and has a rack to hold the meat.
“I can use this handy dial to control the heat.”
“Rubbish. I can use millions of years of evolutionary experience to do this myself. And why is there asparagus burning in your side heat thing?”
Step Three: Prepping the Meat
We can quibble over the best fat/meat ratio for ground beef, or even whether or not veggie burgers are cool (they are). We cannot, however, quibble over the fact that whatever you are using for your burger needs to be withdrawn from its refrigerated storage at least an hour before hitting the grill rack.
Once that meat warms up a bit, it is ready for pre-seasoning. When you have a chunk of ground beef, it is KEY to knead the seasoning into the meat before you form the patties. This means that your seasoning — I use Old Bay since I am from Maryland — can get to all parts of the beef when you start to break it up, and massage it into burger form. You can even use herbs. Oregano is fun. Parsley works.
Thyme? No way.
Don’t form the patties quite yet — let that seasoning settle for a bit.
Step Four: Starting the Grill
This step seems pretty straightforward: dunk some charcoal into a grill, toss on 7.2 gallons of lighter fluid, light a match, and see if the International Space Station can see your cauldron of flame. But…there is some nuance here. For one, you might have noticed that actually forming the patties hasn’t happened yet. That’s because you need plenty of time to burn off all that lighter fluid. Also, it is important to manage your charcoal distribution. The coals ought not to be equally dispersed throughout the base of the grill. Instead, keep them to one side. This will help when the meat hits the rack in terms of temperature control.
Step Five: Patty Time
Now that your beef has been hanging out with your seasoning for a bit while you got your grill all hot and bothered, you can make those patties. I shoot for 5″ across and about 3/4’s of an inch thick. Of course, this is after a robust massaging session for each patty to make sure that it is properly formed, and that my seasoning is equally dispersed throughout.
If you don’t have time to massage your meat, I can’t really help you.
I typically only grill 4–5 patties at a time since, as mentioned, I only have coals over half of the grill.
Step Six: Meat Meets Fire
So, we have the patties — seasoned and formed, and we have a grill hot enough to handle the task of making a perfect burger. Now, it is time that the two meet.
Please, don’t “fire and forget”. Your burgers need your love and attention. Since I use the half-grill approach, my grilling takes longer. But, as I move the patties over different parts of the rack, I can maintain juiciness while also keeping a slow cook. This, of course, requires multiple flips.
I like to go seven minutes a side, with additional grilling as I see fit. As mentioned, this takes more time, but, it is worth it in the end.
One-flippers have no idea what they are doing.
When my burgers are done, off the grill, they have a smoke ring that screams flavor. (It is also flavorful — I don’t mean that the meat yells “FLAVOR!” but doesn’t deliver.)
Step Seven: Boat that Bass
While grilling — and I know that this is a lot to ask — you have to keep the goal in focus. It’s essential to monitor the meat while concurrently preparing the presentation. The worst burgers in the world are those that have cold, flaccid cheese draped over their shoulders. Get that dairy product prepared ahead of time, so that the heat of the meat can comfortably meld the cheese.
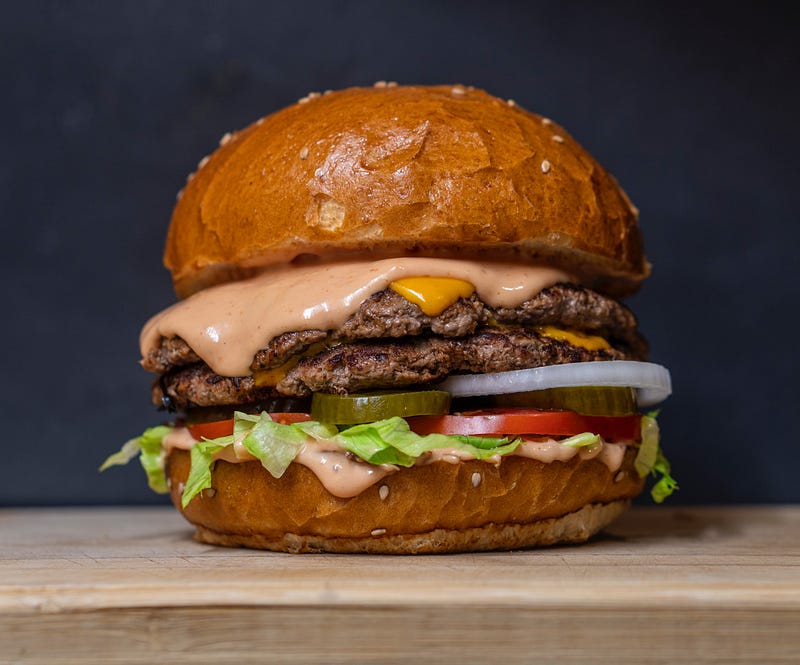
Step Eight: You Did It
There you go: you have a plate full of nicely done burgers. You used an appropriate grill to cook a rational amount of meat. You tossed that meat onto prepared rolls, probably along with a slice of cheese. Now, all that is left is to let your guests go nuts, and drown in juiciness. Sure, some people are savages and add things like carrots to their burger. Let it ride. God will judge them in the afterlife.
And if you have any leftover lettuce or tomato? Just chuck it into the yard. The rabbits will eat it.