
8 easy steps to create a Jira story template for issue description
Let’s enhance our approach to refining user stories and address Jira issues with precision. 🚀

Motivation
In Agile teams, efficiency is key.
While the common practice of cloning older stories can serve as a starting point, it often introduces a mix of content which can lead to confusion.
Recognizing this challenge, I identified the need to introduce a purpose-built user story template.
This template not only provides a clean slate for creating a new story, but also offers guidance throughout the refinement process.
Prerequisites
Before we dive into the process, ensure you have a project hosted on Jira Cloud and admin privileges for a seamless implementation.
Follow these steps to create and configure a new custom field, associate it with your project’s screen, and leverage WikiRenderer features to craft your ideal template.
Create and use your new custom field
Find your screen
- Navigate to Settings → Projects → Your project → Issues → Screens. This is your screen schema!
- Navigate to Settings → Issues → Screen Schemes → Find the name of your screen schema → Configure -> “Screen” field This is your screen!
Find the field configuration
- Navigate to Settings → Projects → Your project → Issues → Fields This is your field configuration!
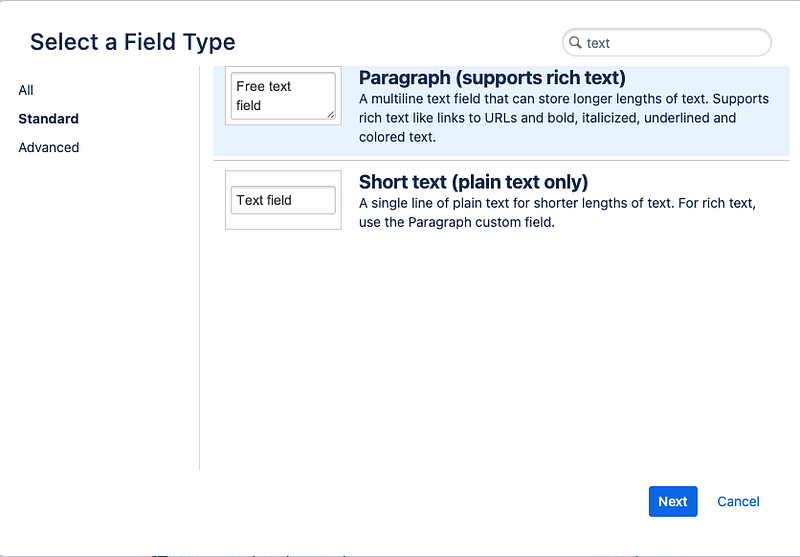
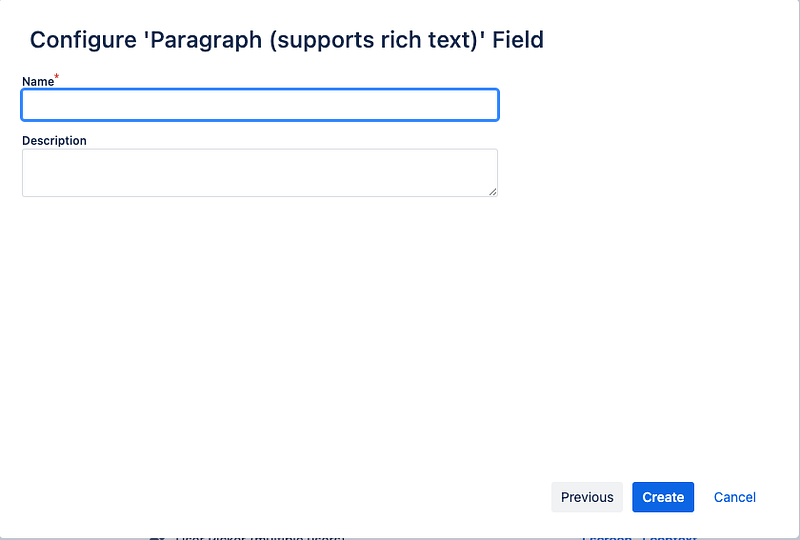
Create a new custom field
- Navigate to Settings → Issues → Custom fields
- Click on “Create custom field” button
- Use a rich text field
- You can name it <Your-project-code> Description
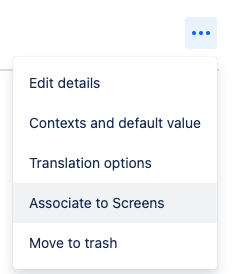
Associate the new custom field to the screen found previously
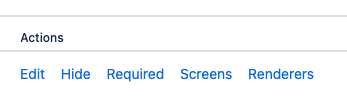
Configure field to be able to use WikiRenderer template
- Navigate to Settings → Issues → Fields → Field configurations → Your field configuration found previously
- Find your custom field -> Configure -> Renderers
- In Active Renderer -> Wiki Style Renderer

Create and use your template
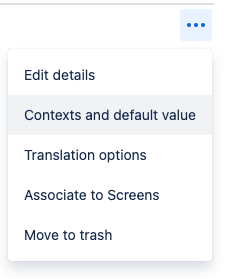
With a new field associated with your screen, set the template as the default value for your custom field.
Test the feature at each point by clicking on “Create” button.
If needed, you can reorder with drag and drop the fields from Settings → Issues -> Screens -> Configure Screen.
- Navigate to Settings → Issues → Custom fields -> your newly created field
User Story Template Features
Expected behavior
- Clear articulation of the user’s need
- Offer precise outcome, detailing what should be achieved with the new feature
Details
- Elaborate on the requested feature, providing insight into the business value
- Include relevant links where the feature should be implemented or where similar functionality exists
Acceptance criteria
- Describe rigurously scenarios and interactions that result in a successful implementation
- Use a template for clarity: A<Role>, on <Page>, when I <action>, I see <result>
Technical Guidelines
- Breakdown across various parts of the application that may be impacted
- Indications on components to be used, important decisions to be considered
- Explicit warnings on refactoring needs or any potential impact on other features
- Reference development standards to guide developers effectively
- Other specific sections in your project (tracking, SEO, etc.)
Release instructions
- Incorporate release instructions specific to your project for a smooth transition from development to release
This is the Jira WikiRenderer custom template that I’ve used.
Feel free to use, share, and let me know your thoughts!
{panel:title=Expected behaviour|borderStyle=dashed|borderColor=#ccc|titleBGColor=#8B81E8|bgColor=#E8D9FF}
*As a…*
*I want to…*
*So that…*
{panel}

{panel:title=Details / Context|borderStyle=dashed|borderColor=#ccc|titleBGColor=#7EA2FF|bgColor=#D6E3FF|icon=info}
*Describe what is requested with more details, the feature requested, in particular from the business value point of view. Basically what is expected. it is the 'Done if'.*

add LINK or URL of the page where the functionality is/has to be implemented

Content here....

💡 *make sure that the Details/requirements above have been checked together with UX and approved*
{panel}

{panel:title=Acceptance criteria|borderStyle=dashed|borderColor=#ccc|titleBGColor=#C9D3DB|bgColor=#EDF7F9}
*Define scenarios and/or user interactions. You can use also the template A<Role>, on <Page>, when I <action>, I see <result>*
{panel}

{panel:title=HOW TO (technical information)|borderStyle=dashed|borderColor=#ccc|titleBGColor=#FFF44F|bgColor=#FFF9E4|icon=warning}
*Write down technical guidelines to develop the ticket. Are there any warnings on specific files (refactoring, impact on other features...)*

- *API*
- *Frontend*
- *Plugins*
- *Components*
- …

{color:#FFD700} *Keep in mind project development standards: [Development Standards|<your-link-here]*
{panel}

{panel:title=SEO|borderStyle=dashed|borderColor=#ccc|titleBGColor=#8B81E8|bgColor=#E8D9FF|icon=chart_bar}
*Evaluate possible implications of the feature from the point of view of SEO.*
{panel}

{panel:title=Release instructions|borderStyle=dashed|borderColor=#7EA2FF|titleBGColor=#B0C4FF|bgColor=#D6E3FF|icon=info}
[**Delivery Workflow**|<your-link-here>]

- *Branch*: <feat/wcc-xyz-example-branch>
- *PR to [...]*: add link here
- *Other instructions*: add here
{panel}
If you encounter any challenges, check out the documentation links below or ask questions in the comments — I’m here to help.
Happy refining! 🚀


