
6 Ways To Take Interesting Beach Photos
How to avoid those dull stretches of sand
As a beginning photographer, a lot of my photos are like drawings of stick figures as compared to the work of master artists. Practice makes perfect and I’m trying to improve.
One thing I have trouble photographing is beaches. All of my pictures of them tend to look alike — long, flat stretches of sand meeting the waves.
Images like these can be well and good, but you don’t want to be too repetitive. During a photo trip yesterday to Lake Pend Oreille in Sandpoint, Idaho, I tried to find ways to make my beach pictures interesting. Here are some of the strategies I came up with.
Include Detail on the Shore
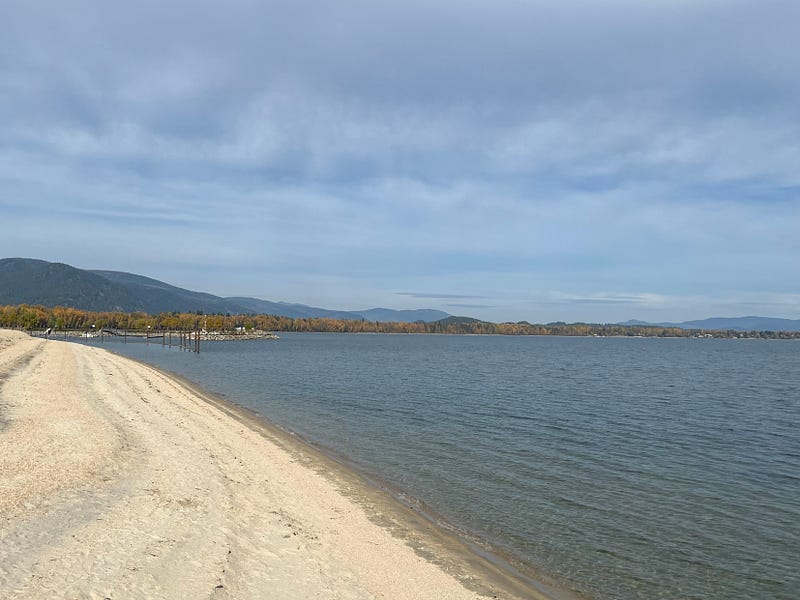
Originally, I wanted the above photo to include just the lake and sand. I thought it would be pretty, and it kind of is. But it’s not a “great” photo. If every photo I took along the lake walk was like this, they’d look pretty much the same.
Here, I changed the photo just a little by including the details of the trees on shore. Now, this particular view will look different from other pictures. It has the added bonus of lending local flavor to the piece — I’m in Idaho where there are pine trees on the beach.
If you can’t find any trees, rocks or man-made structures will work as well.
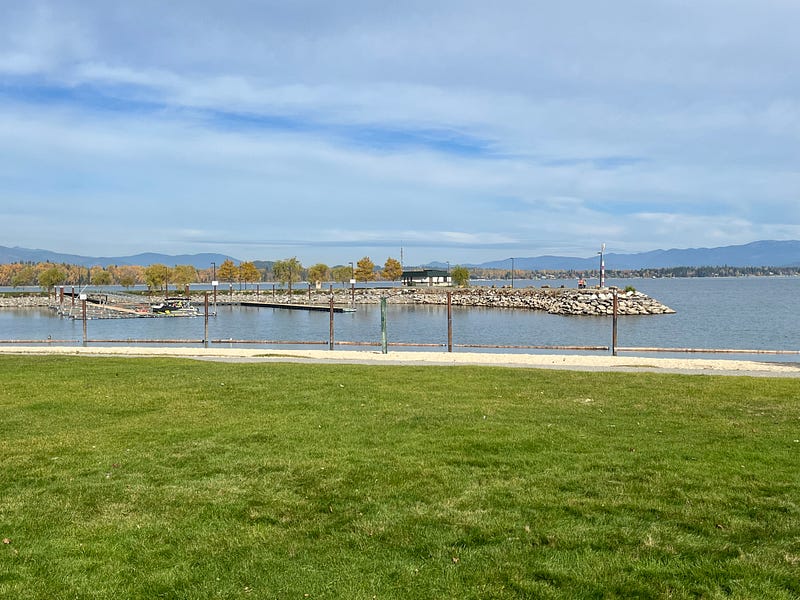
Add Detail Offshore
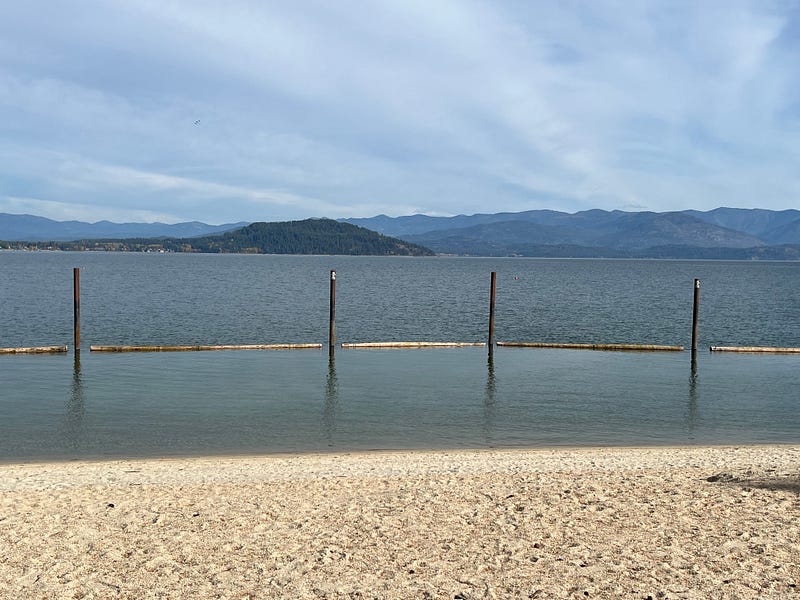
Are there buoys, islands, rocky outcroppings? I found these wooden poles delineating the swimming area and thought they lent interest to the photo.
The eye fixates on them. Plus the water is smoother close to shore and wavier beyond the poles. After you notice the poles, your gaze naturally lifts up to the island.
Below is the rocky dock area I also photographed. As in the image with the poles, the gaze lands on the offshore object first before branching out to the rest of the photo. Having things to focus on makes the picture more compelling to the viewer.
Add a Subject
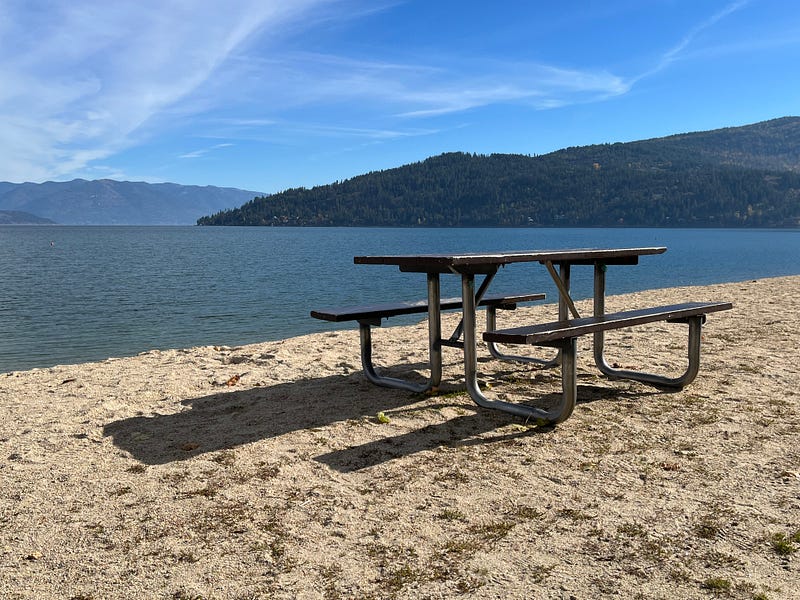
Is there anything on shore to break up those stretches of sand? This could be people, trees, rocks, lifeguard stands, a picnic table like I found, or anything else you can imagine.
A subject draws the viewer’s interest immediately. I think it’s a memorable way to showcase beautiful beach scenery.
Use the Rule of Thirds
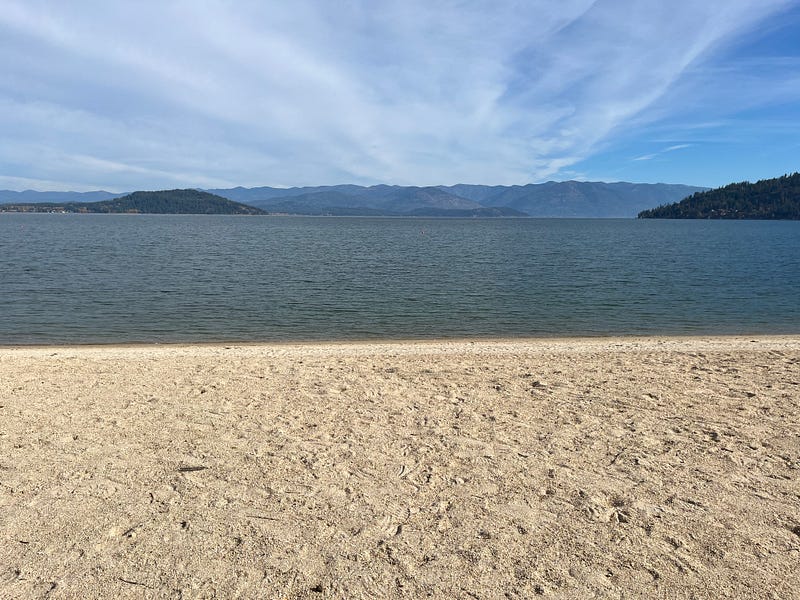
So you want a gorgeous photo of sea, sand, and sky without anything blocking the view. It can be done, and done well — just make sure you use the rule of thirds to make the image pop.
When you take your photo, try to get a view that consists of one-third sky, one-third water, and one-third sand. If you don’t get it quite right, you can always crop.
I don’t think I quite succeeded in getting that “wow” factor, but I like my picture, and that’s what matters to me at this point.
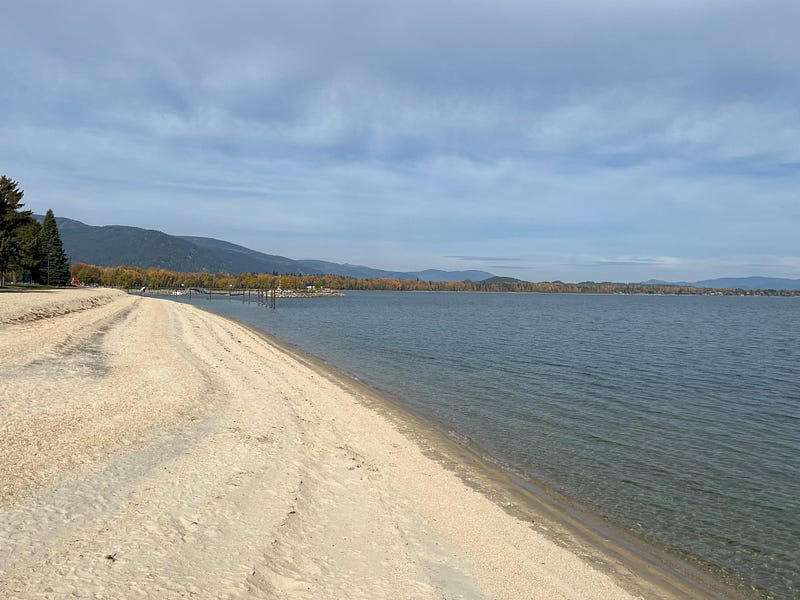
Pay Attention to Wet Sand
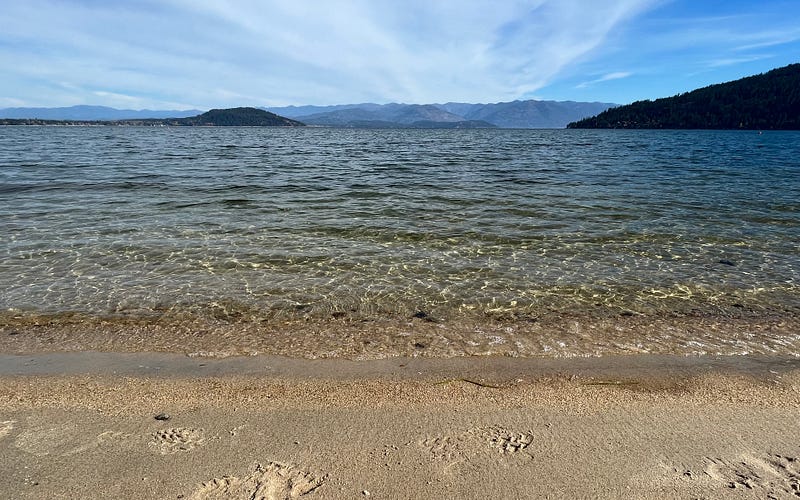
Here I was clicking away, trying to get a picture of the frothy white waves coming in, but I actually liked this image of the clear water better. That’s because of the dark wet sand jutting into the right. My eye is drawn to it and because it’s crooked when everything else is straight, it makes the whole photo more interesting.
Pay attention to the patterns of wet sand on beaches. Do they break up the straight lines, or are they straight where the water curves? Also, look for footprints (as in this photo) or shells in the sand, anything that will catch the eye.
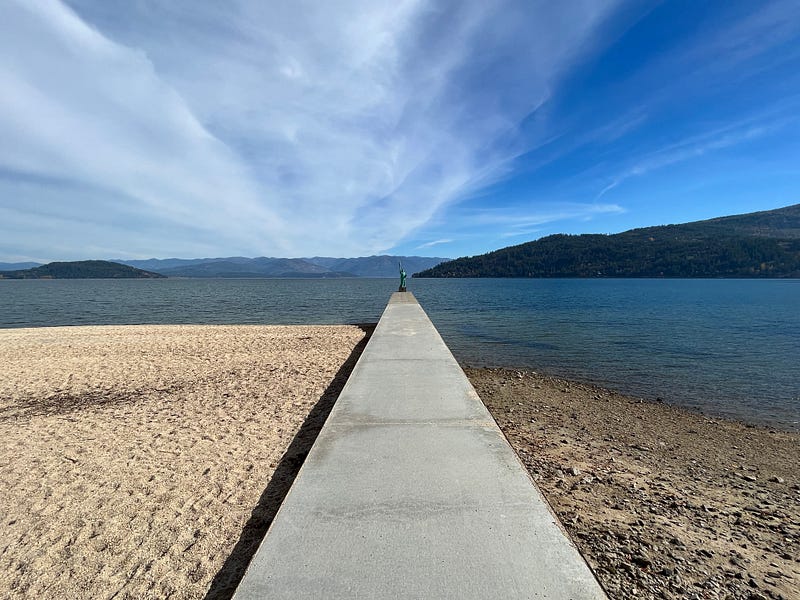
Use Straight Perspective for Docks
I didn’t know quite what to call this suggestion since I’m a beginner! But you see what I mean in my photo. Stand so that a dock or pier projects straight out from you, leading the eye to the horizon. This technique gives the image a feeling of infinity, of moving from the solid earth to the boundless waves and sky.
The styles you come up with will of course be specific to the beach you’re photographing. But I hope the techniques I came up with yesterday at Lake Pend Oreille will be of some use to you. Let me know in the comments what you think, and whether you have additional strategies for beach photos.