
4 Steps To Perfect Your Visual Content Game
A complete guide by a former art director to click perfect flatlays at home with your mobile phone
I started my professional career as a creative lead working for a clothing start-up right after college. My job was to handle the brand's design and creative requirements or what an Art Director would do.
Working in a start-up was fun, but it came with its share of perils. In an early stage of a startup, many had to wear multiple hats. Apart from designing, I was also in charge of the visual style and imagery for the brand.
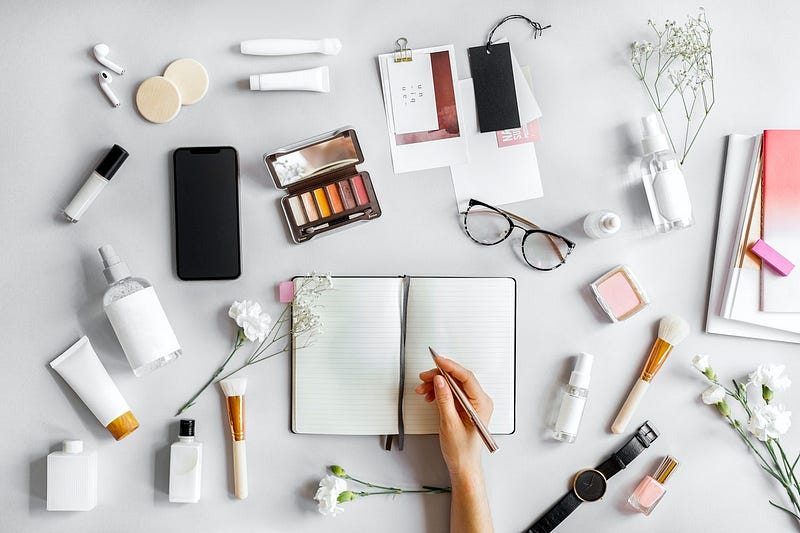
Flatlays were pretty popular back then, and every brand, including our competitors, was flaunting them on their social media feeds. If you’re not aware, flatlays are laid-out pictures of products taken from the top or bird’s eye view. Beauty bloggers and book bloggers use this method for most of their posts.
We decided to run a test shoot in our office with a short marketing budget before hiring an external agency. I took the challenge to create Instagram-worthy flat-lays in our office without any fancy equipment or props.
It turned out to be a success, and we got a month-long content to entice our audience without hiring any photographer or external agency.
I used the same lessons to click pictures when I launched my stationery brand in 2019.
Before I begin sharing how to click such pictures, let’s talk about why content creators need to care about it?
Why Should You Care About Flatlays?
Well, 90% of information that comes to the brain is visual.
Images are still the heart of content creation. It’s the easiest form to create an impact compared to videos and TikTok.
In flatlays, you don’t need a model or a high-end studio to click lick-smacking pictures to attract your audience. Unlike the professional product shots, it doesn’t require three different lights, a high-end camera, and a couple of assistance to help you capture quality pictures.
That’s the best part about it — it requires 10% of the effort.
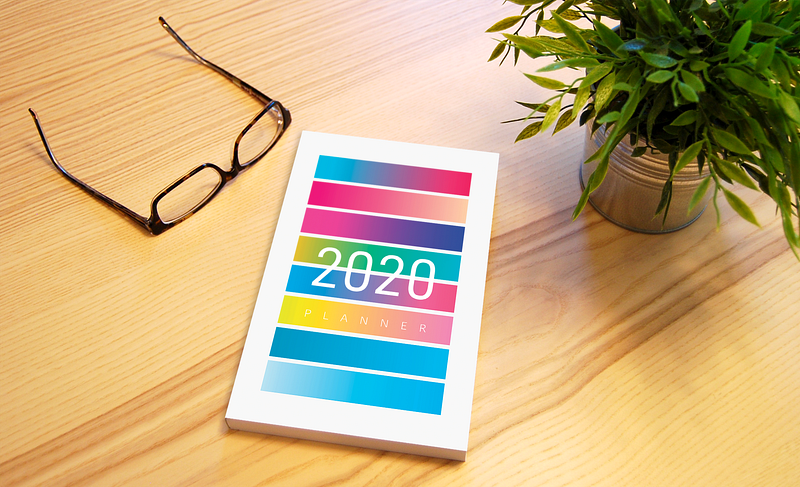
I used the same technique to click pictures of my 2020 planner and journals. You can follow these for any product you have. It can be used for food blogging, book recommendations, apparel brands, or even the wallpapers you design for Etsy.
It’s a blessing for solopreneurs.
Today, I will tell you how to click some fantastic flay lay at home with your mobile phones. You can flaunt these pictures in your Medium articles, create an edgy Instagram feed to appear different from your peers.
4 Steps To Click Amazing Flatlays
In these five steps, we will cover
- Ideation
- Pre-production
- Props and background
- Shooting process, and Post-production
I followed the same steps to launch my stationery brand a couple of years ago.
1. Know What You Want To Show
More than the product, it’s the story that you’re telling through your picture.
If the image is great but trying to say too much, it might not build a connection with your audience.
The background, the lighting, and the props you use will depend on what you want to show and why you want to show it. Since there’s no foreground and sides and just one common ground, everything we place in the frame matters.
Most images I have shared in this post may have the product, but you’ll find a different vibe in all of them if you look closely.
Before we begin the hunt for the right props and background to click a perfect flatlay, spend some time figuring out
- What story are you trying to share?
- What are you trying to show?
- What emotions are you trying to evoke?
If you don’t want to follow the traditional way and the lengthy procedure, at least have a few keywords in mind before you start shooting.
2. Background Matters
The background becomes essential when there’s no foreground and middle ground in your picture. That’s the second most important thing after your merchandise.
If you are planning to show the details of your product, go with something subtle, so the background doesn’t steal the focus. The environment can add drama to your picture. You can experiment with the one-color background to different textures or prints.
The only thing to keep in mind is enough contrast between the product and the setting.
Some common backgrounds available at home are
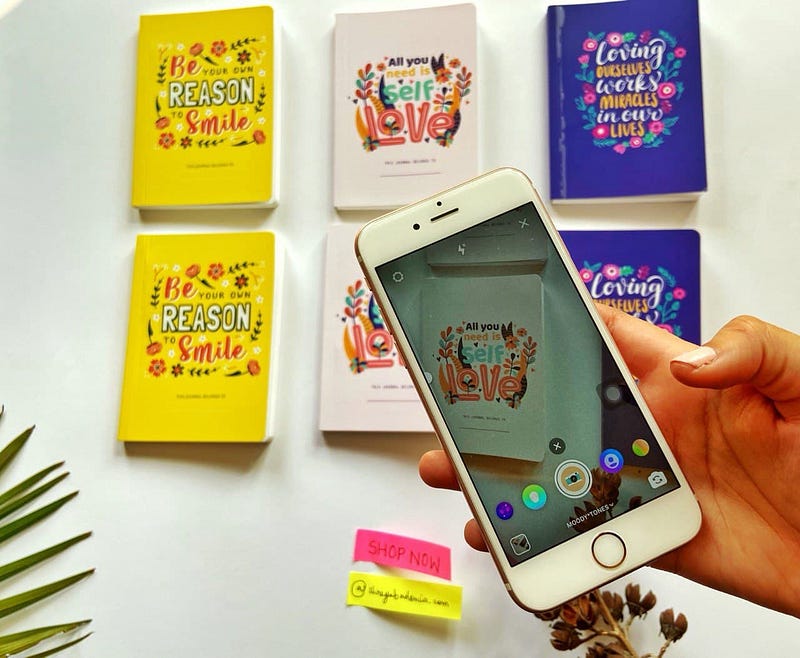
- Wooden table (Used in Image 1, 4, and 5)
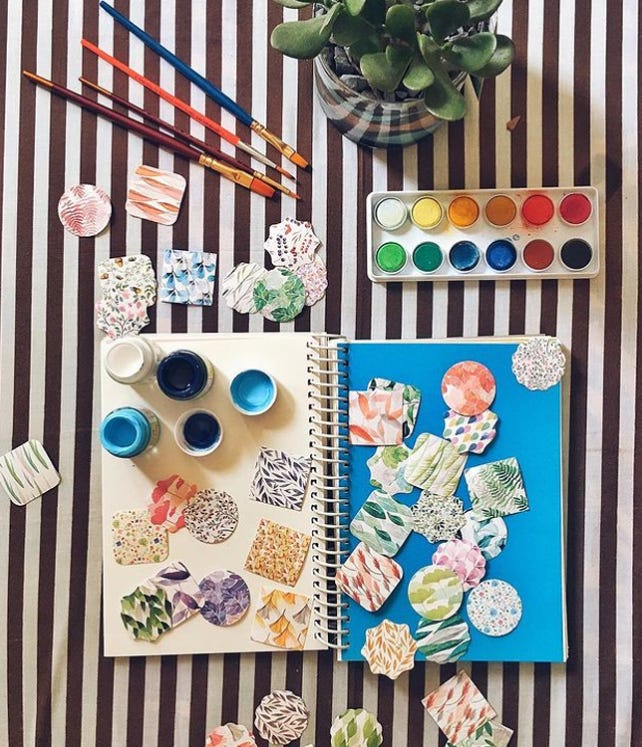
- Fabric (Used in Image 2)
- Bedsheets
- Grass from your garden
- Color papers. (Used in Image 5)
3. Props Are The Essence of A Flatlay
You may ignore the props used in a regular photo shoot, but the props used in flatlays can’t be overlooked.
They validate what you are trying to show through your product.
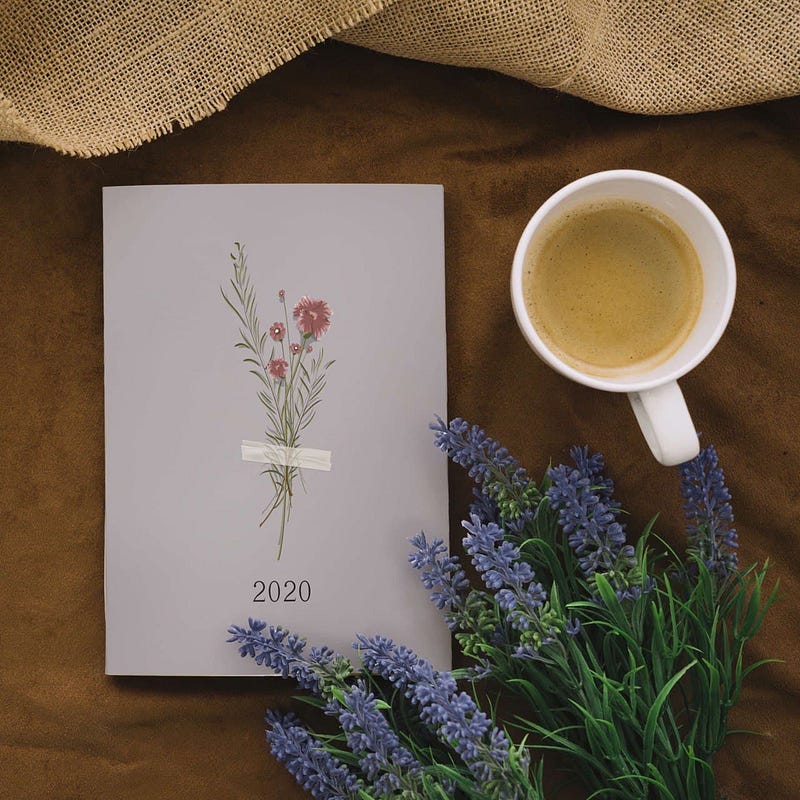
In the above images below, I have used a cup of coffee and a glass of iced coffee because my audience connects with it, and it served my purpose of endorsing me-time with a cup of coffee and a journal.

I used flowers, my phone, books, and multiple other props available to me. Most of which went well with the journals and the planners and created a happy environment oozing self-care.
If you think your product and dramatic background make the frame complete, you can skip adding any props. For example, in the Product Detail Page or PDP, props are not added, as you can see in Image 5.
Sometimes you have to play around with multiple objects and placement to find that right shot.
Standard props available at home are
- Related objects: For apparel, you can use your bag or some luxurious cosmetic. And For books, you can use your stationary or glasses.
- Your phone and laptop (but that doesn't go with everything)
- Coffee cup
- Books
- Flowers or leaves
- Crystals and candles
4. Production
Okay, you’re clear about what you want to create and have collected everything you could find in your home for the shoot.
Now it’s time to do the actual work.
Start with finding a place that has good lighting in your house. If you’re going to use natural light, makes sure you do the shoot early morning to get that white light that is not too loud.
You can also use a ring light or switch on the LED of your room.
Once you’ve found the spot, lay out your background and place your product or products. In the picture below, I haven’t used any external light, but I arranged my set up right in front of my balcony to use all the natural light I could.
Don’t spend too much time with placement in the first shot.
Click 2–3 pictures to check the light and go with the placement that looks the best. After the sequence is done and your product is placed, start adding your props one by one.
If your background is small and too many props make it look congested, take them off and use the one that complements your product.
Use the prop that justifies your story and complements your product.
Now, it’s time for you to click as many pictures as possible. Your iPhone or any smartphone with a good camera is equipped to do the job.
Even when I owned a camera, I used my old iPhone 6s and an iPhone 11 to click these pictures because it’s easier to edit on the phone and post.
I clicked the picture standing to get the right angle and took an extra breathing space to avoid missing out on the props. You can permanently remove the spare part in post-production.
Image alignment and retouching can be taken care of afterward. So, instead of clicking one perfect picture, try to click as many pictures as possible.
Try different arrangements and with various props so you can cherry-pick the best ones later.
Happy clicking!