
User Management System with AWS Cognito
An easy step-by-step guide to set up and configure a Cognito User Pool.

As part of the series on how to easily create a Front-End (React or Gatsby) with a user-management system using AWS Cognito, here we learn how to set up the Cognito infrastructure. It is pretty easy, and it’s one of those set it and forget it things that need to happen only once per project! So come back here to follow the guide and set up your Cognito every time you set up a new project.
User management systems are one of those things that are needed pretty much in any project! but designing and implementing a proper one requires a lot of time, attention and experience as it is very important to not put your users data and credentials in risk! There are a lot of industry standards and best practices that are absolutely required in order to have a secure and safe user-managment system. And because of all of that, I believe no-one should ever implement a user-management system from scratch, unless they have the time, money and expertise to do so, and also would like to spend their time re-inventing the wheel! for the rest of us, there are far better, cheaper, safer and everything-elser options, one of which is AWS Cognito!
Let's do this!
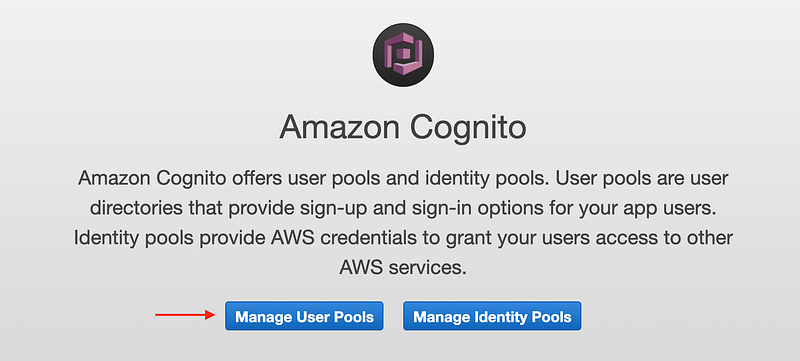
- For this, we need to create a User Pool. Log in to your AWS Console ( I’d recommend creating a new AWS account for every project! ), and go to the Cognito service page.

- In the service page click on the “Manage User Pools”. if this is the first pool you are creating, you go directly to the creation wizard, otherwise please click on the
Create a user poolbutton on the top-right corner of the next page.
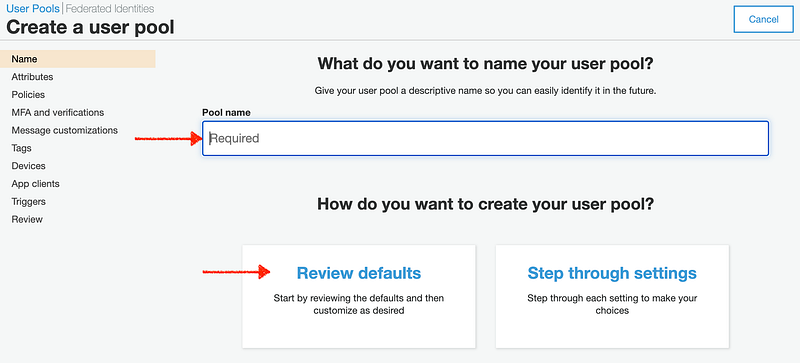
- Fill in the name field and accept default settings, or change them as you wish ( for instance you can choose what information are required for user registration, minimum password strength requirements, to enable MFA, or to customize the default messages sent to users in different steps and lifecycles of the user management system, which is recommended! you can also create an app client to use later, or you can do this later like me)
- The User pool is created. Note the
Pool IdandPool ARNto use later with your clients or wherever you are going to consume this resource

That was it!
For real! now you have a complete and power-full serverless user management backend at your proposal! Next you can add additional identity providers ( for instance to support social media account linking and/or SSO ) as well! I can write an article about that too, just LMK if you’re interested!
What now?!
Next you can easily add this to a React or Gatsby app and work on your actual app idea rather than worrying on implementing a proper, safe and secure user-management system! I’ve written articles for both of these Fron-end frameworks, go ahead and check them out!
Also! let’s get in touch!
Connect with me on LinkedIn. Follow me on Twitter. And share with me your ideas and Comments and Critics in the comments!
Best to you, - mim


