Free AI web copilot to create summaries, insights and extended knowledge, download it at here
1605
Abstract
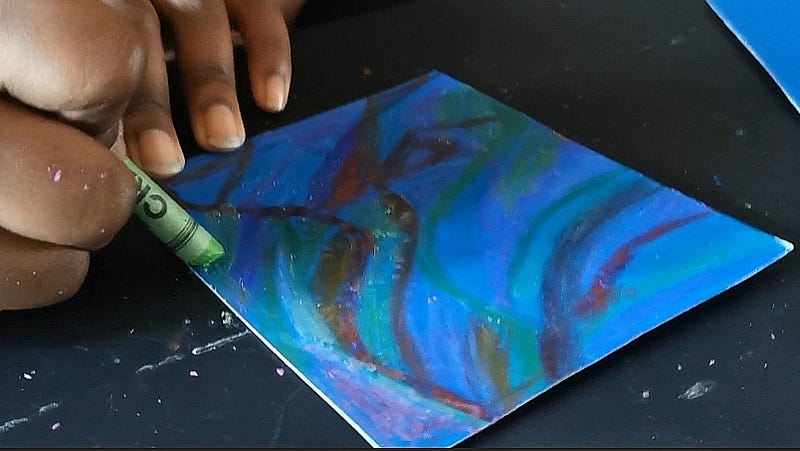
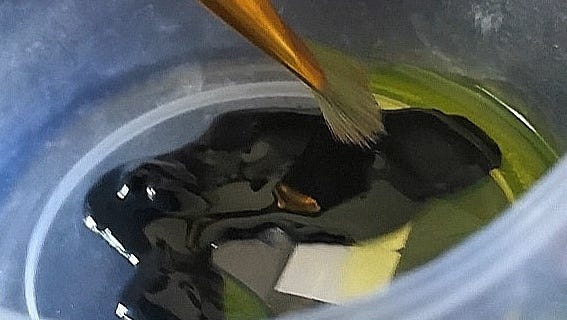
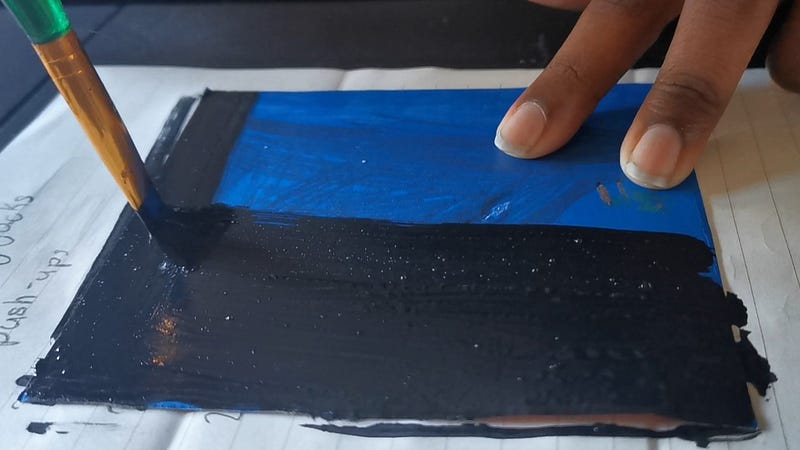
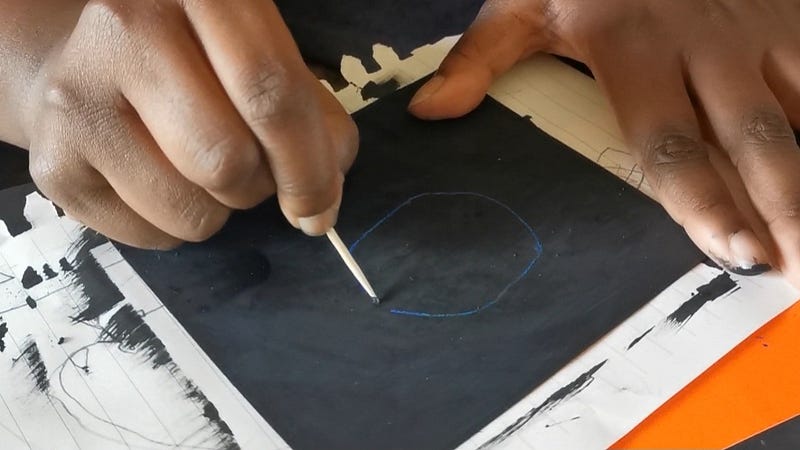
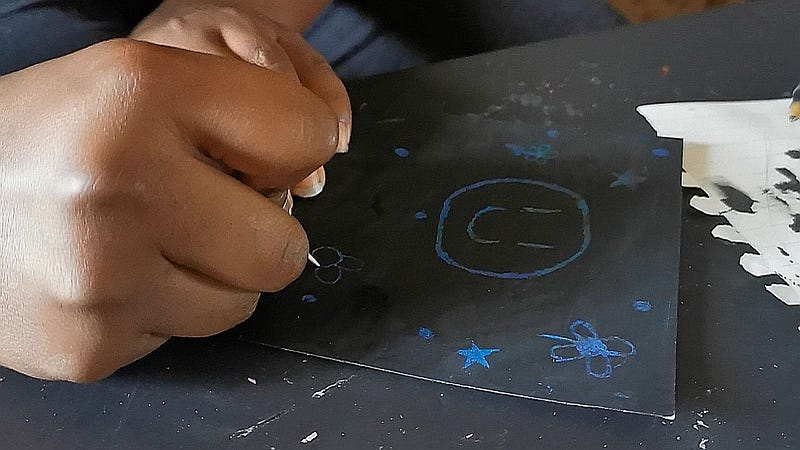
per</figcaption></figure><figure id="dd9a"><img src="https://cdn-images-1.readmedium.com/v2/resize:fit:800/1*yRXYci7j0WlajPLJ9S-6bg.png"><figcaption></figcaption></figure><h1 id="9b3c">2. Paint with Dish Soap</h1><p id="3fec">Mix a few drops of dish soap with a blob of black paint:</p><figure id="8ae0"><img src="https://cdn-images-1.readmedium.com/v2/resize:fit:800/0*_2Z2dmDrDr0VmdXP"><figcaption>Mixing paint and dish soap together</figcaption></figure><p id="c4cc">Once you’re finished, paint over your card stock paper. Also, make sure to cover every surface area with paint for best results:</p><figure id="ce52"><img src="https://cdn-images-1.readmedium.com/v2/resize:fit:800/0*oPtevAf30k9gnp9P"><figcaption>Covering in black paint — Photo by Author</figcaption></figure><figure id="ee1e"><img src="https://cdn-images-1.readmedium.com/v2/resize:fit:800/1*yRXYci7j0WlajPLJ9S-6bg.png"><figcaption></figcaption></figure><h1 id="270f">3. Time to Scratch!</h1><p id="6a4b">Once your paint has dried, it’s time to take your sharp tool and create beautiful designs!</p><p id="a4b9">If you used colourful crayons on white card stock paper in the previous steps, you would have rainbow-coloured designs during the scratching process.</p><figure id="d3d2"><img src="https://cdn-images-1.readmedium.com/v2/resize:fit:800/0*8IFWBWMCvpROE-yt"><figcaption>Using toothpick to create designs — Photo by Author</figcaption></figure><figure id="ac47"><img src="https://cdn-images-1.readmedium.com/v2/resize:fit:800/0*8ZVNGGJAlR1Gls5V"><figcaption>Smiley face drawing — Photo by Author</figcaption></figure><figure id
Options
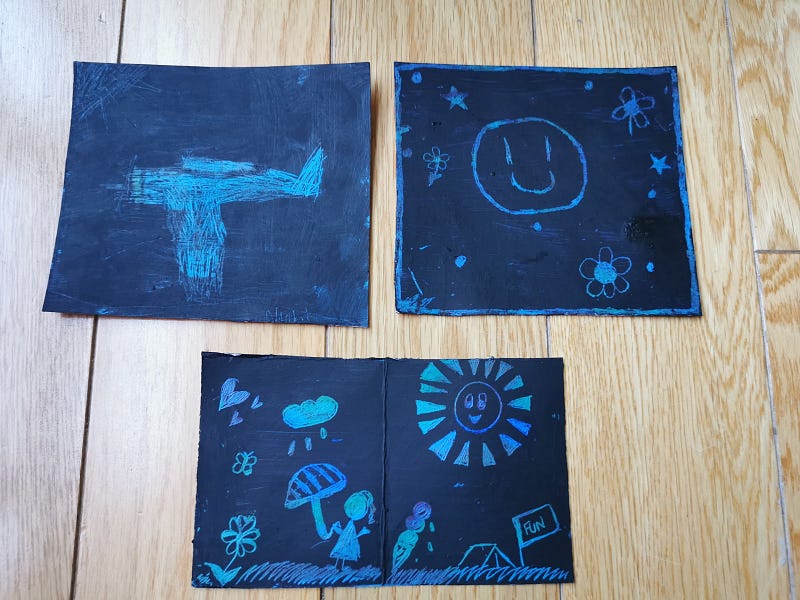
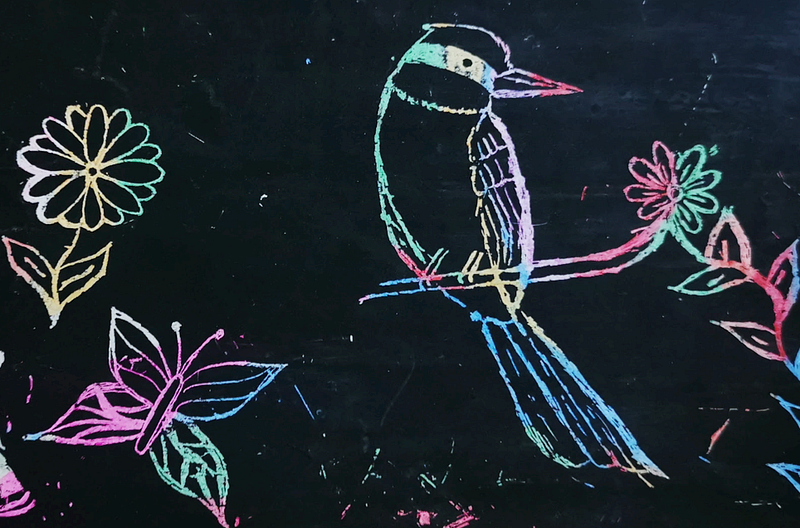
="ae15"><img src="https://cdn-images-1.readmedium.com/v2/resize:fit:800/1*yRXYci7j0WlajPLJ9S-6bg.png"><figcaption></figcaption></figure><h1 id="cef3">Final Results!</h1><figure id="0c86"><img src="https://cdn-images-1.readmedium.com/v2/resize:fit:800/0*cG1YqlnhSdYf8Trn"><figcaption>Voila! Also, these ones happened to change colours when placed in front of the light! — Photo by Author</figcaption></figure><figure id="d774"><img src="https://cdn-images-1.readmedium.com/v2/resize:fit:800/1*JhtEyA0KsKnuhDZbPfo5yA.png"><figcaption>Colourful Piece — Photo by Author</figcaption></figure><figure id="e48c"><img src="https://cdn-images-1.readmedium.com/v2/resize:fit:800/1*yRXYci7j0WlajPLJ9S-6bg.png"><figcaption></figcaption></figure><p id="4111">This is a quick and easy art activity you can do at home by yourself or with your loved ones. Most of the materials can be found at a dollar store, and the final results are something to be proud of!</p><p id="2d25"><i>Happy Crafting! </i>😊</p><div id="18a5" class="link-block">
<a href="https://readmedium.com/the-diy-diaries-welcome-7655f32498a">
<div>
<div>
<h2>The DIY Diaries: Welcome!</h2>
<div><h3>A publication for your stories of doing all kinds of stuff yourself</h3></div>
<div><p>medium.com</p></div>
</div>
<div>
<div style="background-image: url(https://miro.readmedium.com/v2/resize:fit:320/1*ZY-KdFHzceDHxYz8Ej-fhQ.jpeg)"></div>
</div>
</div>
</a>
</div></article></body>