
Elevate Your Next.js App with Prisma: A Step-by-Step Tutorial (Part 1)
Prisma is a powerful ORM for TypeScript projects. In contrast to classical ORMs, with TypeScript, we don’t manually write models; instead, we define a schema, and Prisma generates everything needed, complete with TypeScript types.
Additionally, Prisma supports seeds for prepopulating the database. If you need to track database schema changes, Prisma also provides migration support.
Create a project
npx create-next-app@latest prisma-example --typescript --tailwind --eslint
Choose the following options:

Install dependencies
npm install prisma --save-dev
npm i @prisma/client
Prisma Client acts more like a query builder returning plain JavaScript objects with a focus on structural typing rather than rich object behavior.
Init prisma
Before starting to work with Prisma, we need to initialize it. This will add a prisma folder to the project, containing schema.prisma. In this file, we can specify the type of database we want to use or write the database models.
Connect to database
If you choose to use Supabase with Postgres, no additional setup is required. However, if you opt for Planetscale, note that it has a slightly different flow. In this case, start by defining relationMode = prisma because Planetscale doesn't allow foreign key.
Only for Planescale:
datasource db {
  provider = "postgresql"
  url      = env("DATABASE_URL")
  relationMode = "prisma"
}
Setup Supabase
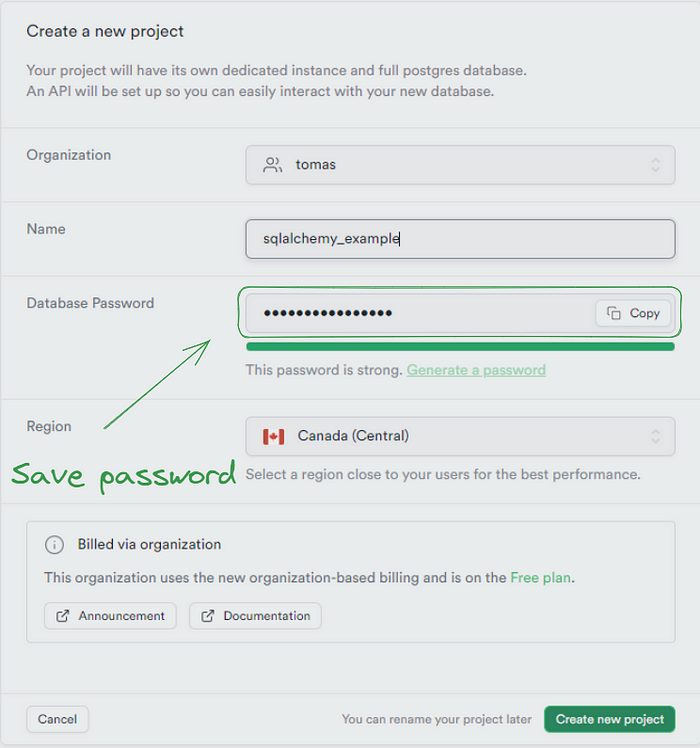
Step 1
First, we need to create an important step: saving the password for later use.
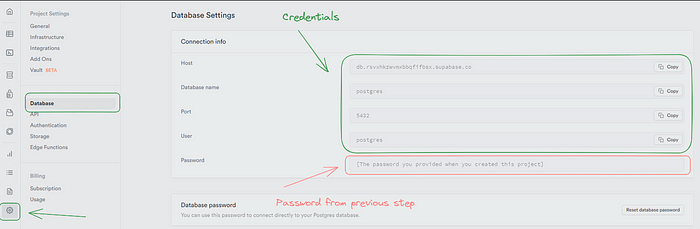
Step 2
After that, we need to go to the settings and check for the credentials we have. These will be needed in the code for the database connection.
That wraps up Supabase. It was easy, right? Now, let’s go back to the Prisma and Next.js.
Database URL
Now, the next step is to add our database URL to the .env file, following this format:
DATABASE_URL="postgresql://postgres:KPAuwVRd@[email protected]:5432/postgres"Create a model
Now, go to the schema.prisma file and add this code. You can see from the definition that each model is defined with the keyword model and its name. Then, we specify a column name and a type. After that, we can specify additional things like a primary key and uniqueness. These kinds of specifications start with the @ sign.
model User {
  id String @id @default(cuid())
  firstName String
  lastName String
}
Generate a schema
Now, you don’t need to be connected to the database to view your schema in the code and start working with it immediately. Later, you can create a migration. While it’s possible to delay this step, I suggest adding migrations as soon as you can.
npx prisma generate
Run migrations
It will prompt you to choose a name for the migration. Select something descriptive, such as new-user-model.

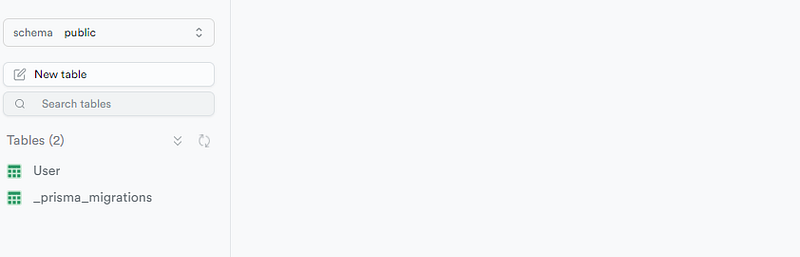
npx prisma migrate dev
Now the table should be visible in the Supabase like this:
We have two options for working with the database before writing any code. We can either go directly to Supabase and add some data, or we can use Prisma Studio. What is Prisma Studio? It is a UI tool that helps us work with the database, allowing us to create, update, or delete data.
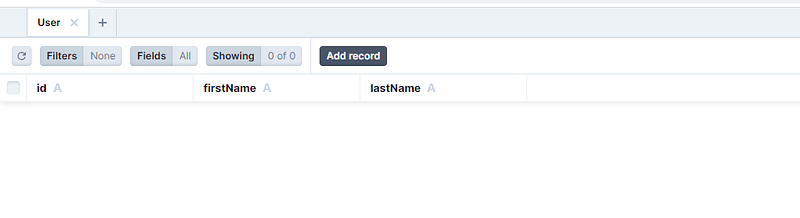
Prisma Studio
It is accessible at http://localhost:5555/. Navigate to the user table and try adding some data.
npx prisma studio
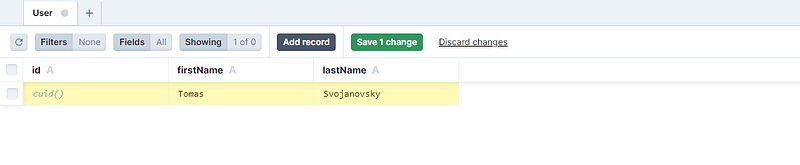
Click on the Add Record button and enter values into the firstName and lastName columns. Leave the id column blank, then press Save 1 Change.

As proof, we can check Supabase to confirm whether the data has been successfully inserted into the database.

If you’re eager to continue the journey, feel free to dive into Part 2 and explore further enhancements for your Next.js app!
Thanks for reading my article!
If you enjoyed the read and want to be part of our growing community, hit the follow button, and let’s embark on a knowledge journey together.
Your feedback and comments are always welcome, so don’t hold back!
Stackademic
Thank you for reading until the end. Before you go:
- Please consider clapping and following the writer! 👏
- Follow us on Twitter(X), LinkedIn, and YouTube.
- Visit Stackademic.com to find out more about how we are democratizing free programming education around the world.


