
[2022] How to install Git on Windows 10 / 11 (step by step guide)
If you want to be able to collaborate on Git projects from your own computer, you need to have Git installed. It’s not hard. Let me guide you through the process.
Latest update: May 2022
Step 1 — Install Git
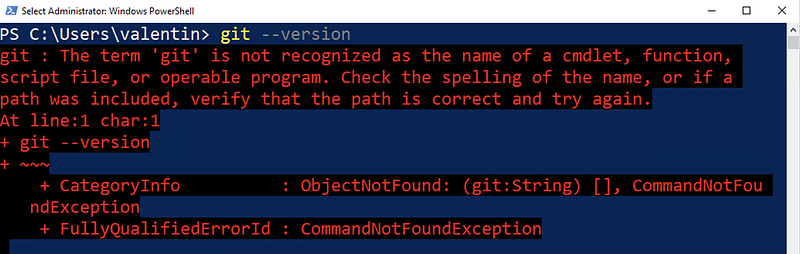
Open any terminal and check if you already have Git installed by typing:
git --version
If you are getting back an error message, you need to install Git. I would anyway recommend installing/updating Git anyway.
Go ahead and open https://git-scm.com/. The latest version I see is 2.30.0.
Now open the installer you have downloaded and go through the installation process. Unless you know what you are doing, leave all settings to their defaults.
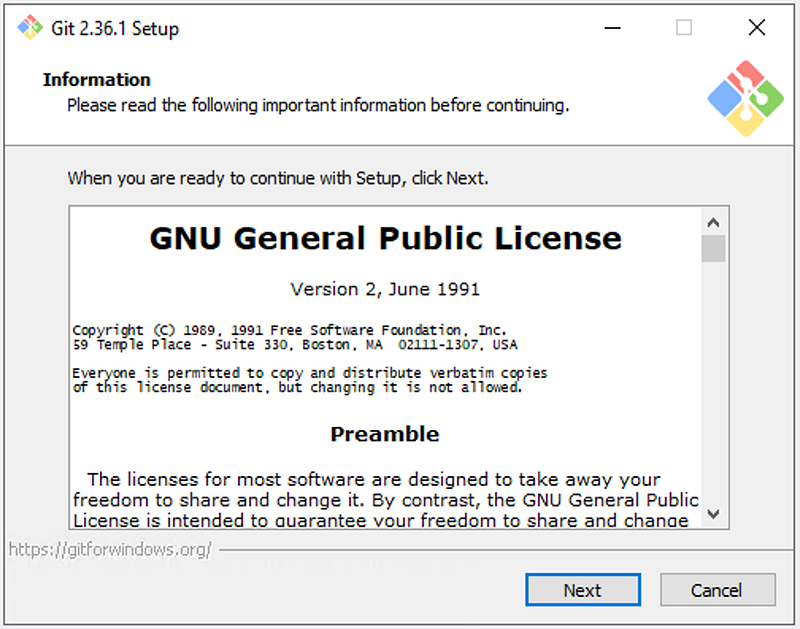
License Information
You need to accept the GNU GPL open source license to continue.
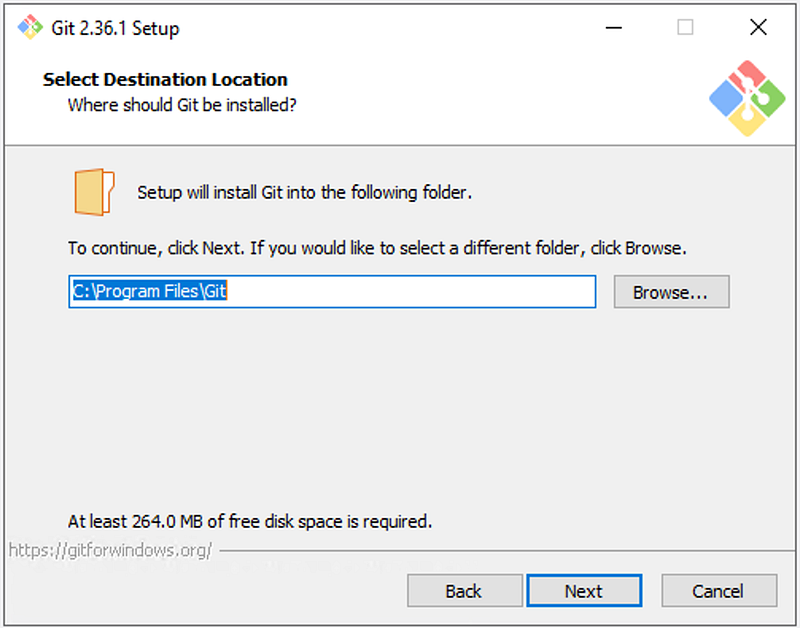
Select Destination Location
Unless otherwise instructed by your system administrator, use the installation path suggested by Git.
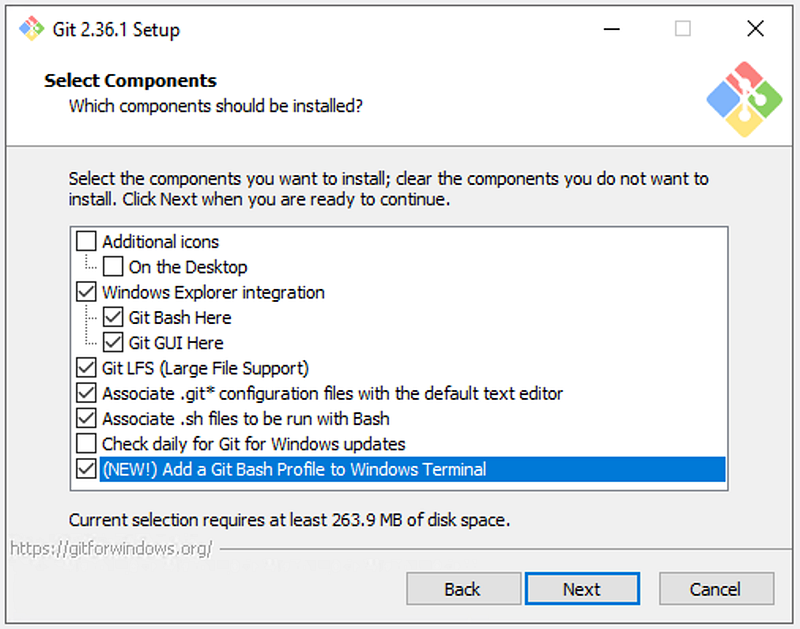
Select Components
Apart from the pre-selected options, you may also want to select “Add a Git Bash Profile to Windows Terminal”. This can be useful later on, especially if you plan to use Visual Studio Code or other IDEs that have a built-in terminal window.
Start Menu Folder
At this step, you can select the name of the start menu folder. The default value is Git. Right below, you have the option of not creating such an entry.

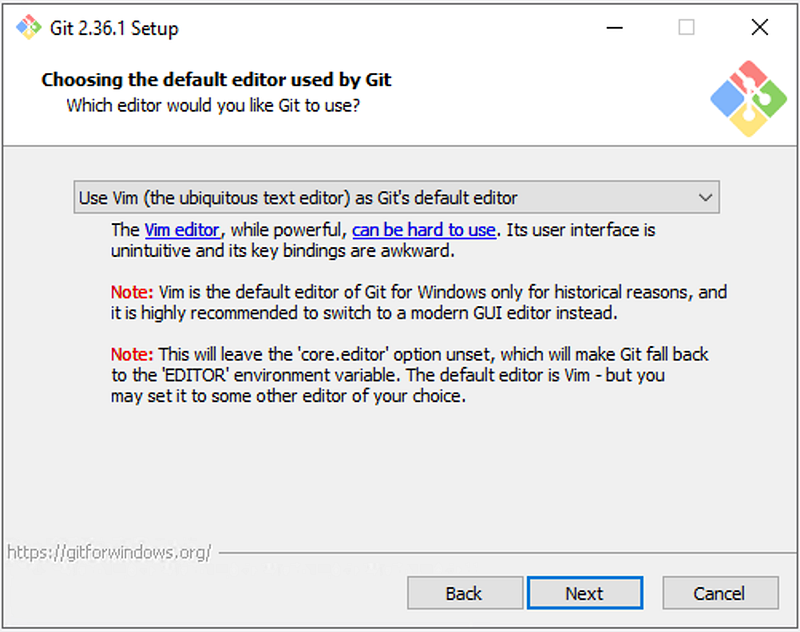
The default editor used by Git
Sometimes Git will ask you to insert or edit some text, for example, when entering a commit message. The default editor used is Vim. However, if you are a beginner and have never used Vim before, I highly recommend selecting another text editor you are familiar with, such as Nodepad++, Visual Studio Code, or the good ol’ Notepad.
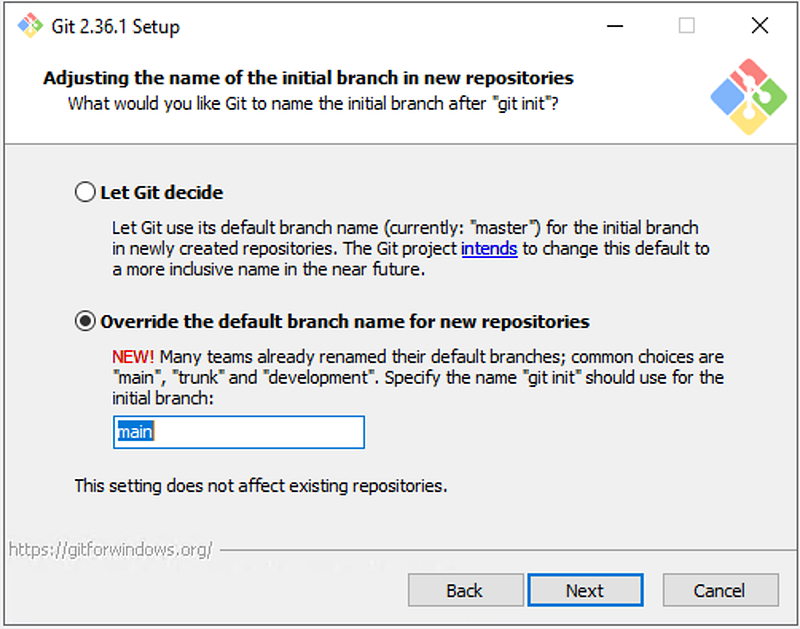
The initial branch name
The entire software development community is trying to be more inclusive. Most Git repositories still use master as their primary branch. There is a movement to replace master with main, but Git still uses master as a default.
Major Git hosting companies (such as GitHub and GitLab) have already renamed their default branch name from master to main.
Currently, Git still used master as a default. However, I highly recommend overriding this setting, as shown in the image below.
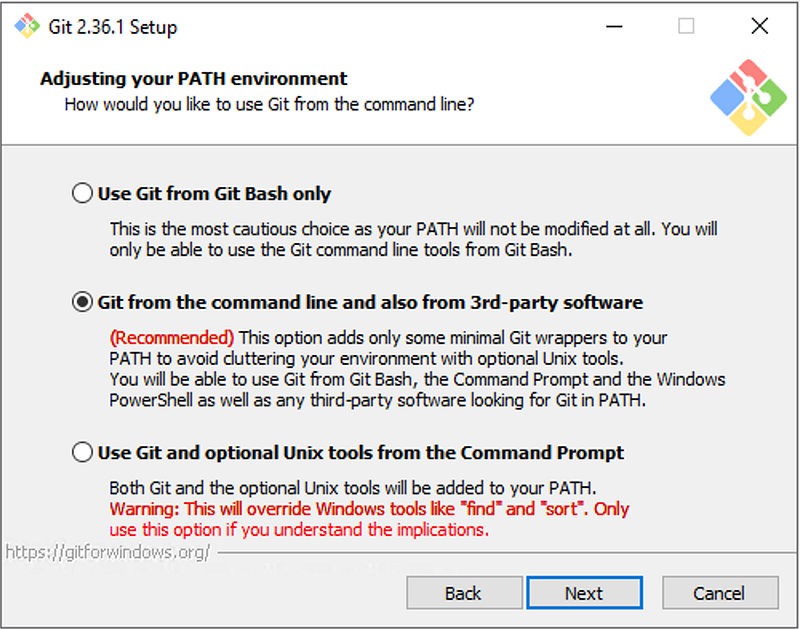
PATH environment
Whenever you wish to use a tool from a command line without specifying the full location path, you need to tell Windows about this by adding that directory to the PATH environment variable. Git is no different. I recommend using the default option.
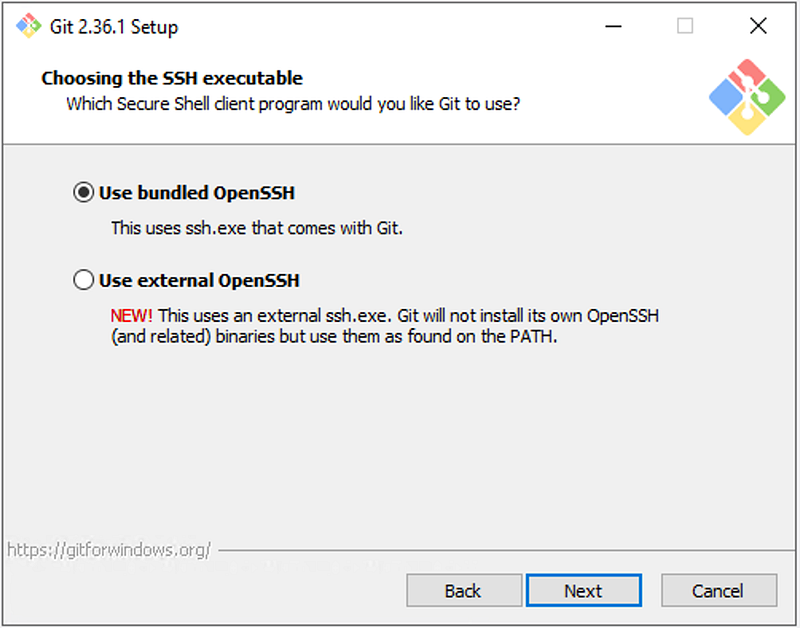
SSH executable
Unless you know that you have OpenSSH already installed, it is best to use the OpenSSH that comes with Git.
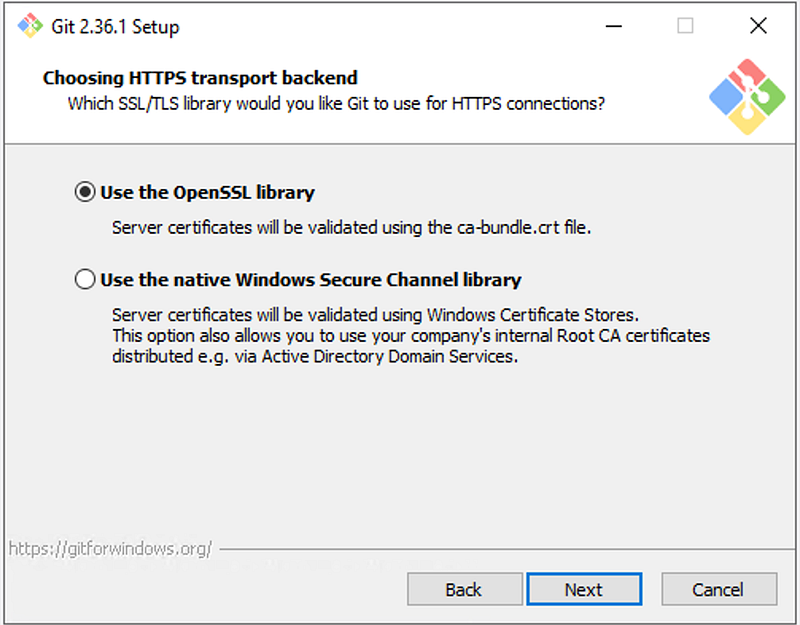
HTTPS transport backend
Unless you have specific instructions, use the OpenSSL library. In case you later face issues cloning private repositories from within your organization due to certificate validation issues, you may want to come back to this section.
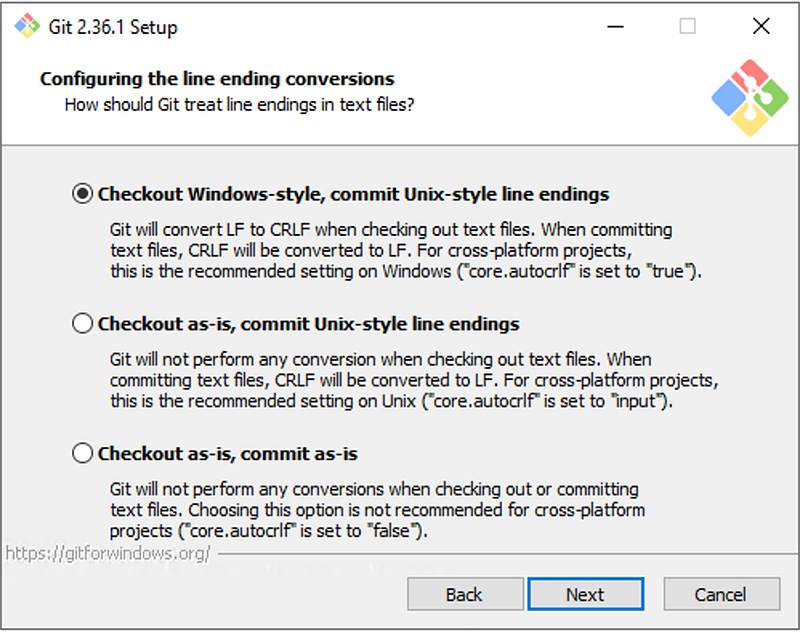
Line ending conventions
Windows and Unix systems use a different encoding for line endings. Unless you have other instructions, it is best to go with the default here.
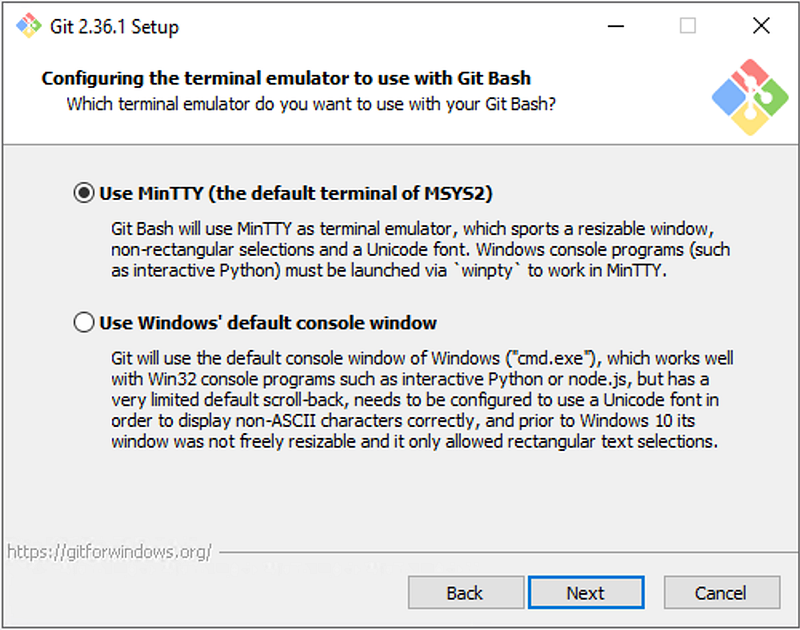
Terminal emulator for Git Bash
The MinTTY terminal emulator is much more modern and for most use-cases the best choice.
Git pull behavior
By default, pulling new changes from a remote Git repository does not attempt a rebase. Since most Git manuals and tutorials assume you use the default option, it is best to leave it as it is (for now).

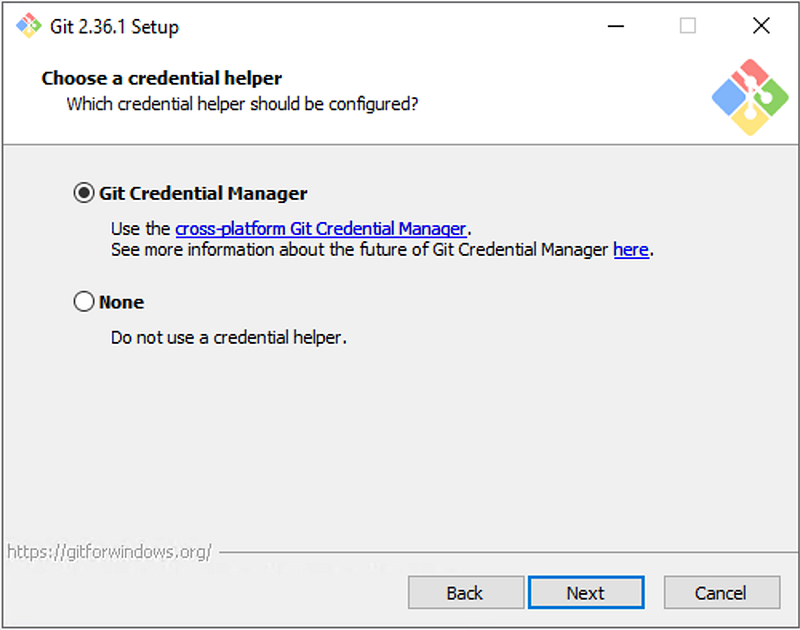
Git credential helper
Using a credentials helper is a great way to use multi-factor HTTPS authentication with Git. This is great for working with external Git repositories if you are working over HTTPS (and not SSH).
To quote the documentation, the Git Credential Manager “provides multi-factor authentication support for Azure DevOps, Azure DevOps Server (formerly Team Foundation Server), GitHub, Bitbucket, and GitLab.”
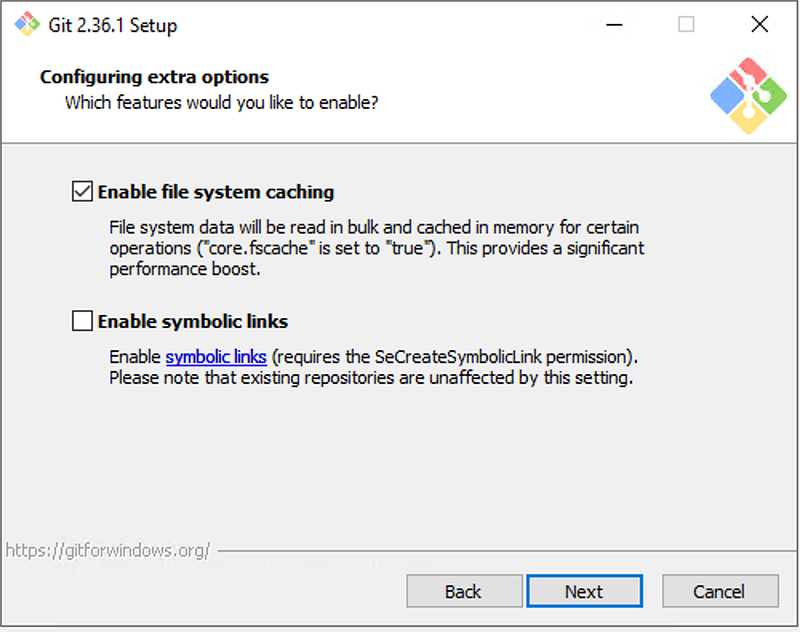
Extra options
This is way to technical, so we will go with the defaults.
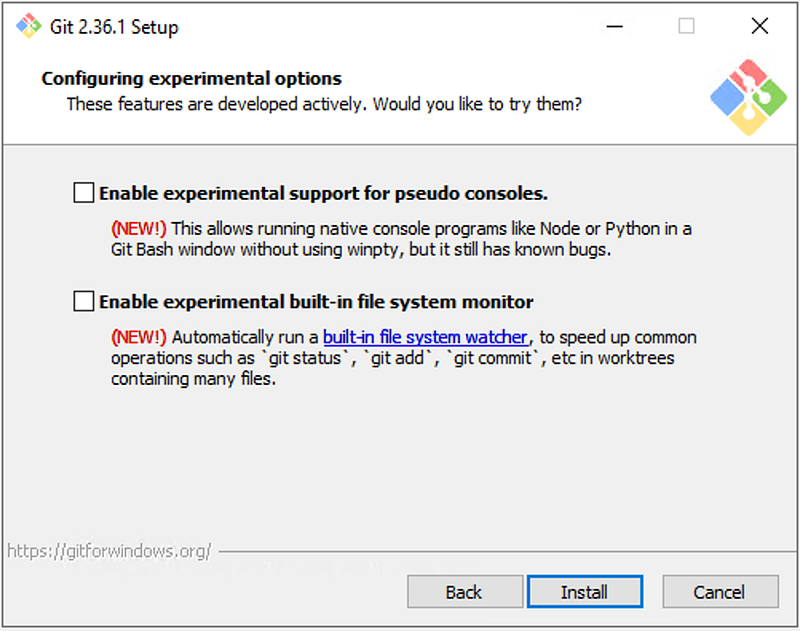
Experimental options
At this point, I don’t recommend enabling any of the experimental features.
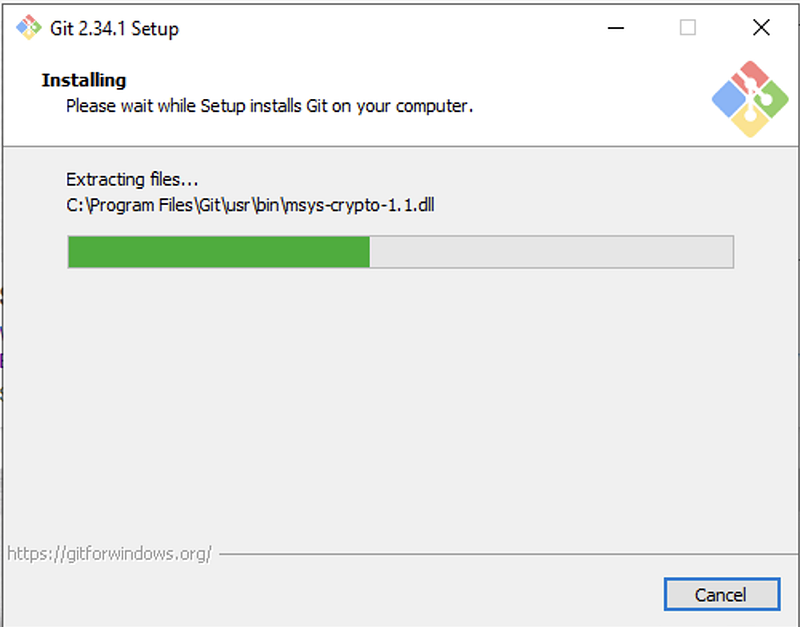
Installation process
This should not take more than one minute to complete.
This wizard has also installed a new tool called Git Bash, a terminal alternative for Cmd or Powershell. I will use it to demonstrate the upcoming steps.

From Git Bash or your terminal of choice, run the following command.
git --version
Step 2 — Configure Git
Before we move forward, adapt the following commands with your name and email. They will be part of any changes you make to any Git repository. Do it now, otherwise, your work colleagues will give you a minus point.
git config --global user.name "Your Name"git config — global user.email “you@example.com”Conclusion
I hope this tutorial helped you get started with configuring your Git installation in Windows 10 to work with GitLab CI. Leave a comment in the section below if you have any questions. I would love to hear from you!
Thank you for sticking with this article until the end. If you enjoyed it, please leave a comment, share, and press that 👏 a few times (up to 50 times). It will help others discover this information and maybe it will help someone else as well.
Follow me on Medium and YouTube if you’re interested in more tutorials like this one.


